How to Cook Chicken Breast Without Drying It Out
Dry, rubbery chicken breast is a technique problem, not an ingredient problem. Three methods - brining, reverse searing, and proper resting - fix it permanently and make chicken breast a reliable protein staple.
Chicken breast has a protein-per-calorie ratio that's hard to match - roughly 31g protein per 100g cooked at 165 kcal. For protein-first eating, it's the most efficient whole food available. The reason many people undereat it isn't the flavour or the cost. It's that overcooked chicken breast is unpleasant enough that people stop cooking it. Fix the technique and you have a protein anchor that reliably delivers 50-60g per serving and takes under 25 minutes from start to finish.
Why Chicken Breast Dries Out: The Actual Reason
Chicken breast is extremely lean - virtually no intramuscular fat to act as a moisture buffer. When the internal temperature exceeds about 74°C (165°F), the muscle fibres contract rapidly and expel the liquid they contain. The drying happens quickly - in a hot pan, the difference between perfectly juicy and dry can be as little as 2-3 minutes of overcooking. Most home cooks overcook chicken breast for two reasons: they cook at too high a temperature without monitoring internal temp, and they cut into it immediately after cooking, releasing what moisture remains.
Both problems are completely solvable.
Method 1: Brine Before Cooking (15-30 Minutes, No Skill Required)
Brining is the single highest-return technique for improving chicken breast. A simple salt solution draws moisture into the muscle through osmosis - the breast absorbs water and sodium, which then retains moisture during cooking even if the chicken slightly overcooks.
The brine: Dissolve 1 tablespoon of salt in 500ml of cold water. Submerge the chicken breast fully. Leave for 15-30 minutes at room temperature (or up to 2 hours in the fridge for very thick breasts). Remove and pat completely dry before cooking.
The drying step is not optional. Surface moisture prevents the Maillard reaction (browning) and causes the chicken to steam instead of sear, reducing flavour. Pat firmly with paper towels until the surface is genuinely dry.
The difference brining makes is immediately noticeable - the breast stays moist even if the internal temperature runs slightly higher than ideal, and it stays juicier after a day in the fridge, making meal prep significantly better.
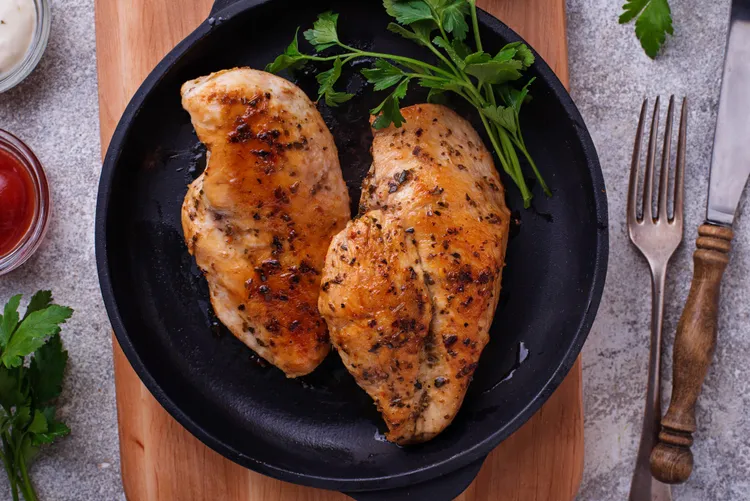
Method 2: Reverse Sear (Best for Thick Breasts, Most Consistent Results)
For chicken breasts over 200g - the standard large breast you'd buy at most supermarkets - the reverse sear produces the most consistently juicy result. The low oven temperature raises internal temp slowly and evenly. The finishing sear adds colour without overcooking.
The method:
- Brine for 20 minutes, then pat dry
- Season with salt, pepper, garlic powder, or whatever flavour you want
- Bake at 130-140°C (conventional) on a rack over a tray until internal temperature reaches 60-62°C - roughly 20-25 minutes depending on thickness
- Heat a heavy pan (cast iron ideally) over high heat until very hot. Add a tablespoon of oil with a high smoke point (avocado or refined sunflower)
- Sear the breast 60-90 seconds per side - long enough for colour, not long enough to cook further significantly
- Rest 5 minutes on a warm plate before cutting
The carry-over heat during the rest brings the internal temperature to 74°C. The result is a chicken breast with a golden crust and a uniformly juicy interior - nothing like the rubbery, dry version most people are used to.
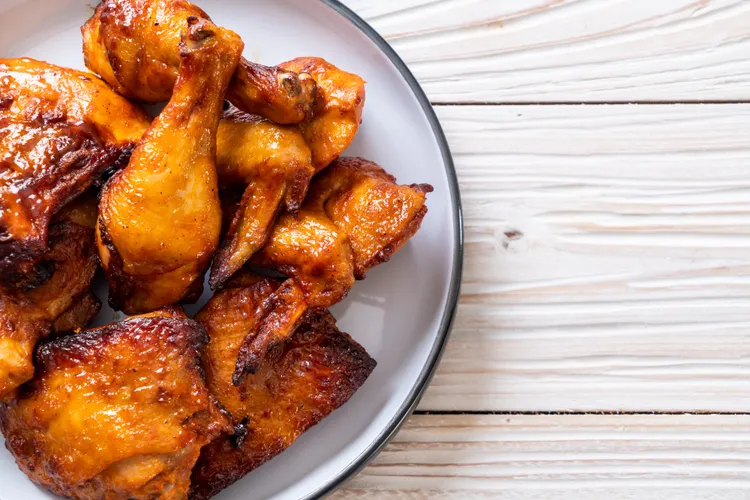
This is the same principle applied in pan-roasted chicken thighs - finish in the oven after the sear (or in this case, sear after the oven). Either sequence works; the low-temperature cook is the key step.
Method 3: Pound to Even Thickness (Fastest Fix)
Chicken breasts are thicker at the rounded end and thin to almost nothing at the tapered end. The thin end is overcooked and dry by the time the thick end reaches 74°C. Pounding or butterflying to a uniform thickness of about 2cm solves this completely.
How to pound: Cover the breast with cling film or place in a zip-lock bag. Hit firmly with a rolling pin, meat mallet, or even a heavy pan until the thickness is even throughout. This takes about 30-60 seconds per breast.
Benefits: reduces cook time to 6-8 minutes total in a pan, eliminates the uneven texture problem entirely, and creates more surface area for browning. Best for weeknight cooking where speed matters more than maximum juiciness.
Cook the pounded breast in a hot pan with oil, 3-4 minutes per side over medium-high heat. Rest 3 minutes. Done.
Method 4: Poaching (Best for Meal Prep)
Poaching - gently simmering in liquid - produces very moist, tender chicken breast that shreds easily for wraps, salads, and grain bowls. It's less flavourful than pan-roasted or seared chicken but ideal for meal prep where the sauce or dressing provides the main flavour.
The method: Place chicken breasts in a wide pan. Cover with cold water or stock. Add aromatics - a halved garlic clove, a bay leaf, peppercorns, a slice of lemon. Bring to a simmer over medium heat (do not boil). Once simmering, reduce to the lowest setting and cook for 15-18 minutes for a standard 200g breast. Check internal temperature - pull at 74°C. Cool in the poaching liquid if you're not eating immediately; this retains maximum moisture.
Poached chicken shredded into the balsamic chicken and mushrooms sauce is a good meal prep approach - the sauce provides all the flavour and keeps the chicken moist through storage.
The Thermometer: Why You Need One
An instant-read probe thermometer costs $10-20 and eliminates guesswork entirely. Cut into the thickest part - if it reads 70-72°C, remove from heat. Carry-over will bring it to 74°C during resting. Cutting into the chicken to check if it's done (the pink-juice test) causes moisture loss from the cut point and is less accurate than a thermometer anyway.
If you batch cook chicken weekly, a thermometer pays for itself in the first week in reduced wasted, overcooked batches.
Batch Cooking Without Drying Out
Cooking 1kg of chicken breast at once requires a few additional considerations:
- Brine all breasts before cooking - especially important for batch prep since the chicken will be reheated
- Bake at 180°C for 22-25 minutes on a rack over a tray (better air circulation than a flat tray)
- Let cool completely before slicing - cutting hot chicken releases steam and dries the surface
- Store in an airtight container with a tablespoon of cooking juices or stock added to each portion
- Reheat gently: add 2 tablespoons of water to the container, microwave covered at 70% power for 90-120 seconds, or warm in a covered pan over low heat
With these steps, batch-cooked chicken breast stays noticeably more moist on Day 3-4 than the standard bake-and-refrigerate approach. For the full guide on using chicken as a protein-first anchor throughout the week, see the protein-first cooking method guide.
Quick Reference: Which Method for Which Situation
- Weeknight dinner (one breast): Pound to even thickness + hot pan, 7 minutes total
- Impressive result with time to spare: Brine + reverse sear
- Batch cooking for meal prep: Brine + bake at 180°C, cool before slicing
- Shredding for wraps or salads: Poach
Getting Past Bland: Seasoning and Sauce
Beyond technique, chicken breast's reputation for blandness comes from under-seasoning. Chicken breast is a blank canvas - almost no fat means almost no intrinsic flavour. This is an advantage for meal prep: it absorbs any seasoning or sauce direction cleanly and without competition. Aggressive salting before cooking (salt pulls moisture to the surface and improves browning), marinating for 30+ minutes, and finishing with a sauce after cooking all transform the eating experience. The balsamic glaze in balsamic chicken and mushrooms is the demonstration - the chicken is the vehicle for the sauce, not the flavour source.
For batch-prepped chicken working across multiple meal formats, keep seasoning minimal at cook time (salt, pepper, garlic powder) and add flavour at assembly: sriracha mayo one day, lemon and herbs the next, teriyaki sauce the day after. The neutral base travels across cuisines throughout the week.
Food Safety Note
The safe internal temperature for chicken is 74°C (165°F). At this temperature, pathogens including salmonella are eliminated. Under-cooking below 70°C carries genuine food safety risk, particularly for batch-cooked chicken stored several days. Use a probe thermometer - colour alone is unreliable. Pink juices can appear in safely cooked chicken near the bone; temperature is the only reliable indicator. For the full protein-first framework, see the protein-first cooking method guide.
Putting It Together: A Week of Chicken Breast
With the right technique, batch-cooked chicken breast stays genuinely good for 4 days. Brine Sunday, bake at 180°C for 22-25 minutes on a rack, cool completely before slicing, store with cooking juices. Monday: sliced cold over a rice bowl with sriracha. Tuesday: shredded into a wrap. Wednesday: reheated briefly in balsamic mushroom sauce. Thursday: cold in a salad. This is a week of lunches from one Sunday cook. That's the point - and it only works consistently if the technique prevents the drying out that ruins it by Day 2. For the full protein-first framework, see the protein-first cooking method guide.
Latest