How to Make Compound Butter (Base Technique and Ratios)
The core compound butter technique - ratios, softening, mixing, and rolling into a log - that applies no matter which flavor direction you take it.
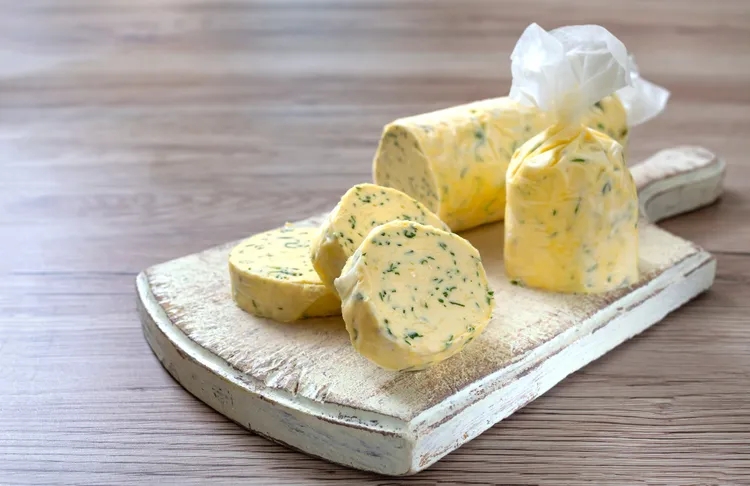
Compound butter's technique is simple enough to learn once and apply to nearly any flavor combination, but a few details - softening, ratios, and mixing method - make the difference between a smooth, evenly flavored butter and one with clumps and uneven pockets of flavor.
The Base Ratio
A reliable starting ratio is 1 cup (2 sticks) of butter to about 2 to 4 tablespoons of mix-ins for a fresh herb or aromatic-based butter, adjusting up or down depending on how strong the flavoring is. Stronger flavors like garlic, blue cheese, or miso need less volume than milder ones like fresh herbs or citrus zest. As a general guide:
- Fresh herbs: 2 to 4 tablespoons finely chopped, per cup of butter
- Garlic or shallot: 1 to 3 cloves or 1 small shallot, very finely minced, per cup of butter
- Cheese (blue cheese, Parmesan): 2 to 3 tablespoons crumbled or grated, per cup of butter
- Citrus zest: 1 to 2 teaspoons, per cup of butter
- Sweeteners (honey, maple syrup): 1 to 2 tablespoons, per cup of butter, kept on the lower end to avoid preventing the butter from firming up
Why Softened Butter Matters
Butter needs to be fully softened to room temperature before mixing - cold butter resists incorporating mix-ins evenly, leaving streaks and clumps rather than a consistent flavor throughout. If you're short on time, cutting the butter into small cubes speeds up softening considerably compared to leaving a whole stick out. Avoid microwaving butter to soften it, since it's easy to accidentally melt part of it, which changes the final texture once rechilled.
Mixing Method
A fork works fine for a small batch, mashing and folding the mix-ins into the softened butter until evenly distributed. For a larger batch, a stand mixer with the paddle attachment or a hand mixer on low speed incorporates mix-ins more quickly and evenly, particularly useful for a batch with several different ingredients going in at once.
Whichever method you use, mix just until everything is evenly distributed - overmixing isn't a serious problem with butter the way it can be with some baked goods, but there's no benefit to continuing past the point where the mixture looks uniform.
Rolling Into a Log
Once mixed, spoon the butter onto a sheet of parchment paper or plastic wrap in a rough line. Fold the paper or wrap over the butter and roll it into a log shape, twisting the ends tightly to seal, similar to wrapping a piece of candy. A log about 1.5 to 2 inches in diameter slices into convenient rounds later and fits well in most freezer storage containers.
Chilling and Firming Up
Refrigerate the rolled log for at least 1 hour before slicing or using, which is enough time for it to firm up to a sliceable consistency. For longer storage, freezing is the better option - see our freezing guide for the full method and how long a frozen batch keeps.
A Note on Salted vs. Unsalted Butter
Unsalted butter as a base gives you more control over the final seasoning, particularly important if you're adding already-salty ingredients like cheese, bacon, or miso. If using salted butter, taste as you build the mixture and hold back on any additional salt called for in a specific recipe until you've confirmed it's actually needed.
Once this base technique feels comfortable, building your own flavor combinations becomes far more intuitive - see our flavor pairing guide for a framework, or head back to the complete compound butter guide for a full range of tested combinations.
Latest