How to Make Ghee at Home (Step-by-Step)
A step-by-step guide to making ghee at home from a stick of butter, including the visual and smell cues that tell you exactly when it's ready.
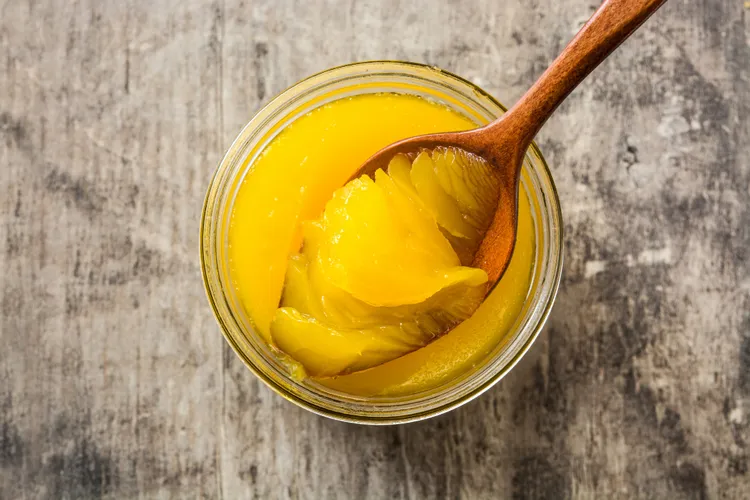
Making ghee at home is a simple, mostly hands-off process, and the biggest factor in getting it right is knowing exactly what to look and smell for near the end of cooking, rather than following a strict timer.
How to Make Ghee at Home
Prep time: 2 minutes | Cook time: 20 to 25 minutes | Makes: about 1.5 cups
Ingredients
- 1 lb (4 sticks) unsalted butter, preferably good quality
Instructions
- Cut the butter into roughly even chunks and place it in a heavy-bottomed saucepan. A light-colored pan makes it easier to judge the color of the milk solids as they toast.
- Melt the butter over medium-low heat. Once fully melted, it will begin to foam as the water content evaporates.
- Reduce the heat to low and let it continue simmering gently. The foam will subside somewhat, and you'll see milk solids beginning to separate and sink to the bottom of the pan.
- Continue cooking, stirring occasionally, as the milk solids at the bottom slowly turn from white to golden to a light amber-brown. This stage typically takes 15 to 20 minutes total from when the butter first melted, though exact timing varies with batch size and stove heat.
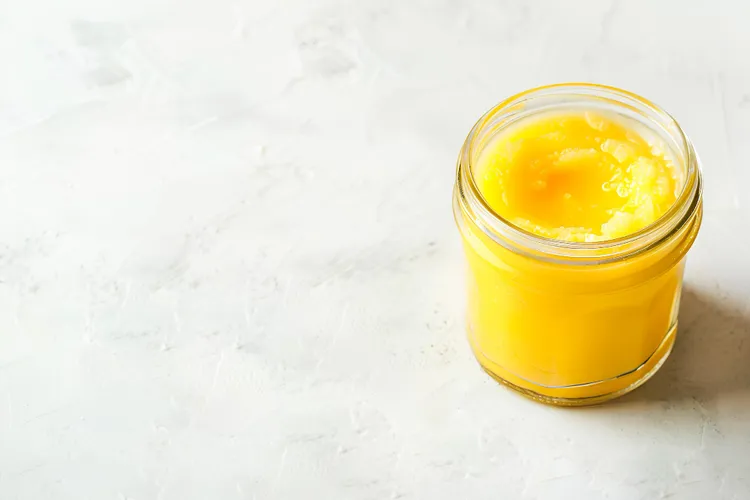
- Watch and smell closely in the final few minutes - the mixture should smell distinctly nutty and toasty, similar to browned butter but more pronounced. The liquid butterfat above the solids should look clear and golden.
- As soon as the solids reach a golden-brown color and the aroma turns fully nutty, remove the pan from heat immediately - the transition from perfectly toasted to burnt can happen within a minute or two.
- Let the ghee cool for a few minutes, then strain it through a fine mesh strainer lined with cheesecloth, or a clean, dry coffee filter, into a completely dry, heatproof jar. Discard the browned solids left behind.
- Let the ghee cool fully before sealing the jar.
Notes
A dry jar and strainer matter more than they might seem to - any residual water can compromise ghee's shelf-stability, which depends on the fat being essentially free of water and milk solids.
Choosing a Pan
A heavy-bottomed saucepan distributes heat more evenly than a thin pan, reducing the risk of the milk solids scorching in hot spots before the rest of the butter has finished clarifying. A light-colored interior (stainless steel rather than dark nonstick) also makes it much easier to visually track the color change in the solids, which is the main signal for doneness.
Reading the Visual Cues
Ghee-making has three loose visual stages: first, vigorous foaming as water evaporates; second, the foam subsiding as milk solids separate and begin to sink; third, those solids slowly toasting from white to gold to light brown at the bottom of the pan while the liquid above turns a clear, deep golden color. The finished ghee should look clear enough to see through when strained, not cloudy.
Scaling the Recipe
This method scales up or down easily - a larger batch (2 lbs of butter or more) takes proportionally longer to fully clarify and toast, so allow extra time and keep the same close attention near the end regardless of batch size, since the risk of burning increases with a larger volume of milk solids at the bottom of the pan.
What to Do If It Burns
If the milk solids blacken and the smell turns sharp or acrid rather than nutty, the batch has gone too far and should be discarded rather than strained and used - burnt ghee carries a genuinely unpleasant bitter flavor that will affect anything cooked in it. This is a good argument for starting with a smaller batch the first time you try the process, until you're familiar with how quickly the final stage moves.
Once you've got a batch made, see our storage guide for keeping it at its best, or head back to the complete ghee guide for how to start cooking with it.
Latest