Brown Butter Sage Sauce for Pasta and Squash
The classic brown butter and sage pairing: one base sauce, three serving applications.
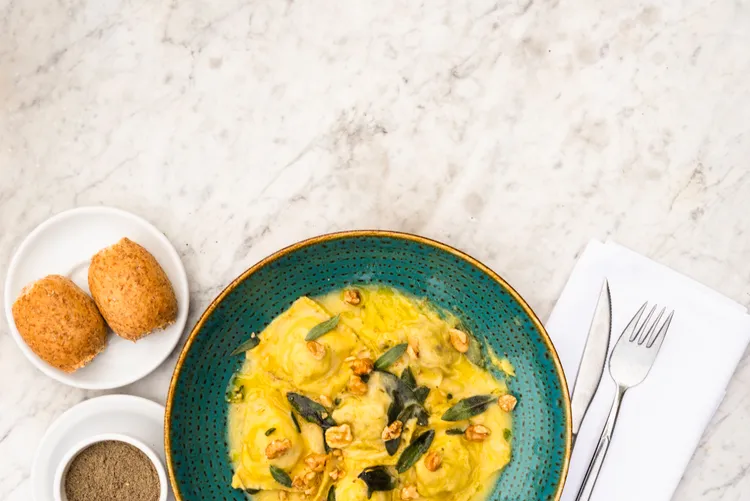
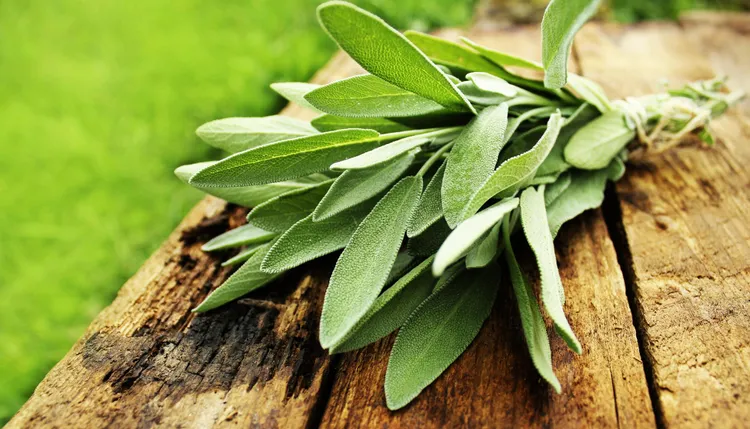
Brown butter and sage might be the single most recognizable herb pairing in cooking, and for good reason: sage's bold, slightly resinous flavor is exactly what browned butter's nutty richness needs to avoid tasting one-note.
Base Recipe
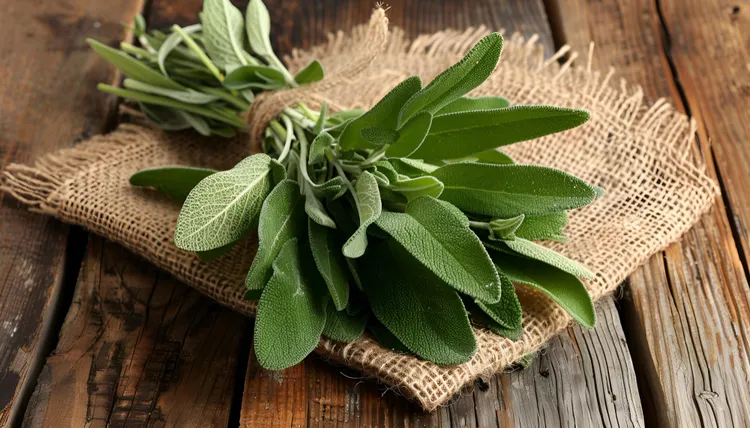
Melt 6 tablespoons unsalted butter in a light-colored skillet over medium heat. Once melted, add 8 to 10 whole fresh sage leaves. Continue cooking, swirling the pan occasionally, until the butter turns a deep golden brown and smells nutty, about 4 to 6 minutes. Watch closely in the last minute, since butter can go from perfectly browned to burnt quickly. Remove from heat immediately once browned; the sage leaves will turn crisp and the butter will have visible brown flecks (the milk solids) at the bottom.
Season with a small pinch of salt and a squeeze of lemon juice if desired, which helps balance the richness.
Serving Direction 1: Over Ravioli or Filled Pasta
Spoon the brown butter and crispy sage leaves directly over cooked ravioli, tortellini, or another filled pasta right before serving. This is the most classic application and works especially well with squash- or cheese-filled pasta, where the nutty butter and bold sage complement the filling rather than compete with it.
Serving Direction 2: Over Roasted Squash
Drizzle the sauce over roasted butternut, acorn, or delicata squash right before serving. The sauce's richness and sage's slight bitterness balance squash's natural sweetness well; this is a good side dish application beyond pasta.
Serving Direction 3: Over Gnocchi
Toss cooked gnocchi directly in the pan with the brown butter and sage for the last minute of cooking, allowing the gnocchi's exterior to crisp slightly in the butter. This is a slightly heartier application than spooning the sauce over pasta, since the gnocchi absorbs some of the butter directly.
Getting the Butter Right
A light-colored pan makes it much easier to judge when the butter has reached the right shade of brown; a dark pan can hide the color change until it's already burnt. The transition from browned to burnt happens fast once the milk solids start browning, so stay at the stove and remove from heat the moment it smells nutty and looks amber-brown rather than waiting for a deeper color.
Common Mistakes
- Walking away from the stove. Brown butter needs constant attention in the final minute or two; stepping away risks burning it.
- Using too much sage. Sage's bold flavor means 8 to 10 leaves is usually plenty for this quantity of butter; doubling it can turn the sauce bitter rather than more flavorful.
- Making the sauce too far ahead. Brown butter sage sauce is best made just before serving; it doesn't hold or reheat particularly well, since the crisp sage leaves lose their texture and the butter can separate.
Frequently Asked Questions
Can I make this sauce ahead of time?
It's best made fresh, but if needed, the butter can be gently rewarmed; expect the sage leaves to lose some crispness on reheating.
What if I don't have fresh sage?
Dried sage doesn't crisp the way fresh leaves do, so this specific technique relies on fresh; see Sage Substitutes if fresh truly isn't available.
Can I use this sauce on protein instead of pasta or squash?
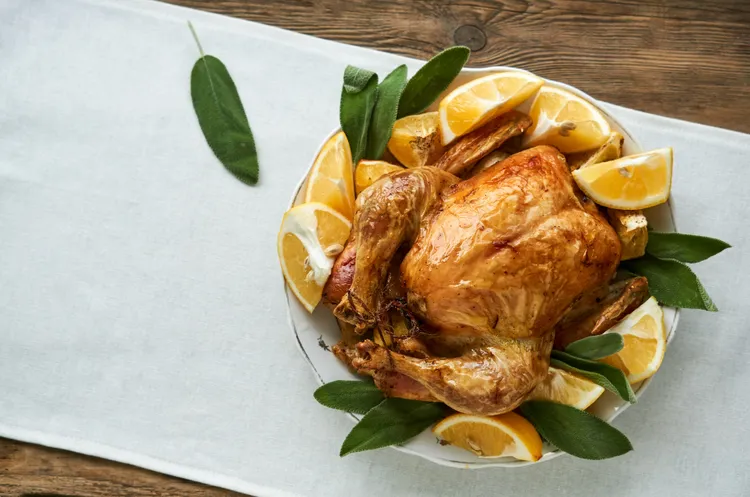
Yes, it works well spooned over roasted chicken, pork chops, or a simply seared piece of fish.
Why This Pairing Works
Browning butter drives off its water content and toasts its milk solids, developing a nutty, slightly caramelized flavor that's rich but can taste a little flat on its own. Sage's boldness gives the browned butter something to play against, cutting through the richness rather than adding to it. This is part of why the pairing has stuck around across so many different dishes rather than being a one-off pairing.
Scaling the Recipe Up or Down
The 6-tablespoon butter to 8-to-10-leaf ratio scales reasonably well for larger batches, just keep the pan large enough that the butter has room to bubble and brown evenly rather than being crowded into too small a vessel, which can lead to uneven browning. For a smaller, single-serving portion, 2 tablespoons of butter and 3 to 4 leaves is a reasonable scaled-down version.
Common Mistakes
- Walking away from the stove. Brown butter needs constant attention in the final minute or two; stepping away risks burning it.
- Using too much sage. Sage's bold flavor means 8 to 10 leaves is usually plenty for this quantity of butter; doubling it can turn the sauce bitter rather than more flavorful.
- Making the sauce too far ahead. Brown butter sage sauce is best made just before serving; it doesn't hold or reheat particularly well, since the crisp sage leaves lose their texture and the butter can separate.
- Using a dark-colored pan. This makes it much harder to judge the butter's color as it browns, increasing the risk of missing the right moment and burning it.
Frequently Asked Questions
Can I make this sauce ahead of time?
It's best made fresh, but if needed, the butter can be gently rewarmed; expect the sage leaves to lose some crispness on reheating.
What if I don't have fresh sage?
Dried sage doesn't crisp the way fresh leaves do, so this specific technique relies on fresh; see Sage Substitutes if fresh truly isn't available.
Can I use this sauce on protein instead of pasta or squash?
Yes, it works well spooned over roasted chicken, pork chops, or a simply seared piece of fish.
Can I use a plant-based butter for this recipe?
Some plant-based butters do brown reasonably well, though the flavor and browning behavior can vary a lot by brand; expect some experimentation if trying a dairy-free version.
Tips for Success
Have everything else ready to serve before starting the butter, since it comes together in just a few minutes and is best used immediately. Linking this sauce to a planned pasta or squash night in a weekly meal plan is an easy way to make sure a fresh bunch of sage gets used at its best.
Latest