How to Make Oat Milk at Home (Step-by-Step)
A step-by-step guide to making oat milk at home, with the short blend time and cold water technique that keeps the texture smooth rather than slimy.
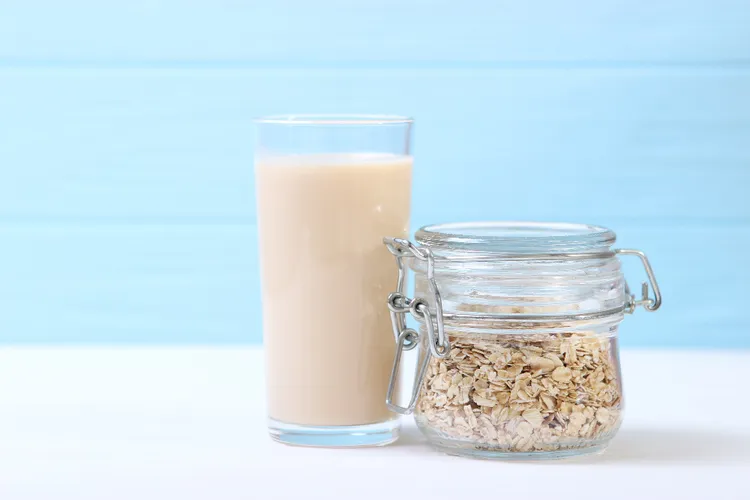
Homemade oat milk comes down to a simple ratio of oats to water, blended briefly and strained - the whole process takes about ten minutes of active time, and the technique matters more for texture than for difficulty.
Homemade Oat Milk
Prep time: 10 minutes | Makes: about 4 cups
Ingredients
- 1 cup rolled oats (not instant, not steel-cut)
- 4 cups cold water, plus more for rinsing
- Pinch of salt
- Optional: 1 tbsp maple syrup or a pitted date, for a touch of sweetness
Instructions
- Add the oats, cold water, salt, and sweetener if using to a blender.
- Blend on high for 30 to 45 seconds - no longer. A shorter blend time is genuinely important here; see the notes below for why.
- Set a fine mesh strainer or a nut milk bag over a large bowl or pitcher. Pour the blended mixture through, letting the liquid drain through on its own rather than pressing hard on the solids.
- Once most of the liquid has drained, gently squeeze or press the remaining pulp to extract a bit more, without pressing so hard that you push excess starch through.
- Transfer the strained oat milk to a clean, sealed container and refrigerate.
Notes
Reserve the strained oat pulp rather than discarding it - see our guide to leftover oat pulp for what to do with it.
Why Blend Time Matters So Much
Oats release starch as they're broken down, and the longer and more aggressively they're blended, the more starch ends up in the final liquid. A short, 30 to 45 second blend is enough to fully break down the oats and extract their milky liquid without releasing excessive starch, which is what leads to a slimy, gummy texture and contributes to instability when the milk is heated later, such as in coffee.
Why Cold Water Instead of Hot
Using hot or warm water might seem like it would speed up the process, but it actually has the opposite effect on texture - warm water encourages the oats to release more starch into the liquid immediately, resulting in a slimier milk. Cold water keeps the process cleaner and produces a smoother result.
Straining Method
A nut milk bag gives the smoothest, least gritty result, since its tight weave catches even fine oat particles that a standard mesh strainer might let through. A fine mesh strainer lined with a clean kitchen towel or a few layers of cheesecloth works as a reasonable substitute if you don't have a dedicated nut milk bag.
Adjusting Thickness
This ratio (1 cup oats to 4 cups water) makes a milk with a consistency similar to store-bought oat milk. For a richer, creamier result closer to half-and-half, reduce the water to 3 cups; for a thinner, more watery milk, increase it to 5 cups.
Adding Sweetness or Flavor
A pitted date or a small amount of maple syrup blended in gives a subtle sweetness similar to many store-bought versions, though plain, unsweetened oat milk is a perfectly good base if you'd rather add sweetness separately depending on what you're using it for. See our flavored oat milk guide for more built-in flavor options.
Once you've got a batch made, see our storage guide for keeping it at its best, or head back to the complete oat milk guide for how to use it.
Latest