Laminated Dough Without the Fear: A Realistic Croissant Guide
A complete, realistic guide to making croissants at home - what lamination actually is, a workable multi-day timeline, common failure points, and a full range of recipes built on the same dough.

Croissants have a reputation for being impossible in a home kitchen, and that reputation isn't entirely wrong - but it's aimed at the wrong target. The dough itself isn't hard to mix. The folding isn't complicated once you've done it twice. What actually trips people up is time and temperature: croissants are a project spread across two or three days, most of it spent waiting in the fridge, and the handful of active minutes are far less forgiving of a warm kitchen than almost anything else you'll bake. Once that's understood going in, croissants stop being a mystery and become a checklist.
What Lamination Actually Is
Lamination is the process of encasing a slab of butter inside dough, then rolling and folding the two together repeatedly until you have dozens (sometimes over a hundred) alternating paper-thin layers of dough and butter. In the oven, the water in that butter turns to steam, and the steam pushes the dough layers apart faster than they can bake solid - that's what creates the honeycomb structure inside a good croissant, and the shattering, flaky exterior. Puff pastry uses the same principle with no yeast; croissant dough adds yeast, which is why a croissant rises and has an open, bread-like crumb instead of puff pastry's dense, crisp layers.
Our butter block guide covers exactly how to prepare and size the butter slab (called the beurrage), which is the single detail most beginners get wrong on their first attempt.
The Realistic Timeline
Croissants are not a same-day bake if you want good results. The dough needs to rest cold between folds so the butter stays firm and distinct rather than merging into the dough, and it needs a long, cool, slow rise before baking. Most home bakers spread the process across two to three days: mix the dough on day one, laminate and shape on day two, proof and bake on day three (or bake the same evening after a long afternoon proof). Our overnight schedule guide lays out a specific hour-by-hour plan that fits around a normal workday rather than requiring you to hover over the dough all day.
Why Temperature Controls Everything
Butter and dough need to stay close in firmness throughout lamination. If the butter is too cold, it cracks and shatters instead of rolling out in an even sheet, leaving gaps that ruin the layer structure. If it's too warm, it smears into the dough and you lose lamination entirely, ending up with something closer to a dense, greasy brioche than a flaky croissant. Our guide to working in a warm kitchen covers how to manage this even without a marble counter or a walk-in fridge, since most home bakers are laminating on an ordinary kitchen counter in a kitchen that's warmer than any professional bakery would tolerate.
The Base Recipe
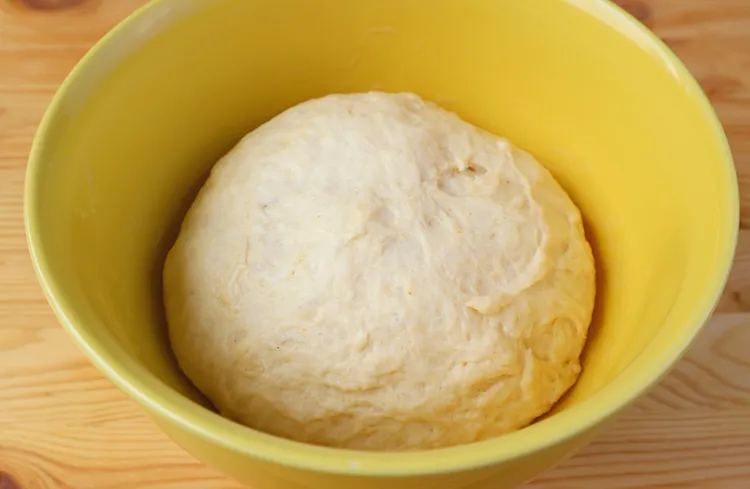
Once the timeline and temperature pieces make sense, the actual recipe is refreshingly short: flour, water, milk, sugar, salt, yeast, and a butter block that's roughly half the weight of the dough itself. Our classic butter croissant recipe walks through the full process from mixing the dough (called the détrempe) through the final bake, with specific timing at each stage rather than vague instructions to "chill until firm."
Common Points of Failure
Most first-attempt croissants go wrong in one of a small number of predictable ways, and knowing them in advance means you can watch for the warning signs rather than discovering the problem only after the croissants come out of the oven flat and greasy. Butter leaking out during baking, layers that never separated, croissants that spread instead of holding their shape - these all trace back to a small number of root causes. Our lamination mistakes guide covers the most common failure patterns and how to diagnose them from the finished croissant, and our butter leaking troubleshooting guide is specifically for the most visually alarming failure - a tray of croissants sitting in a pool of their own butter.
Shaping, Proofing, and the Egg Wash
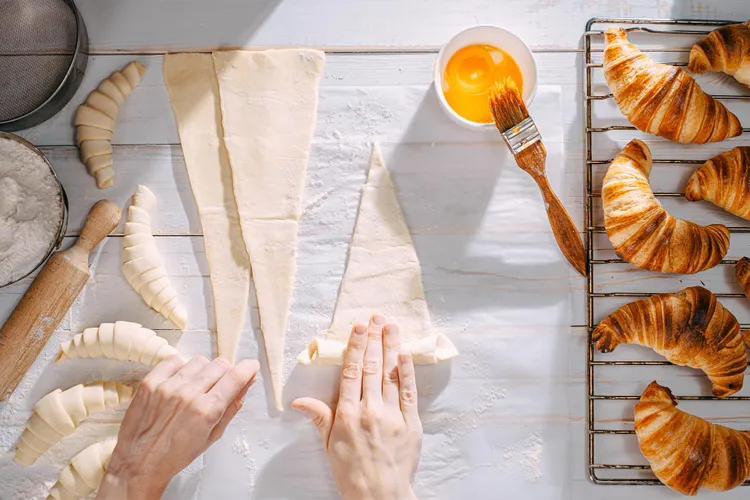
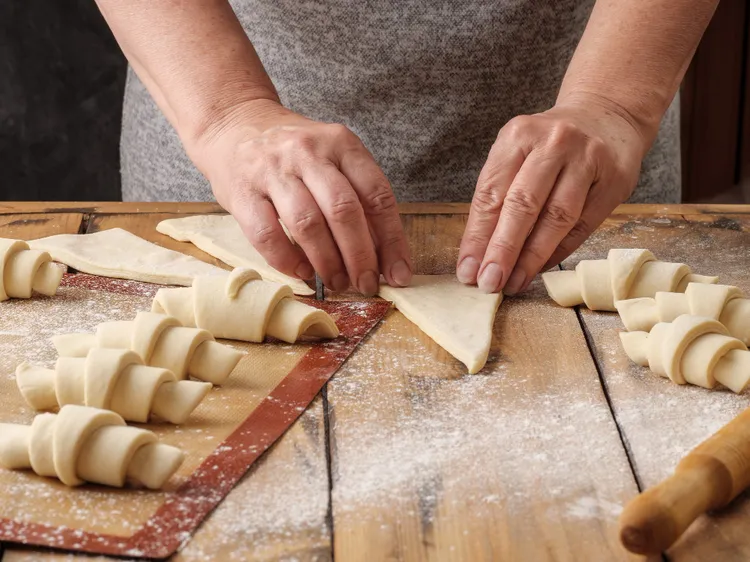
Once the dough is properly laminated, shaping is mostly about consistent cutting and even rolling, which affects how evenly the croissants bake and how symmetric the final crescent (or straight log, for a more modern shape) turns out. Our shaping guide covers cutting the triangles, rolling technique, and why the width of the base relative to the length matters more than most recipes explain. Before baking, a proper egg wash makes the difference between a dull, pale croissant and one with a deep, glossy, bakery-style crust - see our egg wash guide for the ratio and timing that actually produces that shine without burning.
Filled and Shaped Variations
Once you can reliably make plain butter croissants, the same laminated dough becomes the base for a wide range of other pastries with only a change in shaping or filling. Pain au chocolat uses the same dough rolled into rectangles around batons of chocolate instead of triangles rolled into crescents. Ham and cheese croissants take the savory direction, folding a layer of ham and gruyère into the dough before the final roll. And almond croissants solve a different problem entirely - they're specifically built to use up croissants that are a day or two old and no longer at their freshest, soaked in a simple syrup and filled with frangipane.
When Full Lamination Isn't Realistic
Full croissant lamination is a real time commitment, and there are plenty of situations - a weeknight craving, a last-minute brunch, a first test of whether you even like working with laminated dough - where the full multi-day process isn't practical. Our rough puff guide covers a much faster lamination shortcut that gets you flaky, buttery layers in a fraction of the time, though it produces a denser, more puff-pastry-like result rather than a true yeasted croissant crumb.
Clearing Up the Terminology
Croissant dough, Danish dough, and puff pastry all use the same fold-and-roll lamination technique, and the overlap in vocabulary trips up a lot of home bakers reading recipes from different sources. Our comparison guide lays out exactly what separates the three - mainly yeast content and enrichment - so you know which technique a given recipe is actually asking for.
Storing What You Make
A batch of croissant dough makes more croissants than most households eat fresh in one sitting, and both the raw dough and the baked pastries freeze well if you handle the timing correctly. Our freezing and reheating guide covers how to freeze shaped, unbaked croissants for a bake-from-frozen morning treat, as well as how to bring already-baked croissants back to something close to fresh out of the oven.
What to Expect From Your First Batch
Your first batch of croissants will probably not look like a bakery display case, and that's a completely normal part of learning a technique that takes most professional bakers weeks of repetition to get consistent. The layers might not be perfectly even, the shape might be a little lopsided, some butter might leak out during baking. None of that means you did something unfixable - it means you now have specific, diagnosable feedback for the next batch. Croissants reward repetition more than almost any other baking project, because each attempt teaches you something about how your specific kitchen, your specific butter, and your specific oven behave that no recipe can fully anticipate in advance.
Why This Is Worth Learning
Laminated dough is one of the more transferable skills in home baking - once you understand how to keep butter and dough at matching temperatures through repeated folding, that same skill underlies puff pastry, Danish, kouign-amann, and a long list of other pastries built on the same principle. Croissants are a genuinely good place to start, not because they're the easiest laminated pastry, but because the payoff - a warm, fresh, all-butter croissant that actually tastes like the butter you put in it - is dramatic enough to justify the time even on the first attempt, flaws and all.
What You'll Need Before Starting
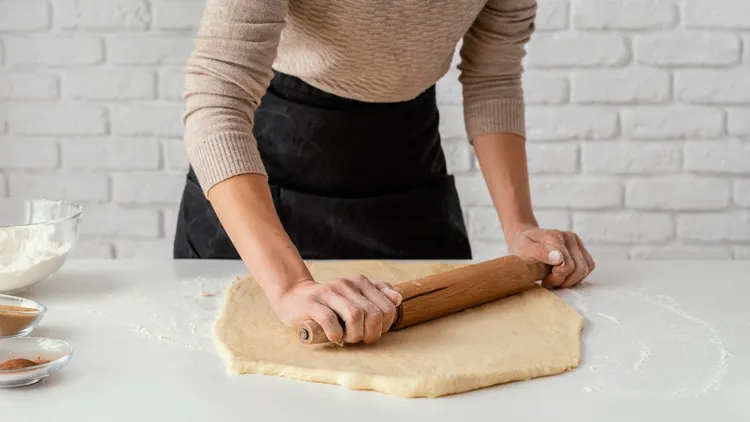
Beyond the ingredients themselves, a few pieces of equipment make the process considerably easier, though none of them are strictly mandatory. A rolling pin is obviously essential - a long, straight French-style pin without handles gives more control over even pressure than a handled pin, though either works. A ruler or tape measure helps keep the dough and butter block sized consistently across each fold, which matters more than it sounds like it should. A sharp knife, pizza wheel, or bench scraper makes cleaner cuts than a dull knife, and clean cuts genuinely do bake up flakier than dragged, compressed ones. A stand mixer isn't required - the détrempe can be mixed by hand - but it does save some effort and keeps the initial mixing time short, which helps avoid overdeveloping the dough.
Counter space matters more than most people expect going in. You'll be rolling dough out to roughly 20 by 8 inches or larger at various points, so a full stretch of clear counter, rather than a cramped corner, makes the whole process noticeably less frustrating. If your kitchen runs warm, consider rolling directly on a large chilled sheet pan or a marble slab, both of which help keep the dough cooler throughout.
A Word on Ingredients
Croissants use very few ingredients, which means the quality of each one matters more than in a recipe with dozens of components to balance flavor across. Butter is the most obvious place to invest - see our butter block guide for why fat content specifically makes a real difference here. Flour matters too: a bread flour or a flour with slightly higher protein content gives the dough enough structure to hold up through repeated rolling and folding without tearing, while all-purpose flour can work but may need slightly gentler handling. Yeast should be fresh - instant yeast that's been sitting open in a cabinet for a year won't proof as reliably as a fresh jar or packet, and sluggish proofing at the shaping stage is hard to distinguish from a kitchen-temperature problem unless you've ruled out old yeast first.
A Realistic First-Attempt Mindset
It's worth setting expectations honestly before starting: most people's first batch of croissants does not look like a photo from a baking book, and that's completely normal rather than a sign that something went uniquely wrong. Professional pastry chefs spend weeks of repetition before their lamination becomes consistent, and they're doing it in cold, purpose-built kitchens with better equipment than most home setups. A first attempt that produces a slightly uneven, somewhat dense, but genuinely edible and flavorful batch of croissants is a completely reasonable outcome, and it gives you specific, useful information for what to adjust on the second attempt - which is usually noticeably better than the first, and the third better still.
Scaling Up or Down
The base recipe in this guide makes about 10 to 12 croissants, which is a reasonable amount for a household to work through over a day or two, especially once you factor in freezing extra shaped dough for later (see our freezing guide). The recipe can be scaled up for a larger batch, but doubling everything also roughly doubles the counter space and time needed for rolling, so it's often more practical to make two separate batches on different days than to try to manage one very large batch, particularly for a first attempt.
Who This Guide Is Written For
This guide assumes no prior pastry experience beyond basic home cooking comfort - measuring ingredients, following a multi-step recipe, and general kitchen confidence. It doesn't assume access to professional equipment, a marble slab, or a walk-in cooler. Every technique and workaround here is built around the assumption that you're working in an ordinary home kitchen with a standard oven, a normal refrigerator and freezer, and a counter that might run warmer than ideal. If you already have pastry experience, plenty of this guide will feel familiar, but the specific troubleshooting sections are written with the most common beginner failure points in mind, since those account for the overwhelming majority of first-attempt problems.
How This Guide Is Organized
Rather than one long, continuous recipe, this guide is broken into focused pieces that map onto the actual stages of making croissants: the dough and butter block, the lamination and folding process, temperature management throughout, shaping, proofing, egg wash, baking, and then a range of variations and storage options once you have the base technique down. This structure means you can come back to a specific piece - say, just the section on butter leaking - without wading back through the entire process each time you hit a specific problem. It also means the individual pieces stay more focused and more useful as standalone references than a single sprawling document would be.
A Note on Precision
Baking in general rewards precision more than savory cooking does, and laminated pastry rewards it more than most other baking. Where this guide gives weights in grams alongside cup measurements, using a kitchen scale for the dough and butter block specifically will produce more consistent results than measuring by volume, particularly for flour, where packing differences between one cup measurement and another can add up to a meaningful difference in hydration. A scale isn't required to succeed with this recipe, but it removes one more variable from a process that already has plenty to manage.
Latest