How to Shoot Dark and Moody Food Photography
Dark and moody food photography creates atmosphere that bright, airy shots can't. Here's how to achieve the look on a smartphone with minimal budget equipment.
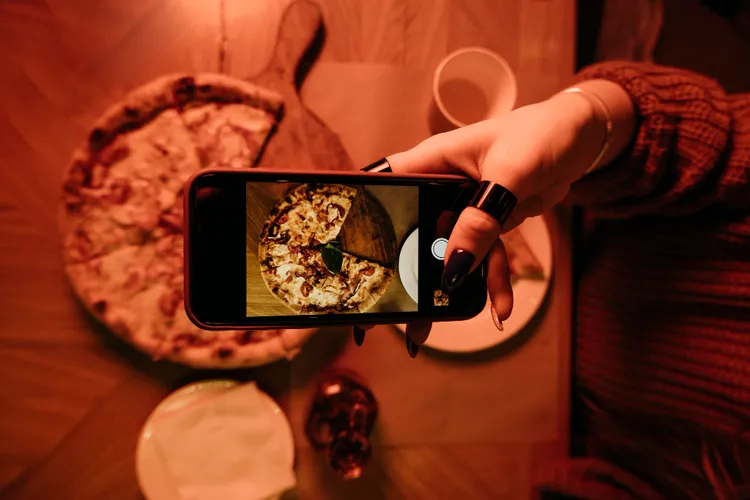
Dark and moody works when it's deliberate. It suits certain foods - rich stews, chocolate desserts, red wine, bread, aged cheeses, meat - and creates a cinematic quality that bright white backgrounds simply can't replicate. The look is also less forgiving of mistakes than bright-light photography, so understanding the core techniques matters more here than in any other style.
What Makes a Photo Dark and Moody
Three things working together: a dark background, directional light with visible shadows, and a restrained colour palette. Remove any one of these and the effect weakens. A dark background with flat, even light is just a dark background - there's no atmosphere without shadow. Directional light on a bright background is just a well-lit photo. The three elements are interdependent.
Backgrounds for Moody Shots
Dark surfaces are the foundation: black slate, dark grey painted wood, charcoal concrete tile, or deep-toned aged wood. DIY options include a piece of MDF or foam board painted with dark matte chalk paint (graphite, charcoal, or dark walnut tones). Two coats of chalk paint produces a matte finish that doesn't create distracting reflections.
Avoid glossy dark surfaces - they reflect the light source and create hot spots that are very difficult to remove in editing.
Lighting for Moody Photography
The lighting approach for dark and moody is the opposite of the standard bright setup. Instead of filling all the shadows with a reflector, you want to preserve them. Use a single light source - a window or LED panel - positioned strongly to one side. Let the opposite side go dark. Don't use a reflector.
Narrowing the light source increases drama. If you're using a window, partially cover it with black card or dark fabric to create a harder, more directional beam. This is called flagging the light.
Backlighting (light source behind the food, camera pointing toward it) creates a rim of light around the subject and a naturally dark foreground - a classic moody setup. This works particularly well with drinks, soups, and bread.
Colours That Suit the Moody Aesthetic
The palette is earthy and desaturated: deep reds, burgundy, muted terracotta, forest green, brown, black. Props in aged metals, dark wood, and linen in charcoal or deep olive work naturally. Avoid bright saturated colours - a neon garnish in a dark composition breaks the mood immediately.
Foods that photograph well in the moody style: braised meat, dark chocolate desserts, red wine and cheese, mushroom dishes, rustic bread, spiced stews, bone broth. Foods that don't translate well: bright salads, colourful smoothies, anything that reads as summery or light.
Camera Settings for Dark Photography
The main challenge is avoiding too much noise (grain) in the dark areas. Keep ISO as low as possible - on iPhone and Android, lock exposure at the light source rather than the dark food, so the camera doesn't try to over-brighten everything. In manual mode on Android, set ISO to 100-200 and increase exposure time slightly instead.
Shoot RAW if your phone supports it. Dark areas in RAW files recover far more detail in editing than dark areas in JPEG.
Editing the Moody Look
In Lightroom Mobile: reduce Highlights to crush any blown-out bright areas, pull the Whites slider slightly down, and increase Contrast slightly. Shift the tone curve to add a slight lift in the shadows (so blacks become very dark grey rather than pure black - this prevents the dark areas from becoming detail-less voids). Reduce Vibrance slightly to desaturate the overall image. Add a very slight warm tint to the shadows via the Color Grading panel (orange-brown in the shadows, neutral midtones).
The goal is controlled darkness - you should still be able to see texture in the dark areas, just barely.
Moody photography is one aesthetic within the broader discipline. For a complete grounding in all the techniques that underpin it - lighting, composition, colour - visit the food photography guide for home cooks.
Latest