How to Build a DIY Food Photography Setup at Home
A dedicated home photography corner produces consistent results without re-doing your entire setup every time you cook. Here's exactly how to build one for under $50.
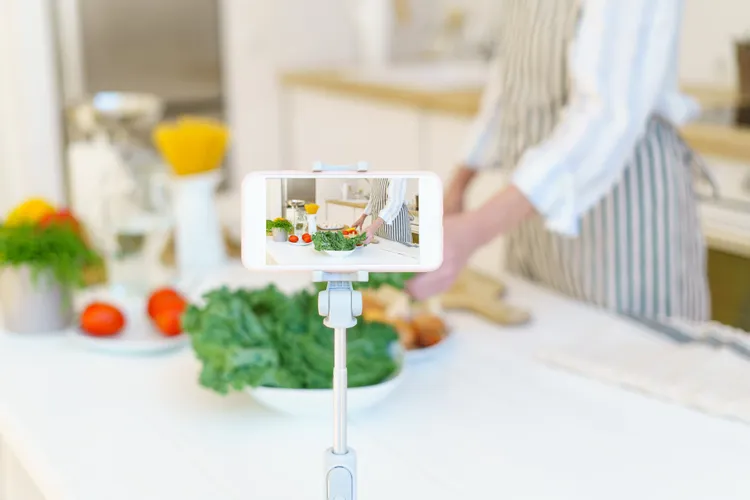
Consistency in food photography comes from shooting in the same conditions repeatedly. A dedicated setup - even a small corner of a kitchen or dining room - means your light, backgrounds, and shooting height are reliable from session to session. Once it's built, you stop fussing with setup and start shooting faster.
The Four Elements of a Home Setup
- A shooting surface near a window
- A background collection (2-3 surfaces)
- A reflector
- A stable way to hold the phone
That's it. Everything else is optional.
Finding the Right Spot
You need a flat surface within 1-3 feet of a large window. A dining table, kitchen counter, or dedicated table all work. North or east-facing windows are ideal (consistent light without direct sun). The surface should be at a height that lets you shoot comfortably from above (for flat lays) and from 45 degrees without awkward bending.
If you're shooting flat lays regularly, a low coffee table (or a table you can stand over easily) is more comfortable than a counter. A small folding table positioned near the best window and folded away after shooting is a common solution in small kitchens.
Building a Shooting Table
The shooting surface is just a background board placed on the table. You don't need to modify the table itself. Place your background boards (foam board, tile, or vinyl wrap) on the table surface. The table just needs to be stable and large enough (60x60cm minimum for most single-dish shots).
Making a DIY Reflector
A reflector bounces light from the window back onto the shadow side of the food, softening harsh shadows. Make one from materials you likely already have:
- White foam board ($3): Place on the opposite side of the food from the window. Bounce is soft and diffused - ideal for most shots.
- Kitchen foil on card: Crinkle foil, then smooth it back out and tape it to card. This bounces harder, more directional light - gives a slightly higher-contrast result.
- White polystyrene packaging: Works identically to foam board. Save pieces from product packaging.
The reflector sits on the table, angled toward the shadow side of the food. Move it closer to fill the shadow more aggressively; move it further away for more natural contrast.
Stabilising the Phone
Camera shake is a common cause of soft, slightly blurry food photos - especially in lower light. Options:
- Mini tabletop tripod ($10-15): The most practical option for 45-degree shots. Small, affordable, and easy to angle.
- Full overhead arm ($20-30): Required if you shoot flat lays regularly. A gooseneck or overhead arm tripod holds the phone directly above the food. Look for one that clamps to the table edge.
- DIY overhead rig: A cardboard box with a hole cut in the base can hold a phone overhead for flat lays - not elegant but functional.
Use the 2-second self-timer or a Bluetooth shutter remote to trigger shots without touching the phone. This eliminates the vibration from pressing the shutter.
Adding Artificial Light for Night Shooting
If you shoot often at night or your kitchen has poor natural light, a single LED panel changes everything. An 18cm portable LED panel with adjustable colour temperature (3000K-6000K) costs $20-35 online. Position it where the window would be - to the side, slightly above the food - and turn off all other lights in the room. Mixed light sources create colour cast problems that are difficult to correct in editing.
Sample Budget Breakdown
- 2 foam board backgrounds: $6
- 1 roll marble vinyl wrap: $15
- Mini tripod: $12
- Reflector (foam board): $3
- Bluetooth shutter remote: $8
- Total: ~$44
This is a functional, consistent setup that handles 90% of home food photography scenarios. For the full context of how this fits into your photography practice, the complete food photography guide for home cooks covers lighting, composition, styling, and editing.
Latest