The Best Angles for Food Photography
The angle you shoot from changes the entire character of a food photo. Here's how to choose the right angle for every dish type, and how to transition between them confidently.
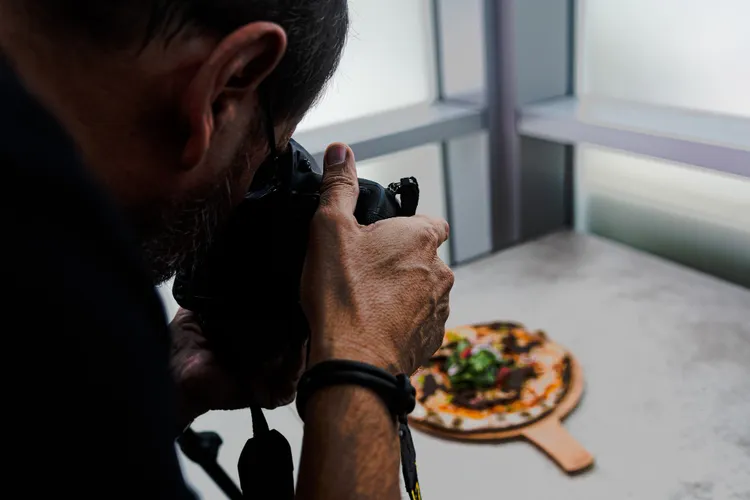
Angle is a decision, not a default. Most people shoot food from wherever they happen to be standing, which usually produces a slightly awkward eye-level view that doesn't flatter anything. Moving the camera intentionally - even just tilting it 15 degrees - changes the entire composition.
The Three Core Angles
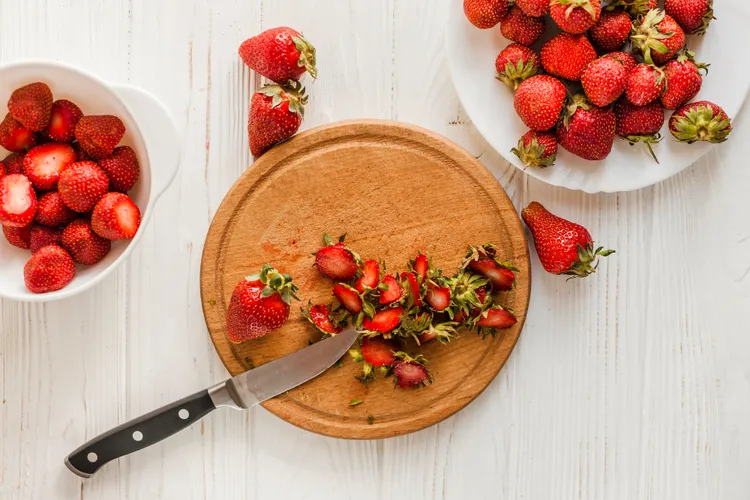
Overhead (Flat Lay) - 90 Degrees
The camera is directly above the food, pointing straight down. This is the most commonly seen angle on Instagram and Pinterest. It works well for:
- Bowls, plates, and flat dishes where the top view shows the full composition
- Dishes with interesting texture or colour arrangement from above (grain bowls, pizza, charcuterie boards)
- Styled flat lays with multiple elements (breakfast spread, coffee and pastry)
- Dishes where the sides offer nothing interesting (soup, porridge, stews)
The challenge: everything must be composed within the frame from above, which requires more deliberate prop placement. The background is very visible, so it needs to be clean and intentional.
45-Degree Angle
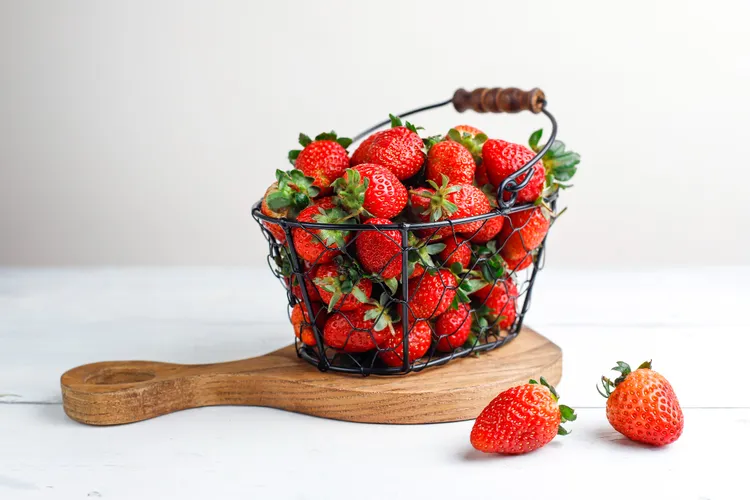
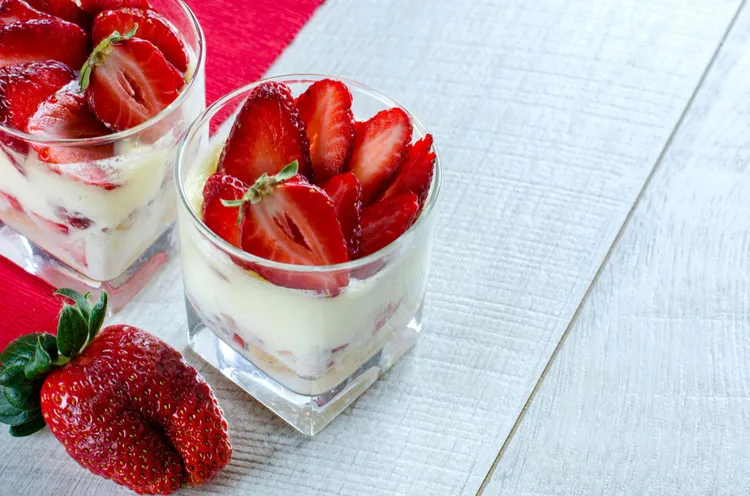
The most versatile angle. The camera is positioned at roughly 45 degrees to the food - halfway between straight-on and overhead. Most restaurant menus and food packaging use this angle because it's naturally readable. Works well for:
- Most everyday dishes - pasta, stir-fries, salads, curries
- Dishes served in bowls where you want to see both the top and the sides
- Anything with sauce or liquid, where the overhead view shows puddles rather than texture
This is the best starting point for beginners because it's forgiving - small adjustments up or down still produce usable images.
Straight-On (Eye Level) - 0 Degrees
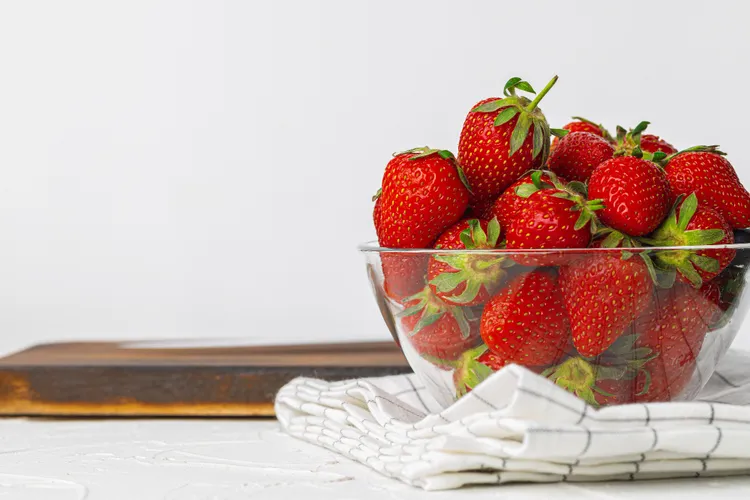
The camera is level with the food, shooting horizontally. This is the most cinematic angle and works best for:
- Tall items: layered cakes, burgers, tall sandwiches, stacked pancakes
- Drinks: cocktails, lattes, milkshakes - especially with interesting layers
- Anything where height is the selling point
It fails on flat or wide dishes - a salad shot straight-on shows mostly bowl and very little food. Use it selectively where the subject earns it.
Matching Angle to Dish Type
- Grain bowl or salad: Overhead for the full colour composition; 45 degrees if there's a protein on top with height.
- Soup: Overhead almost always. The surface is the composition.
- Burger: Straight-on or very slightly above eye level to show the layers.
- Pasta: 45 degrees. Twirl a portion with tongs for height and texture.
- Baked salmon: 45 degrees shows the glaze and surface texture. A dish like lemon butter baked salmon with asparagus benefits from a 45-degree angle that shows both the fish surface and the height of the asparagus spears.
- Cake: Straight-on for layer cake to show the layers; overhead for a whole uncut cake with decorative top.
- Zucchini fritters: 45 degrees or slight overhead to show the crisp edges and texture - a dish like baked zucchini fritters has great texture that reads well from above too.
Slight Variations Matter
The difference between 45 degrees and 60 degrees is significant. Shooting slightly higher than 45 degrees shows more of the top of the dish; slightly lower shows more of the sides. Take 3-5 shots at different angles every time you set up - the right one often isn't obvious until you compare on screen.
Moving the Camera vs Moving the Food
Both are options. Moving the food plate is often easier than repositioning your whole setup. Slide the plate slightly to the left or right to change the composition at the same angle. A small lazy susan (turntable) on the shooting surface lets you rotate the dish in seconds without disturbing the props.
For more on how the whole shot comes together, the complete food photography guide for home cooks covers lighting, styling, and editing alongside angle choice.
Latest