Food Styling Tips for Everyday Home Cooks
Food styling isn't about making food look fake - it's about presenting what's already on the plate as clearly and attractively as possible. These practical techniques work on real home-cooked meals.
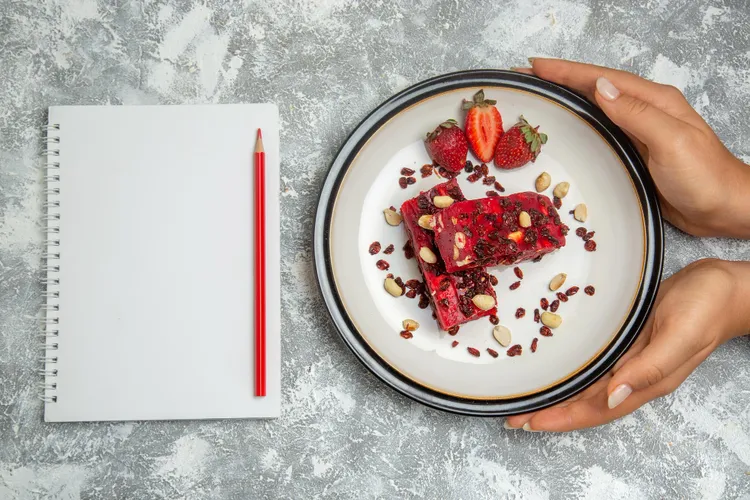
Professional food stylists work with glue, tweezers, and paint. Home cooks don't need any of that. The gap between a messy plating photo and a clean, appetising one usually comes down to three things: portion control, plate choice, and a last-minute garnish.
Start with the Right Plate
The plate is the frame for your food. A few rules that hold across almost all dishes:
- White or neutral plates show food colour the most accurately and work in every photo style.
- The plate should be 1.5-2x the size of the portion - white space around the food makes it look intentional, not sparse.
- Avoid plates with bold patterns or bright colours unless you're very deliberate about how they interact with the food's colour.
- Round plates work for most dishes; rectangular or slate boards suit flatbreads, charcuterie, and rustic presentations.
Portioning for the Camera
Home cooking portions are typically larger than what photographs well. For a pasta dish, use roughly 60-70% of a normal serving. Pile it slightly in the centre rather than spreading it flat across the plate. Height reads as generosity on camera; a flat, spread-out portion looks modest even if there's more food there.
For dishes like soups or stews, fill the bowl to about two-thirds. This leaves room to see the bowl itself and keeps the composition clean. A drizzle of olive oil or cream on top immediately before shooting adds sheen and catches the light.
The Last-Minute Garnish
A garnish added just before shooting adds colour contrast, height, and the impression of freshness - even if the dish has been sitting for a few minutes. Useful garnishes that work across a wide range of dishes:
- Fresh herbs: flat-leaf parsley, basil, chives, coriander. A few whole leaves look better than chopped.
- Flaky sea salt: adds visible texture and catches light. Maldon is the standard.
- A crack of black pepper directly on top just before shooting.
- A thin drizzle of good olive oil or cream - for soups, pasta, roasted vegetables.
- A wedge of lemon or lime at the edge of the plate for fish or seafood dishes.
Wipe the Plate Edges
Sauce splashes and smears around the rim of the plate are invisible when you're hungry and eating, but they're the first thing the eye catches in a photo. Keep a folded piece of kitchen paper nearby and wipe the plate edges clean just before every shot. It takes five seconds and makes a visible difference in every image.
Handling Difficult Dishes
Soups and stews: The surface can look dull and grey in photos. Add a swirl of cream, a drizzle of chilli oil, or a sprinkle of fresh herbs immediately before shooting. Warm the bowl first so steam is visible - it reads as freshness.
Salads: Dress salads lightly and toss just before plating. Overdressed salads look soggy and flat. A few undressed leaves on top give height and freshness. Something like a cabbage salad benefits from a small pour of olive oil and a few herb sprigs added at the last moment.
Baked goods: Shoot bread, cakes, and pastries within 30-60 minutes of coming out of the oven, before the surface loses its texture and colour. A dusting of icing sugar or cocoa powder added just before shooting refreshes the surface.
Meat and fish: Resting meat properly before plating matters for photography too - a rested piece holds its juices and doesn't bleed across the plate. Brush fish with a tiny amount of oil before the final shot to restore sheen. A dish like baked salmon with asparagus photographs beautifully with a small wedge of lemon placed at the edge and a few fresh dill sprigs on top.
Props: Less Is More
A common beginner mistake is overcrowding the frame with props. Cutlery, spice jars, napkins, bread, flowers - each additional element competes for attention. The rule: maximum three elements in a shot, including the main dish. A linen napkin folded in the background and a single fork is usually enough.
Choose props in the same colour family as the food or in neutrals. A warm wooden spoon next to a warm lentil soup; a white ceramic ramekin next to a pale dessert. Contrast for impact, but only one contrasting element per shot.
Styling is one piece of the puzzle. For the complete approach to shooting food at home, the food photography guide for home cooks covers lighting, angles, and editing alongside styling.
Latest