How to Use Natural Light for Food Photography
Natural light from a window is the most powerful and free tool in food photography. Here's how to find it, shape it, and work with it at any time of day.
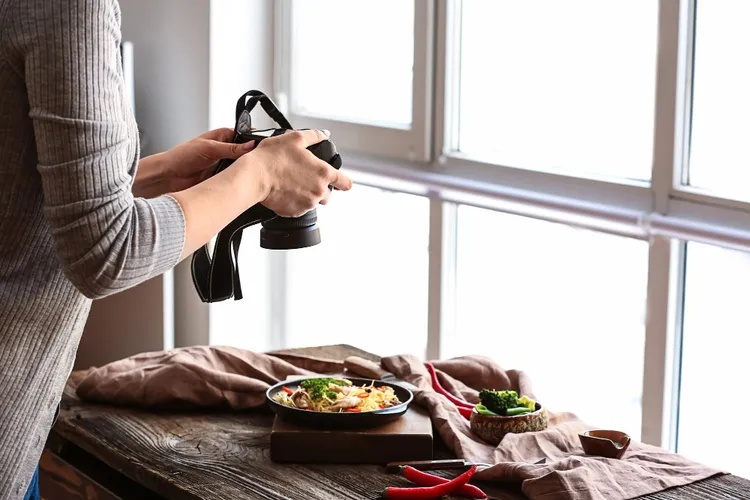
Window light does something artificial light struggles to replicate: it wraps around food with a softness that makes textures and colours look natural. The skill is learning to position yourself relative to that light, not just standing near a window and hoping.
Which Window Works Best
North-facing windows (in the Northern Hemisphere) give the most consistent, diffused light throughout the day - no direct sun blasting through and bleaching your shot. South-facing windows offer stronger light but require more control. East windows are ideal in the morning; west windows work in the afternoon.
The size of the window matters too. A large patio door floods a surface evenly. A small bathroom window creates a harder, more directional beam. Both can work - harder light creates more dramatic shadows, which suits dark and moody styles. Soft, even light is more forgiving for beginners.
Time of Day
The golden rule: avoid midday light in summer. When the sun is high, light that comes through a window hits at a steep angle and creates harsh, short shadows directly under the food. Morning and late afternoon light enters at a lower angle, producing longer, softer shadows that add depth without distraction.
On overcast days, clouds act as a giant natural diffuser. The light is even, soft, and almost shadowless - ideal for flat lay shots and dishes where detail matters more than drama.
How to Position the Food
Side lighting (light coming from the left or right of the subject) is the standard starting position for most food photography. It creates shadows that reveal texture - the grain of a wood board, the crust of bread, the surface of a soup. Place your shooting surface 1-2 feet from the window, with the food perpendicular to the light source.
Backlighting (light behind the food, shooting toward the window) is more advanced but creates a beautiful glow in drinks, soups, and dishes with translucent elements like pasta in sauce. It requires more exposure compensation since the bright background tricks the camera into underexposing the subject.
Diffusing Harsh Light
On bright sunny days, direct light through a window is too harsh for most food shots. Fix it by taping white tracing paper or a white shower curtain liner over the window. This diffuses the light and turns it soft and even. A white bed sheet works too. This is a technique professional photographers use - the tool just costs a few dollars instead of hundreds.
Using a Reflector
Light from one side creates a shadow on the other side of the food. A reflector bounces light back into that shadow, softening it. A piece of white card (foam board from any stationery shop, around $2) placed on the opposite side of the food from the window does the job. Move it closer to the subject to fill the shadow more; move it further away for more contrast.
Alternatively, a sheet of kitchen foil crinkled and then smoothed over card creates a silver reflector that bounces slightly harder light - useful when the natural light is very soft and you want a bit more contrast.
What to Do When Natural Light Is Not Available
Shooting at night or in a windowless kitchen requires artificial light. A daylight-balanced LED panel (5500K colour temperature) placed to the side mimics window light. Budget options start around $20-25 on Amazon. Avoid mixing the LED with your kitchen's warm overhead lights - the conflicting colour temperatures create an orange cast on one side and a blue cast on the other. Turn off overhead lights entirely when using an LED panel.
Natural light is just the starting point. For how to pull the rest of your setup together, see our complete food photography guide for home cooks.
Latest