Best Smartphone Camera Settings for Food Photos
Shooting on auto is leaving image quality on the table. These smartphone camera settings - for both iPhone and Android - will give you sharper, better-exposed food photos immediately.
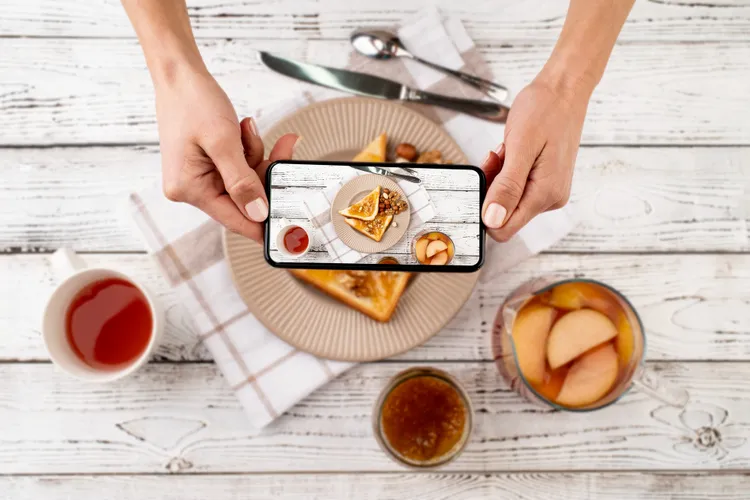
The default auto mode on any modern smartphone is designed to handle unpredictable situations - moving subjects, variable light, action shots. Food photography is none of those things. The subject is still, you control the light, and you have time to get it right. That's the argument for taking the camera off auto.
Lock Exposure and Focus First
The single most impactful setting change costs nothing: locking exposure and focus on your subject before you shoot.
On iPhone: tap and hold on the food until 'AE/AF LOCK' appears at the top of the screen. Now the camera won't readjust when you shift angle or move props.
On most Android phones: tap to focus on the subject, then look for the exposure slider (a small sun icon) that appears next to the focus point. Drag it up or down to brighten or darken manually.
Without locking, the camera re-evaluates the scene every few seconds. Move a napkin, and the exposure shifts. This is why auto mode produces inconsistent results in a shooting session.
Turn the Grid On
Most phones hide the grid by default. Turn it on: iPhone users go to Settings > Camera > Grid. Android varies by manufacturer but is typically in Camera > Settings > Grid Lines. The grid divides the frame into nine sections and shows the rule-of-thirds lines - useful for placing the main subject at an intersection point rather than dead centre.
iPhone-Specific Settings
- Food mode: Swipe through the camera modes to find 'Food'. It sharpens the subject, slightly boosts saturation, and blurs the background - well-suited for close-up shots of individual dishes.
- ProRes or RAW (iPhone 12 Pro and later): Shooting RAW gives you far more latitude in editing. RAW files are larger but retain detail in highlights and shadows that JPEG discards. Use with Lightroom Mobile for best results.
- Photographic Styles (iPhone 13+): Set this to 'Standard' or 'Vibrant' for food - avoid 'Cool' as it shifts food tones toward blue.
Android-Specific Settings
- Pro or Manual mode: Most Android flagships (Samsung, Google Pixel, OnePlus) have a Pro mode. Set ISO as low as possible (100-200) in good light to reduce grain. Set shutter speed to 1/60s or faster to avoid any camera shake. White balance set to 'Cloudy' (around 6000K) works well for warm food tones near a window.
- RAW capture: Available in Pro mode on most Android phones from the last 3 years. Same benefits as iPhone RAW.
White Balance: Fix the Colour Cast
White balance controls whether your photo looks warm (yellow-orange) or cool (blue). Auto white balance usually does a decent job near a window in daylight, but it can drift. If your food looks unnaturally yellow under indoor lights, set white balance manually to 'Daylight' (around 5500K) or 'Cloudy'. If it looks too blue, shift toward 'Tungsten' or 'Incandescent'.
On iPhone, white balance can only be adjusted manually in third-party apps like Lightroom Mobile or Halide. On Android Pro mode, there's usually a direct white balance slider.
Avoid Digital Zoom
Pinching to zoom on a smartphone degrades quality significantly - it's a crop, not an optical zoom. If you want a tighter frame, move the phone closer to the food instead. On phones with multiple lenses, switching to the 2x optical lens (not the 3x or 5x) gives a flattering compression with no quality loss.
Stabilise the Shot
Even slight camera shake softens a photo. Use a small tripod ($15-25) for any shot in lower light, and use the volume button or a Bluetooth remote shutter to trigger the shot without touching the phone. The self-timer (2 seconds) also works.
Once you've got the technical side right, the next step is editing. Our guide to editing food photos on your phone covers the exact post-processing workflow. For the full picture, the complete food photography guide ties everything together.
Latest