Seed Potatoes 101: Choosing and Prepping Potatoes for Planting
How to select certified seed potatoes, chit them, and cut and cure seed pieces before planting.
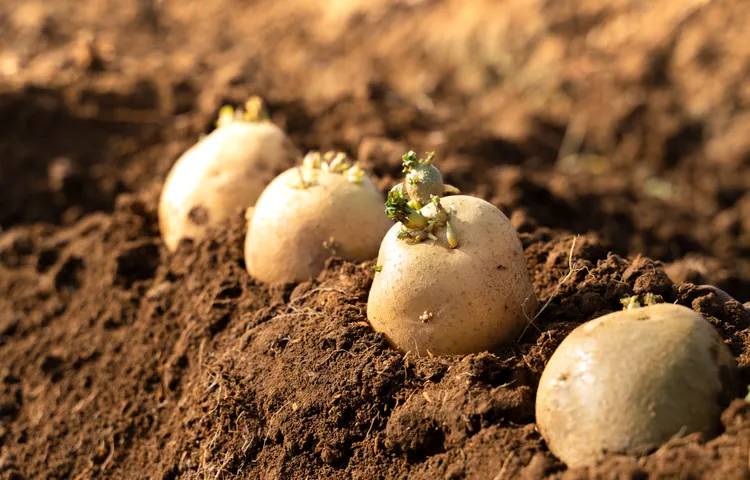
Every potato plant starts from a piece of another potato, not a true seed. Getting this first step right sets the ceiling on the whole season's harvest, and it's the step most new growers skip past too quickly.
Why "Seed Potato" Doesn't Mean Grocery Store Potato
Certified seed potatoes are grown by specialist producers under inspection programs that screen for viral, bacterial, and fungal diseases, especially the ones that don't show visible symptoms on the tuber itself but persist in soil for years once introduced. Supermarket potatoes carry no such guarantee, and many are treated with a sprout inhibitor specifically to keep them from doing what you want a seed potato to do. A seed potato costs more per pound than eating potatoes for exactly this reason: you're paying for disease screening, not the tuber itself.
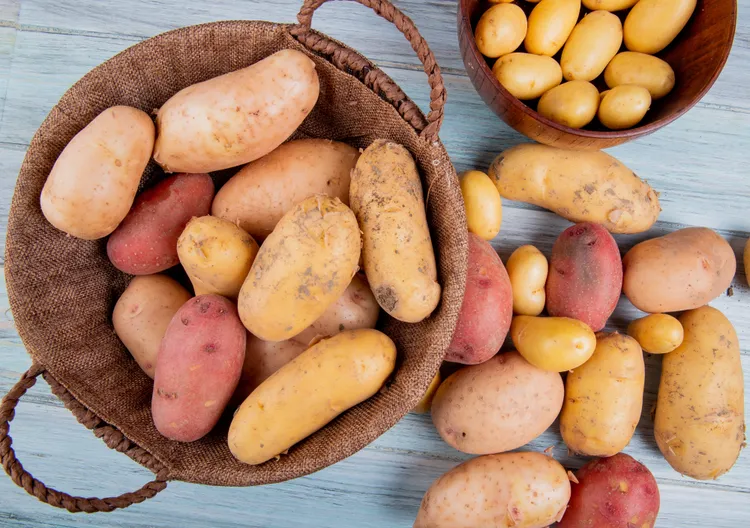
Buy seed potatoes from a garden center, farm supply store, or specialist mail-order source, and look for firm, unblemished tubers about the size of a chicken egg. Certification tags or bags will note the variety and the growing region.
Chitting: Pre-Sprouting for a Head Start
Chitting means encouraging seed potatoes to sprout short, sturdy shoots before they go in the ground, which can advance harvest by two to three weeks. Set whole seed potatoes in a single layer, eyes facing up, in a cool room with indirect light, around 50-60°F. Egg cartons work well for keeping them upright. After two to four weeks, each potato should have several stubby, dark green or purple sprouts about half an inch to an inch long. Long, pale, leggy sprouts mean too little light or too much warmth; snap those off and start again rather than planting a potato with weak growth already spent.
Cutting Seed Pieces
Larger seed potatoes are usually cut into pieces before planting, since a whole seed potato produces one main root system regardless of size, while cutting stretches your seed stock further. Each piece needs at least one, ideally two, healthy eyes, and should be roughly the size of a golf ball to a small egg, about 1.5-2 ounces. Cutting smaller than that leaves too little stored energy for the sprout to establish before it can photosynthesize on its own.
Use a clean, sharp knife, and wipe or sanitize the blade between potatoes if you're working through a batch, since cutting is one of the easiest ways to spread disease from one tuber to the rest of the seed stock.
Curing Cut Pieces Before Planting
Freshly cut seed pieces have exposed, wet flesh that rots easily in cool spring soil. Curing solves this: spread cut pieces in a single layer somewhere at room temperature with moderate humidity for one to three days before planting. This gives the cut surface time to form a dry, callused layer (called a periderm) that resists soil-borne rot organisms. Skip curing and plant into cold, wet spring soil, and it's common to lose a meaningful percentage of cut pieces to rot before they ever sprout.
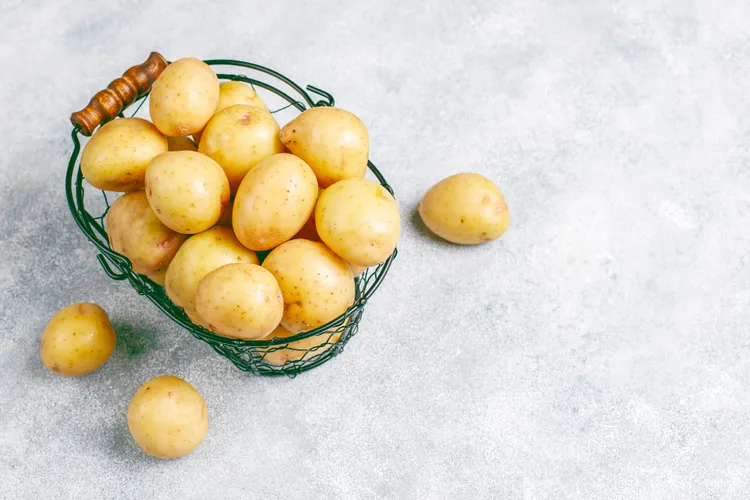
Small seed potatoes, roughly golf-ball size or smaller, are often better left whole rather than cut. Whole seed pieces have less exposed surface area relative to their stored energy, resist rot better in wet soil, and are the standard choice for early, cold-soil plantings.
Planting from Here
Once seed pieces are cut and cured (or chitted whole seed potatoes are ready), they're ready to go into prepared soil. For the full bed preparation, spacing, and hilling schedule, see the main guide on How to Grow Potatoes, and for the bigger picture on variety selection, storage, and cooking once the harvest comes in, start from Potatoes, from Seed to Plate.
Latest