Building a Whipped Dip Board for Entertaining
How to build a whipped feta or ricotta dip into a full spread for entertaining, with what to include and how to lay it out.
A single bowl of whipped feta or ricotta is a fine appetizer. Built into a proper board with the right supporting cast, it becomes the centerpiece of the whole table, and it takes surprisingly little extra planning to get there.
Start With the Dip Itself
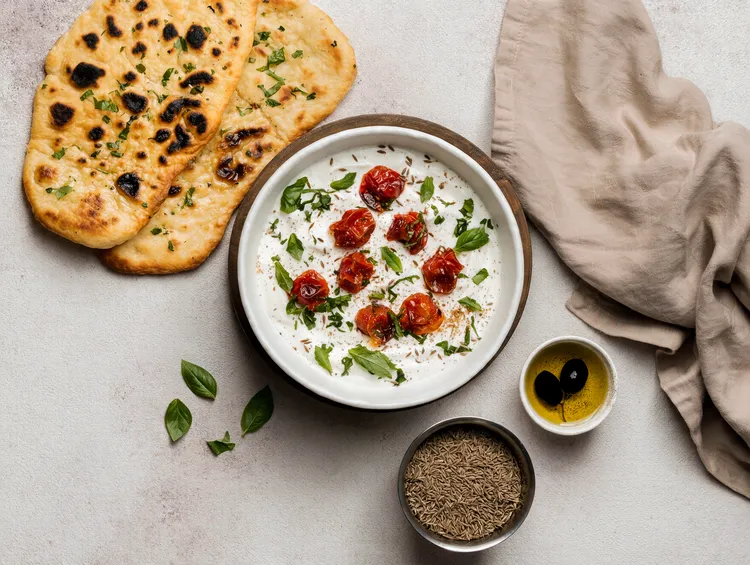
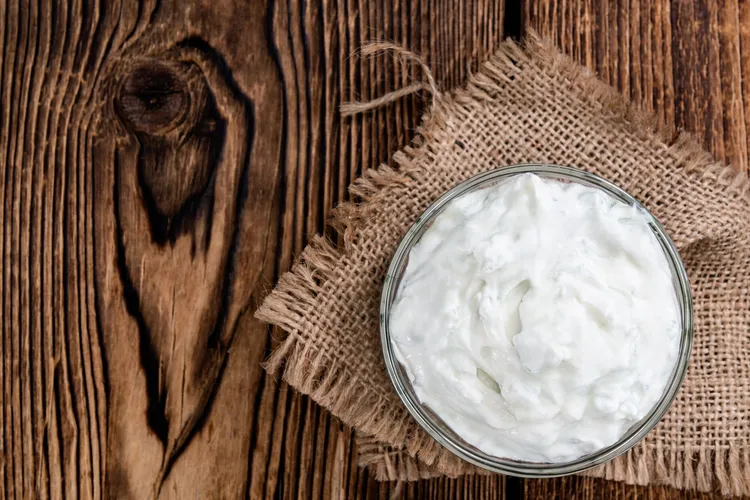
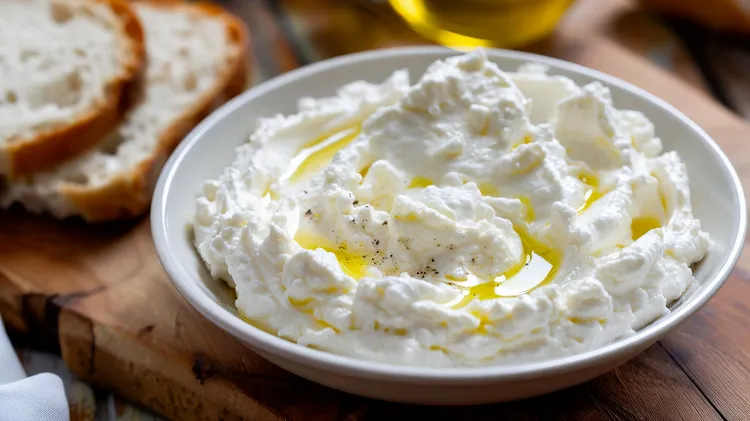
Pick one dip as the anchor rather than trying to feature several at once; a board built around a single strong centerpiece reads as more intentional than one crowded with competing flavors. Hot honey whipped feta and whipped feta with blistered tomatoes both work particularly well as a centerpiece since they already have visual contrast built in from their toppings.
Bread and Crackers
Include at least two textures: something crisp, like a plain cracker or crostini, and something softer, like warm pita or a torn baguette. Grill or toast the bread lightly right before serving if you have the option; the slight char adds flavor and a sturdier surface for scooping a thick dip.
Vegetables
Raw vegetables cut into sturdy dippable shapes round the board out and give guests a lighter option alongside the bread. Cucumber spears, radishes, endive leaves, and blistered or roasted vegetables (particularly good against a savory whipped feta) all work well. Avoid anything too watery, like tomato wedges, directly on the board, since they can make surrounding items soggy.
Something Salty and Cured
A small pile of olives, a few slices of prosciutto or salami, and some marinated artichoke hearts add textural and flavor variety without competing directly with the dip. These also help fill visual gaps on a larger board without much additional prep.
Something Sweet
A small cluster of fresh or dried fruit, a few dates, or a drizzle of extra honey on the side gives guests something to pair with a saltier dip and adds color contrast to the board overall. Fresh figs or grapes both work particularly well here and need no prep beyond rinsing.
Laying It Out
- Place the dip bowl slightly off-center rather than dead-center, which reads as more natural and gives you room to build height around it.
- Group similar items together (all the crackers in one area, all the vegetables in another) rather than scattering everything randomly.
- Use small bowls or ramekins for anything loose, like olives or nuts, to keep the board from looking messy as guests dig in.
- Leave a few visible gaps rather than packing every inch; a board that's slightly too full actually reads as more cluttered than generous.
Timing
Assemble everything that can sit out safely (bread, crackers, cured meats, most vegetables) up to an hour ahead. Add the dip itself and anything that needs to stay cold, like fresh fruit, closer to serving time. If your spread includes a warm topping like blistered tomatoes, add that right before guests arrive so it's still warm when the board is set out. If you're planning a full menu around this board, consillar.com/plan can help with timing everything else you're serving alongside it.
Scaling for a Bigger Crowd
For groups larger than 8 to 10, consider two smaller boards instead of one large one, positioned at different points in the room. This spreads out the crowd naturally instead of creating a single bottleneck around one table.
Budgeting for a Board
A board for 8 to 10 people, built around one whipped dip, typically costs somewhere between $35 and $55 depending on how much cured meat and specialty cracker you include, noticeably less than ordering a comparable pre-made platter from a grocery store or catering service. The dip itself is the cheapest component by far; most of the cost sits in the cured meats and any specialty crackers you choose to include, so trimming those first is the easiest way to bring the total down without losing the board's overall impact.
Seasonal Board Ideas
- Summer: Whipped feta with blistered tomatoes, grilled peaches, fresh basil, and a lighter rosé alongside
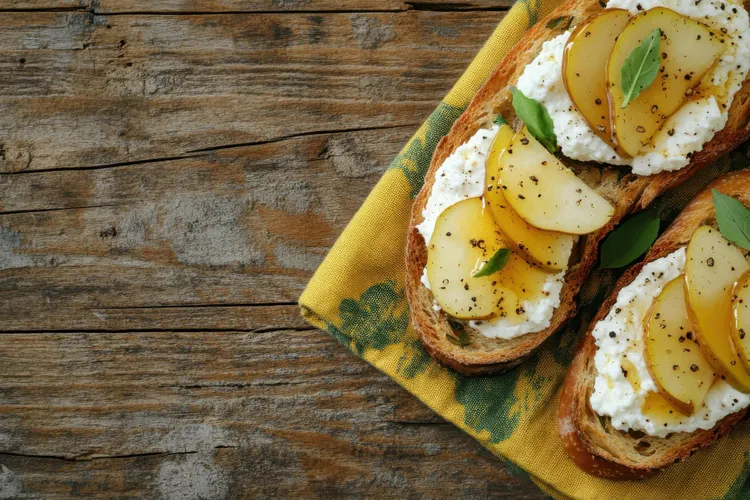
- Fall: Sweet whipped ricotta with roasted pears, toasted walnuts, and a drizzle of maple in place of honey
- Winter holidays: Hot honey whipped feta, pomegranate seeds, rosemary sprigs tucked in for garnish, and dried apricots
- Spring: Plain whipped ricotta with fresh strawberries, mint, and pastel-colored radish slices for visual contrast
Drink Pairings for the Board
A dry, slightly acidic white wine, sauvignon blanc or a dry rosé, generally pairs well across most versions of this board, since the acidity cuts through the richness of the dip without competing with any specific flavor direction. For a non-alcoholic option, sparkling water with a wedge of citrus does similar work, keeping the palate refreshed between bites of a fairly rich dip.
Choosing a Serving Vessel
A wide, shallow wooden board or a large ceramic platter both work well as the base, giving enough surface area to spread items out without stacking them awkwardly. Avoid anything too small for the amount of food you're planning; a cramped board forces you to stack items, which looks messy and makes it harder for guests to actually reach everything without disturbing other parts of the spread.
Lighting and Presentation Details
Natural light, or at least warm, indirect lighting rather than harsh overhead light, makes a real visible difference in how appealing a board looks once it's set out, particularly if anyone's taking a photo of it. Position the board near a window if serving during the day, or add a couple of low candles nearby for an evening gathering, both of which flatter the natural colors of cheese, fruit, and bread far better than a single bright overhead light does.
Adapting the Board for Dietary Restrictions
For a gluten-free version, swap standard crackers and bread for gluten-free crackers, rice crackers, or lean more heavily on vegetables and fruit for dippers. For a nut-free board, skip pistachios or walnuts as garnish and stick with seeds like sesame or pumpkin for texture and crunch instead. Labeling each dietary accommodation clearly on small cards is worth the minor extra effort, particularly for a larger gathering where guests may not know each other's restrictions.
Reusing Leftovers From the Board
Leftover components from a board rarely go to waste. Extra whipped feta or ricotta keeps well on its own following the guidance in our storage guide, leftover cured meats and cheese work well folded into a quick omelet the next morning, and any leftover roasted or blistered vegetables reheat well as a simple side dish or get tossed into a grain bowl.
Frequently Asked Questions
How far in advance can I build the whole board?
Bread, crackers, and cured meats can go out up to an hour ahead. Add the dip itself, along with any fresh fruit or delicate garnishes, within 15 to 20 minutes of guests arriving to keep everything at its best texture and temperature.
What's the biggest mistake people make building one of these boards?
Overcrowding it. A board packed edge to edge with no visible gaps actually reads as more cluttered and harder to navigate than one with a bit of breathing room between groupings.
Can I do a board with no cheese at all for a dairy-free crowd?
Yes, build it around our dairy-free whipped feta or ricotta instead of the dairy versions, and the rest of the board (bread, vegetables, fruit) needs no adjustment.
What's a reasonable board size for a small gathering of four to six people?
A single medium board, roughly 12 to 16 inches, with one dip and 4 to 5 supporting items is plenty for a group that size; scale up to a larger board or a second smaller one only once you're planning for 10 or more guests.
Matching the Board to the Rest of the Menu
If this board is opening a larger meal rather than serving as the whole event, keep it slightly smaller and lighter than you would for a standalone gathering, so guests still have room for what follows. A good rule of thumb is to plan for the board to cover roughly a third of what a guest would eat if it were the only food being served.
Handling Dietary Questions Gracefully
When guests ask about ingredients, it's worth having a rough mental list ready of what's in each component, particularly the dip itself and any cured meats, since those two categories carry the most common allergen and dietary concerns (dairy, gluten from any accompanying bread, and specific meats for guests avoiding pork). Keeping small handwritten labels next to less obvious items, like a specific cured meat or a less common cheese, saves repeating the same explanation to multiple guests over the course of the event.
A Note on Board Materials
Wood boards look appealing but shouldn't have very wet or acidic items placed directly on the bare surface for extended periods, since both can stain or damage the wood over time. Use small bowls or ramekins for the dip itself and anything with a marinade or dressing, reserving the bare wood surface for drier items like bread, crackers, and cured meats.
Working With What You Already Own
A dedicated charcuterie board isn't required to pull this together well; a large cutting board, a clean baking sheet, or even a few coordinated plates arranged together on a table work perfectly well as a substitute. The specific vessel matters far less than thoughtful placement and a good mix of textures and colors across whatever surface you're using.
A Final Checklist Before Guests Arrive
Run through a short mental checklist about 30 minutes before guests are expected: dip made and chilled, bread toasted or ready to toast, vegetables washed and cut, cured meats and olives portioned into small dishes, and any warm topping timed to finish cooking right around when the first guests walk in. Hitting these five points reliably produces a board that looks and tastes like considerably more planning went into it than actually did.
Closing Thought
A well-built board is really just thoughtful assembly rather than genuine cooking skill, which is exactly why it's such a reliable go-to for entertaining regardless of how confident you feel in the kitchen otherwise. Once the individual pieces, dip, bread, vegetables, something cured, something sweet, are in place, the actual arrangement takes only a few minutes and consistently produces a result that reads as far more effort than it required. That gap between perceived effort and actual effort is really the whole appeal of this format, and it's worth leaning into rather than second-guessing once you've built a few of these and seen how reliably they come together.
Making It a Repeatable Go-To
Once you've built this kind of board successfully once, it becomes a genuinely repeatable go-to for future gatherings, since the underlying structure, one anchor dip plus a handful of supporting categories, stays the same even as the specific flavor direction and seasonal items change from one occasion to the next. That consistency is exactly what makes it possible to pull one of these together with relatively little advance planning once you've done it a few times and internalized the basic pattern.
A Note on Sourcing Ingredients Ahead of a Busy Season
During particularly busy entertaining stretches, like the winter holidays, good cured meats and specialty crackers can sometimes sell out at smaller grocery stores. Shopping for the less perishable components, crackers, olives, cured meats with a longer shelf life, a few days ahead of a planned gathering avoids a last-minute scramble if a specific store runs low closer to the actual event, leaving only the truly perishable items, the dip itself and any fresh produce, for a final shopping trip closer to the day, which keeps everything at its freshest without any unnecessary last-minute stress, right when your attention is better spent on final assembly and plating instead.
For flavor ideas to build the centerpiece dip itself, see our roundup of mix-in flavors, or for a more focused list of exactly what pairs with each variation, see our pairing guide. For the full base technique, head back to the complete whipped feta and ricotta guide.
Latest