Egg Wash and Getting a Glossy, Even Crust
How to mix and apply egg wash for croissants, including a two-coat technique that produces a deeper, more even, bakery-style shine.
The difference between a dull, pale croissant and one with a deep, glossy, bakery-style crust usually comes down to egg wash technique - a small step that gets rushed or skipped more often than any other part of the process.
What Egg Wash Actually Does
Egg wash is a thin mixture of egg (sometimes with a bit of milk, cream, or water) brushed onto the surface of dough before baking. The proteins in the egg brown and set quickly under oven heat, creating a shiny, deeply colored crust. Without it, croissants still bake and taste fine, but the surface comes out considerably paler and duller, without the characteristic sheen bakery croissants have.
A Reliable Egg Wash Ratio
- 1 large egg
- 1 tablespoon milk, cream, or water
Whisk thoroughly until completely uniform - any visible streaks of unbeaten egg white will bake up unevenly, showing as pale, streaky patches on the finished crust. Straining the mixture through a fine sieve removes the last of the stringy egg white strands (the chalazae) for an even smoother finish, though this step is optional.
What the Liquid Addition Changes
- Milk or cream: Produces a rich, deep golden-brown color with good shine. This is the most common choice for croissants specifically.
- Water: Produces a lighter color and less shine than milk or cream, but still browns better than no wash at all.
- Egg yolk only, with a splash of cream: Produces the deepest, most saturated color and shine of any of these options, at the cost of using extra yolks. Some professional bakeries use this specifically for a more dramatic finish.
- Egg white only: Produces more shine than color - a glossier but less deeply browned crust. Rarely used alone for croissants specifically.
The Two-Coat Technique
A single coat of egg wash applied right before baking is fine, but two coats at different stages produce a noticeably better result:
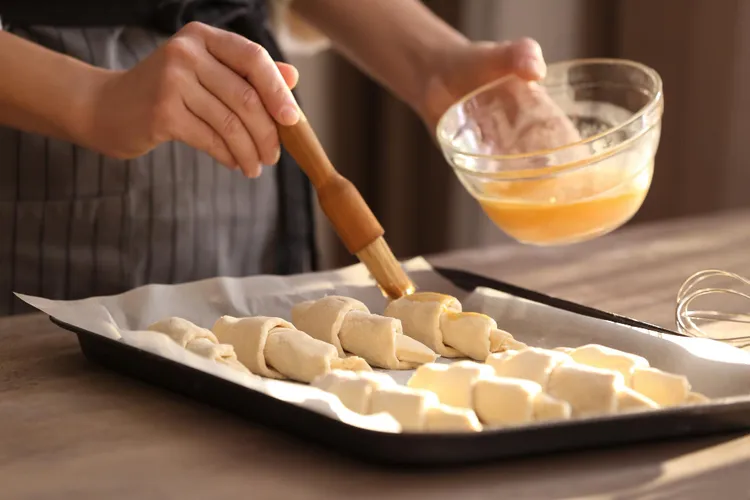
- First coat, right after shaping, before proofing: Apply a light, thin coat immediately after shaping the croissants, before they go into proofing. This helps prevent the surface from drying out and forming a skin during the long proofing window, which can otherwise interfere with even browning later.
- Second coat, right before baking: After proofing, apply a second, slightly more generous coat. This is the layer that does most of the actual color and shine work in the oven, and applying it fresh (rather than relying only on the first coat, which will have dried and partially absorbed by this point) gives a noticeably better finish.
Application Technique
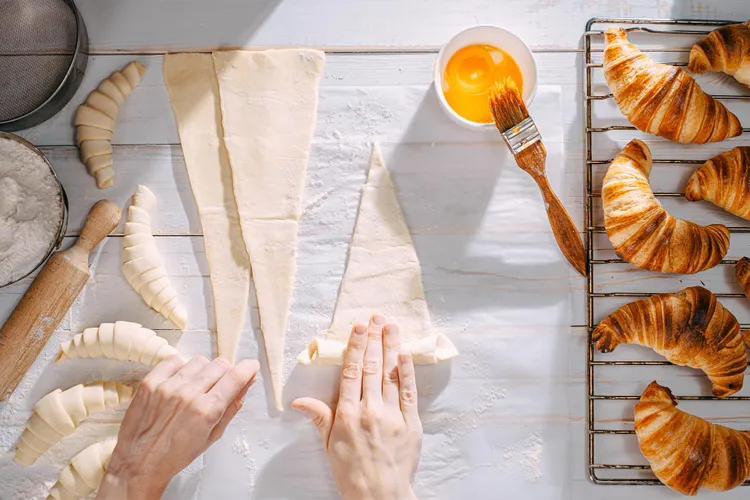
Use a soft pastry brush and apply the wash in light, even strokes, following the direction of the dough's spiral rather than brushing across it. Be gentle - proofed croissants are delicate and can deflate slightly under heavy-handed brushing, undoing some of the volume gained during proofing.
Avoid letting egg wash pool at the base of the croissants where they touch the baking sheet. Pooled egg wash can act almost like glue, sticking the croissant to the parchment and sometimes creating a slightly tougher, less flaky spot where it collected.
Common Egg Wash Mistakes
Applying too thick a coat
A heavy, thick coat of egg wash can bake into a slightly rubbery, overly dark skin rather than a thin, glossy sheen. Less is genuinely more here - a thin, even layer is all that's needed.
Brushing too aggressively
Heavy pressure with the brush can flatten the delicate layers on the surface of a proofed croissant, visibly compressing the spiral shape right before baking.
Only applying one coat, right before baking
This works fine but produces a slightly less deep, less even color than the two-coat approach, since the surface hasn't had the earlier coat's chance to set slightly before the final layer goes on.
Letting the wash dry out completely between coats without covering the croissants
If the croissants are left uncovered for the full multi-hour proofing period, the surface can dry out enough to form a slight skin, which then browns unevenly. Loosely covering with plastic wrap or a clean kitchen towel during proofing (without letting it touch and stick to the dough) helps prevent this while still allowing the croissants room to expand.
Egg Wash Alternatives
For a dairy-free version, a wash of just beaten egg and water works reasonably well, producing decent color with slightly less richness than a milk or cream version. For an egg-free option, a light brush of milk or cream alone gives some browning and shine, though noticeably less dramatic than a true egg wash - this is a reasonable compromise but not a full substitute if a deeply glossy, bakery-style finish is the goal.
Timing Relative to Baking
Apply the final coat of egg wash as close to putting the croissants in the oven as reasonably possible - within a few minutes is ideal. Egg wash applied too far in advance of baking can dry out and lose some of its browning effectiveness, particularly in a dry kitchen environment.
Why Egg Wash Sometimes Bakes Up Streaky
Streaky, unevenly colored patches on an otherwise well-baked croissant almost always trace back to incompletely whisked egg wash - specifically, small unbroken clumps of egg white that didn't fully combine with the yolk and liquid. Whisk more vigorously and for longer than feels necessary, until the mixture is completely uniform in color and texture with no visible strands. If streaking is a recurring issue even with thorough whisking, straining the mixture through a fine-mesh sieve before use removes any remaining stubborn strands (the chalazae, the thicker white cords that anchor the yolk) that whisking alone sometimes doesn't fully break up.
Making Egg Wash Ahead of Time
Egg wash can be mixed a day in advance and stored covered in the refrigerator, which is convenient if you're already juggling multiple steps on shaping day. Give it a quick re-whisk before using, since it can separate slightly on standing. Don't make it more than a day or two ahead, though - like any dish containing raw egg, it's a food safety consideration, and fresh is always the safer choice for something you'll be using shortly anyway.
Egg Wash for Filled Pastries
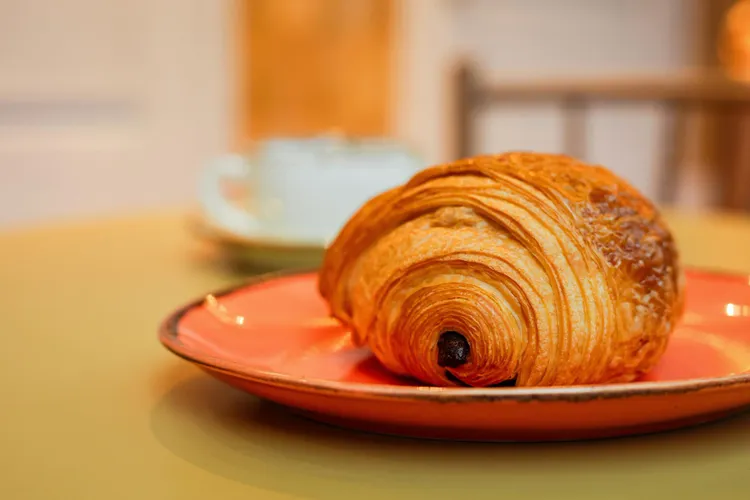
The same egg wash technique applies whether you're brushing plain croissants or filled variations like pain au chocolat or ham and cheese croissants, though it's worth being a little more careful brushing around any exposed filling or seams on filled shapes, since egg wash pooling directly against a cut edge of filling can occasionally cause slightly uneven browning right at that spot. A light, even hand matters just as much here as with plain croissants.
Adding Toppings on Top of Egg Wash
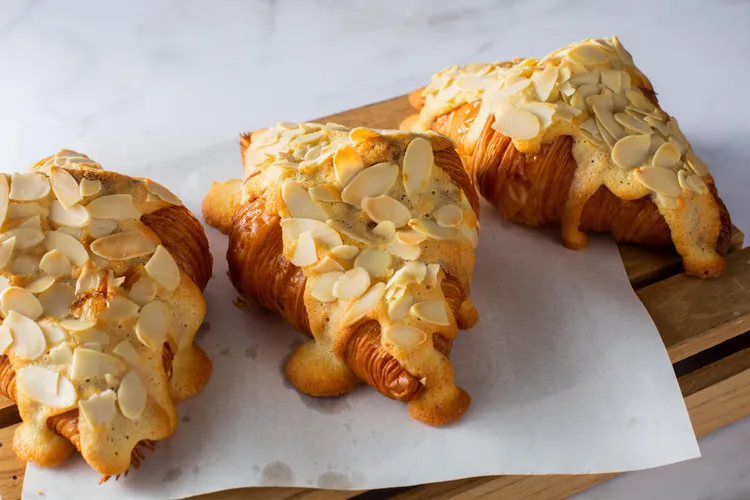
If you want to add seeds, coarse sugar, or a seasoning blend to the top of your croissants, apply them right after the final egg wash coat, while it's still wet enough to help the topping adhere. Sesame seeds, poppy seeds, sliced almonds, or a sprinkle of everything bagel seasoning all work well this way, giving both extra texture and visual interest without any change to the underlying technique.
What a Well-Executed Egg Wash Looks Like After Baking
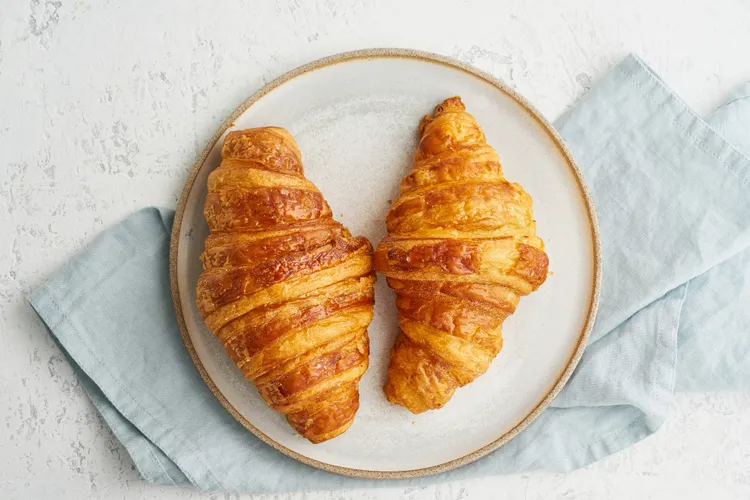
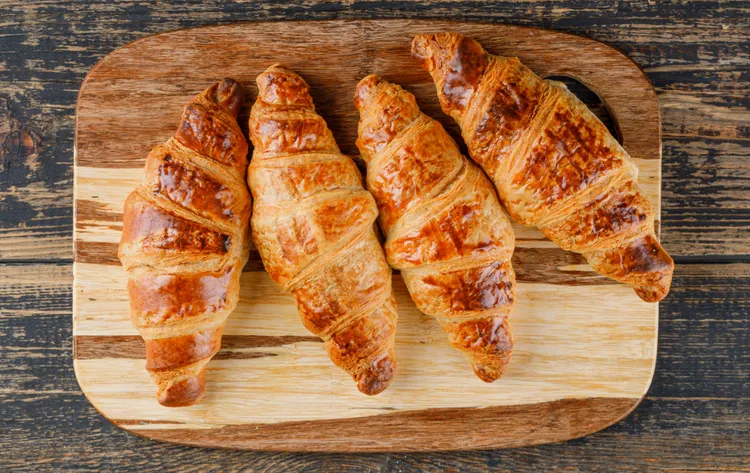
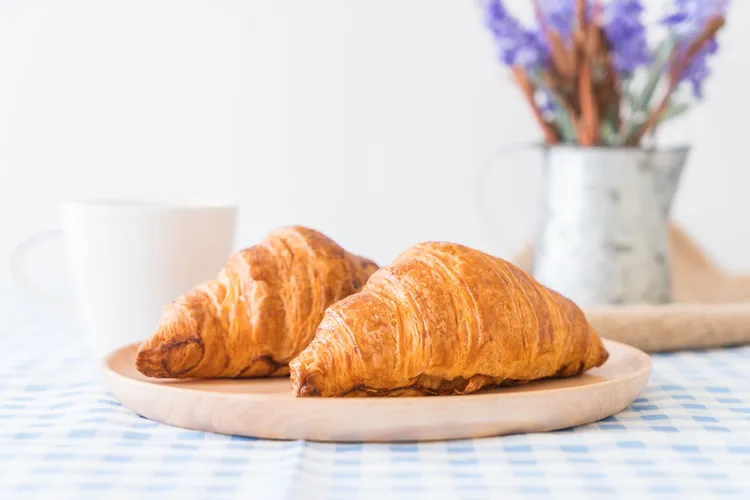
A properly applied, two-coat egg wash bakes up as a deep, even golden-mahogany color with a genuine sheen - not a flat matte finish, and not overly dark or nearly black, which usually signals either too thick a coat or an oven running hotter than expected. If your results consistently come out too pale even with two coats, check that your oven is actually reaching its set temperature (an oven thermometer helps confirm this) before assuming the egg wash technique itself is the issue, since color development depends on both factors together.
Egg Wash Brush Choice
A soft-bristled pastry brush, natural or silicone, makes a real difference in how gently you can apply egg wash to delicate, proofed dough. Stiff or worn brushes can drag against the surface and disturb the shape rather than gliding smoothly over it. Silicone brushes are easier to clean thoroughly (important given the raw egg involved) and don't shed bristles the way some natural-bristle brushes can over time, though either works well if kept in good condition.
What If You Don't Have Eggs on Hand
Beyond the milk-or-cream-only alternative mentioned earlier, a light brushing of melted butter right before baking is another option, though it produces less shine and browning than any egg-based wash. It's a reasonable fallback in a pinch, but if a genuinely glossy, deeply colored crust matters to you, it's worth planning ahead to have eggs on hand specifically for this step rather than relying on a substitute.
Consistency Across a Whole Batch
When brushing a full tray of croissants, it's easy to unintentionally apply more wash to the first few and less to the last few as you move through the batch, especially if you're mixing a relatively small amount of wash for a large tray. Mixing slightly more egg wash than you think you'll need, and periodically re-checking the amount left in the bowl as you work through the tray, helps keep the coating even across every pastry rather than front-loaded onto the first ones you brush.
How Oven Position Affects Browning
Even with perfect egg wash technique, croissants baked on a lower oven rack tend to brown more on the bottom and less evenly overall compared to a middle rack position, since they're closer to the direct heat source in most home ovens. For the most even color from a well-applied egg wash, the middle rack is generally the best starting position, rotating the tray (and swapping rack position if using two trays) partway through baking to even out any remaining hot spots specific to your oven.
Egg Wash Doesn't Fix Underlying Lamination Issues
It's worth being clear that egg wash affects color and shine only - it has no bearing on whether the interior turns out flaky or dense. A beautifully glossy, deep golden croissant can still have a disappointing, dense interior if lamination went wrong earlier in the process, and a pale, under-egg-washed croissant can still have gorgeous internal layering if the lamination itself was handled well. Don't use surface color alone as a proxy for how the interior turned out; the two are related to the finished result but governed by largely separate parts of the process.
A Simple Test for Wash Thickness
If you're unsure whether your coat is too thick or too thin, dip the brush and let any excess drip back into the bowl before touching the dough - a properly loaded brush should leave a thin, even sheen on the surface without any visible pooling or dripping down the sides of the pastry. If you see the wash running or collecting anywhere, that's a sign you're applying more than needed for a single coat.
Leftover Egg Wash
Any egg wash left over after brushing a batch shouldn't be saved for next time, since it's a mixture involving raw egg that's already been exposed to room temperature and repeated dipping from a used brush. It's fine to discard the small remainder rather than trying to stretch it across multiple bakes - the quantities in this guide are already modest enough that waste is minimal even mixing a fresh batch each time. If you consistently find yourself with a lot left over, it's worth mixing a smaller batch next time rather than trying to find a use for the extra, since a wash mixed specifically for reuse days later isn't a food safety risk worth taking.
Egg Wash Across the Whole Guide
This same technique applies without modification to every shape covered elsewhere in this guide, whether that's a classic crescent, a filled rectangle like pain au chocolat, or a savory version like ham and cheese croissants. Once the ratio and two-coat timing feel comfortable, there's no need to think about egg wash separately for each individual recipe - it becomes a consistent finishing step you apply the same way regardless of what's inside the pastry.
For where this step fits into the overall process, see our schedule guide, or head back to the classic croissant recipe and the complete croissant guide.
Latest