Classic Butter Croissant Recipe (Step by Step)
A complete, timed classic croissant recipe from mixing the dough through the final bake, structured across a realistic multi-day timeline.

This is the base recipe every other pastry in this guide builds on. It's written as a full multi-day process, with specific times at each stage rather than vague instructions to chill dough "until firm," because vague timing is where most first attempts go wrong.
Ingredients
For the dough (détrempe)
- 4 cups (500g) bread flour, or all-purpose flour with a slightly higher protein content
- 1/4 cup (50g) granulated sugar
- 2 1/4 tsp (7g) instant yeast
- 2 tsp (12g) fine salt
- 1 1/4 cups (300ml) cold whole milk
- 3 tbsp (40g) unsalted butter, softened
For the butter block (beurrage)
- 1 1/4 cups (280g) cold unsalted butter, high-fat European-style if available
- 2 tbsp (15g) flour, to help the butter hold together while rolling
For the egg wash
- 1 large egg
- 1 tbsp milk or cream
Day One: Mix the Dough
- In a stand mixer with the dough hook, combine the flour, sugar, yeast, and salt.
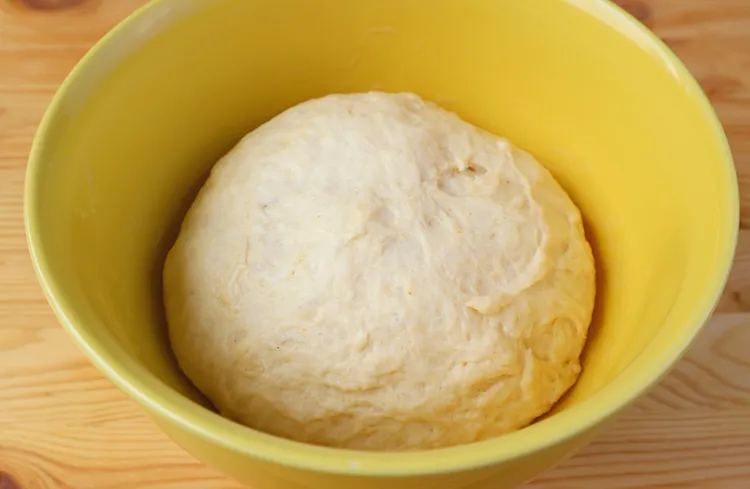
- Add the cold milk and softened butter. Mix on low speed for 3 to 4 minutes, just until the dough comes together into a shaggy, slightly rough ball - it should not be smooth and elastic the way a bread dough eventually gets. Overmixing at this stage develops too much gluten, which makes the dough fight back during rolling.
- Shape the dough into a rough rectangle, wrap tightly in plastic, and refrigerate for at least 4 hours, or overnight. This rest lets the gluten relax and the yeast begin working slowly in the cold.
Day One or Two: Make the Butter Block
- Cut the cold butter into slices and toss with the 2 tablespoons of flour.
- Place the butter between two sheets of parchment paper and pound and roll it into an even 7-inch square, about 1/2 inch thick. Work quickly so the butter doesn't warm past a firm, pliable state - it should bend without cracking and without feeling greasy to the touch.
- Refrigerate the butter block until firm again, at least 30 minutes. See our full butter block guide for troubleshooting if the butter keeps cracking or smearing at this stage.
Day Two: Lock In the Butter and Laminate
- Roll the chilled dough into a rectangle roughly twice the size of the butter block. Place the butter block in the center, at a 45-degree angle to the dough, and fold the dough corners over it like an envelope, sealing the edges completely.
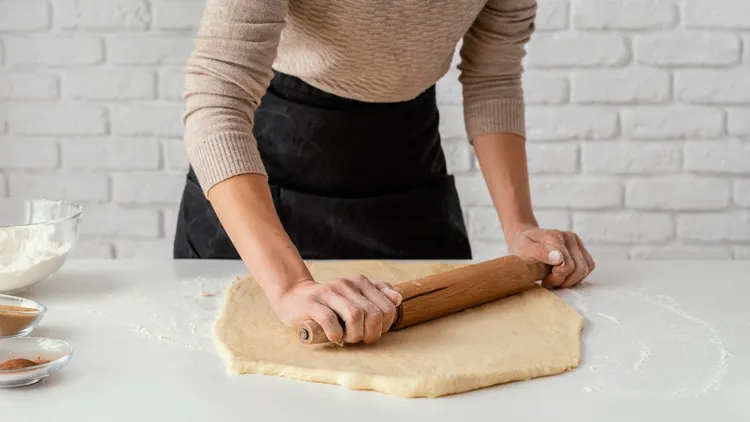
- Roll the dough-and-butter package out into a long rectangle, about 3 times as long as it is wide. Work in short strokes, rolling from the center outward, and keep the edges as straight as you can.
- Perform a letter fold: fold one third of the dough over the middle third, then fold the remaining third over that, like folding a letter into an envelope. This is fold one.
- Wrap and refrigerate for 30 to 45 minutes.
- Repeat the roll-and-fold two more times, chilling 30 to 45 minutes between each, for a total of three letter folds. Keep track of how many folds you've done - it's easy to lose count partway through, and an extra or missing fold changes the final layer count noticeably.
Throughout this stage, watch for any hint of butter softening or streaking through the dough - see our temperature guide if your kitchen runs warm, since this is the point in the process most sensitive to ambient heat.
Day Two or Three: Shape the Croissants
- After the final fold and a rest of at least 1 hour (longer is fine, even overnight), roll the dough into a large rectangle about 1/4 inch thick.
- Trim the ragged edges - this matters more than it seems, since unfinished edges won't have separated layers and will bake unevenly.
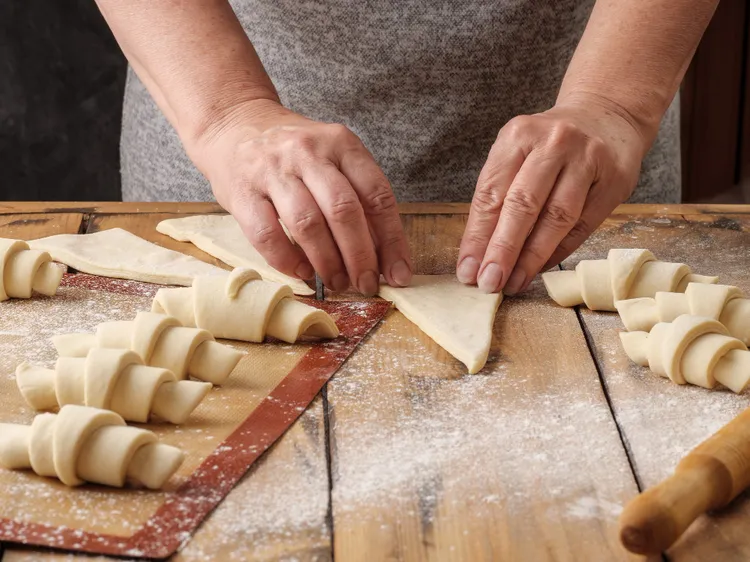
- Cut the dough into triangles roughly 4 inches wide at the base and 8 to 9 inches long. Make a small notch in the center of each base for a tighter roll.
- Gently stretch each triangle lengthwise, then roll from the base toward the tip, curving the ends slightly inward to form the classic crescent shape. See our shaping guide for more detail on getting an even roll.
- Arrange the shaped croissants on parchment-lined baking sheets, spaced well apart to allow for rising.
Proof and Bake
- Brush the shaped croissants lightly with egg wash - see our egg wash guide for the exact technique.
- Cover loosely and let proof at a warm room temperature (around 75 to 80°F) until visibly puffy and jiggly, roughly doubled in size. This typically takes 2 to 3 hours, though it can run longer in a cooler kitchen.
- Brush with a second, more thorough coat of egg wash right before baking.
- Bake at 400°F for 15 to 18 minutes, until deeply golden brown, rotating the pan halfway through for even color.
- Cool on a wire rack for at least 15 minutes before eating - the interior structure is still setting immediately out of the oven.
Why the Process Is Structured This Way
Every rest period in this recipe exists to solve a specific problem: relaxing gluten so the dough doesn't spring back while rolling, and keeping the butter firm so it stays distinct from the dough rather than merging in. Skipping or shortening a chill time is the single most common reason a first attempt at this recipe underperforms - the dough may look fine going into the oven and still bake up dense and greasy if the butter softened too much somewhere along the way.
Common First-Attempt Results
Uneven layers, a slightly lopsided crescent, croissants that spread more than they rise - these are all normal outcomes for a first attempt and don't mean the process failed outright. If the butter leaked significantly during baking, see our butter leaking guide. If the interior turned out dense rather than airy, our lamination mistakes guide covers the most likely causes.
Yield and Storage
This recipe makes about 10 to 12 medium croissants, depending on how large you cut the triangles. Baked croissants are best the day they're made but keep at room temperature, well wrapped, for about a day. For longer storage of both dough and baked croissants, see our freezing guide.
A Closer Look at the Détrempe
The détrempe - the base dough before any butter is laminated in - deserves more attention than it usually gets in shorter recipe writeups. It should come together into a cohesive but still slightly rough ball, never smooth and elastic the way a well-kneaded bread dough eventually becomes. If you're used to kneading bread until it passes the windowpane test, resist that instinct here; overdeveloping gluten at this stage makes the dough spring back stubbornly during every subsequent roll, fighting you at each fold and making it much harder to reach an even thickness without overworking (and overheating) the butter in the process.
The dough should also feel slightly cool and a little tacky, not sticky, when it goes into its first rest. If it's noticeably warm from mixing (a stand mixer can generate real friction heat over several minutes), give it a few extra minutes in the fridge before you consider the first rest complete, checking that it's genuinely cold through rather than just cold on the surface.
Reading the Dough Between Folds
Each time you take the dough out of the fridge for the next fold, take a moment before rolling to assess it. Press a finger gently into a corner - it should feel firm but not hard, giving slightly the way cold (not frozen) butter does. If it feels genuinely hard, let it sit at room temperature for 5 minutes before starting to roll, since forcing a roll on dough that's too cold risks cracking the butter layers inside. If it feels soft or at all greasy to the touch, it needs more time in the fridge, even if the clock says the rest period should be over - kitchen temperature varies day to day, and the clock is a guideline, not a guarantee.
Recognizing a Good Final Lamination
After the third and final fold, before shaping, unwrap a corner of the dough and look at the cut edge. You should be able to make out fine, distinct striping - alternating thin lines of dough and butter - even without cutting all the way through. This is a good sign that lamination is proceeding well. If the edge looks uniform and pale throughout with no visible striping, that suggests the butter has already merged into the dough at some point in the process; see our lamination mistakes guide for how to diagnose which step likely caused it.
Adjusting for Your Specific Oven
Oven behavior varies more between households than most recipes account for. The 400°F, 15 to 18 minute range in this recipe is a solid starting point, but ovens that run hot may need slightly less time or a slightly lower temperature to avoid over-browning before the interior fully bakes through, while ovens that run cool may need a few extra minutes. An oven thermometer is a worthwhile investment if you plan to make croissants more than once, since many home ovens read 15 to 25 degrees off from their displayed temperature, which is more than enough to meaningfully affect a bake this sensitive to heat.
Doubling Down on Consistency
The biggest gains between a first and second batch usually come from consistency rather than any single ingredient change - keeping the kitchen at a similar temperature, timing chills the same way, rolling with the same care. Once you've made this recipe once and have a feel for how your specific kitchen behaves during lamination, the second attempt tends to improve noticeably, since you're no longer troubleshooting blind.
Ingredient Substitutions Worth Knowing About
Whole milk gives the best balance of richness and workability in the détrempe, but 2% milk works as a reasonably close substitute if that's what's on hand, with a very slightly less rich final crumb. Skim milk is a bigger step down and can leave the dough a touch drier - not a disaster, but noticeably different. For the small amount of butter mixed directly into the dough (separate from the laminating butter block), salted butter can be used if you reduce the added salt in the recipe by about half a teaspoon to compensate, though unsalted remains the more precise choice for controlling seasoning overall.
If bread flour isn't available, all-purpose flour works, though the dough may feel slightly less elastic and a bit more prone to tearing during the longer rolls later in lamination - handle it a touch more gently and give it a little extra rest if it seems to be resisting stretching.
What to Do if the Dough Feels Too Sticky or Too Dry
Humidity and flour brand both affect how much liquid a given amount of flour can absorb, so it's normal for the exact right hydration to vary slightly batch to batch even when following the same recipe precisely. If the dough feels notably sticky and is clinging heavily to your hands or the mixer bowl after the initial mix, a tablespoon of additional flour, added gradually, usually resolves it. If it feels dry, crumbly, or won't fully come together into a cohesive mass, a tablespoon of additional cold milk, added gradually, helps. Make these adjustments during the initial mixing stage rather than later in the process, since the dough's texture is much easier to correct before it's been rolled and folded around butter.
Baking Multiple Trays at Once
If your batch fills more than one baking sheet, most home ovens handle two trays reasonably well with a rack in the upper third and one in the lower third, rotating both trays (top to bottom and front to back) about halfway through baking for even color. Avoid baking on a single rack with trays too close together, which restricts airflow and can lead to uneven browning between the two trays.
Once this base recipe feels familiar, it becomes the foundation for everything else in this guide - see the complete croissant guide for the full range of shapes and fillings built on the same dough.
Latest