How to Cook Tapioca Pearls So They Don't Turn Hard or Mushy
The full boil, simmer, and rest process for cooking tapioca pearls so they come out chewy all the way through, not hard or mushy.
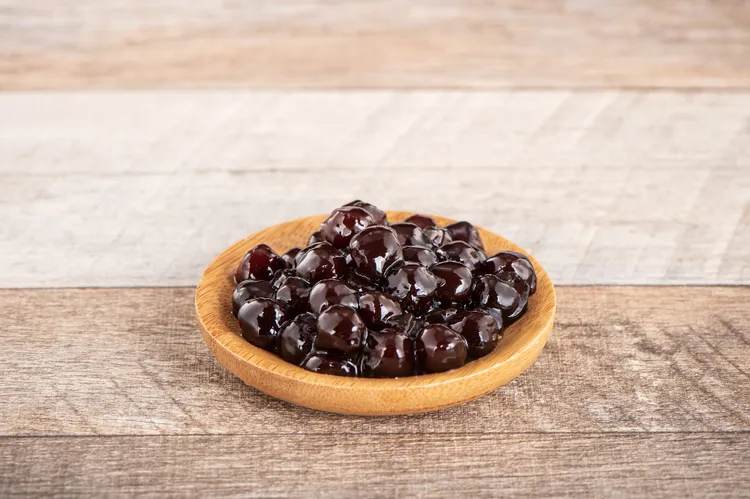
Tapioca pearls behave nothing like pasta or rice, and treating them the same way is the fastest route to a hard, starchy center. They need a real rolling boil, a long simmer, and then a full rest off the heat before they're actually done - skipping any one of those three stages is where most home attempts go wrong.
Ingredients
- 1 cup dried black tapioca pearls
- 8 cups water, for boiling
- 2 tablespoons brown sugar or white sugar (optional, for a light sweetened rest after cooking)
Instructions
- Bring the water to a full, rolling boil in a large pot - use at least an 8:1 ratio of water to pearls, since they'll expand significantly and need room to move without sticking to each other or the bottom of the pot.
- Add the pearls and stir immediately and gently for the first 30 seconds to keep them from clumping together as they hit the hot water.
- Boil uncovered for the time listed on the package - typically 15 to 20 minutes for standard dried pearls, stirring occasionally. The pearls will float once they've softened enough, though floating alone doesn't mean they're done.
- Reduce the heat to a low simmer and continue cooking for another 15 to 20 minutes, until the pearls are mostly translucent with only a small opaque dot remaining in the center.
- Turn off the heat, cover the pot, and let the pearls rest in the hot water for 15 to 20 minutes. This is the step most recipes skip, and it's what finishes cooking the center without turning the outside mushy.
- Drain the pearls and rinse briefly under cool water to stop the cooking and wash off surface starch.
- If using, toss the warm pearls with sugar or a spoonful of syrup right away so they don't stick together as they cool.
Nutrition (per serving)
- Calories: ~140 kcal (approximately 1/4 cup cooked pearls, unsweetened)
- Protein: 0g
- Carbs: 35g
- Fats: 0g
These numbers are estimates for plain cooked pearls before any syrup is added - the sugar and syrup used to flavor them add significantly more, covered in the full calorie and sugar breakdown.
Why the Water Ratio Matters
Pearls roughly double in size as they cook, and if there isn't enough water in the pot, they clump together and cook unevenly - some pieces turn mushy on the outside while pieces packed in the center stay hard. An 8:1 water-to-pearl ratio by volume gives them enough room to move freely and cook at a consistent rate throughout the pot.
How to Tell When They're Actually Done
Floating is not the same as done - pearls float once they've absorbed enough water to become buoyant, which can happen well before the center has fully cooked through. The real test is texture: pull one out, let it cool for a few seconds, and bite into it. It should be uniformly chewy with no hard, chalky, or gritty center. If there's still a visible white dot in the middle when you cut one in half, it needs more simmering time before moving to the rest stage.
Why the Rest Step Matters So Much
Turning off the heat and covering the pot for a final rest lets residual heat and trapped steam finish softening the very center of each pearl without any additional direct boiling, which is what tends to blow out the exterior into a mushy, falling-apart texture if you try to achieve the same result with more active cooking time instead. Skipping this step and just cooking longer on the stove tends to produce pearls that are mushy on the outside and still slightly firm in the center - the opposite of the rest step's effect.
Pearl Size and Timing Differences
Smaller pearls (around 4mm, sometimes sold as "mini boba") cook considerably faster, often in under 20 minutes total including the rest. Standard large pearls (8 to 10mm) are what most of the timing above assumes. Extra-large pearls, closer to 12mm, can need 30 minutes of active boiling and simmering combined, plus a longer rest - always check the package instructions first, since cook times vary by brand and starch blend, and use the visual and bite tests above rather than relying on time alone.
Common Mistakes
- Not enough water: pearls stick together and cook unevenly. Use the full 8:1 ratio even if it seems like more than you need.
- Skipping the rest step: the most common cause of a chalky or hard center. Always cover and rest off heat for at least 15 minutes.
- Rinsing under cold water for too long: a quick rinse stops the cooking; a long soak under cold water can make the exterior gummy.
- Cooking a big batch and expecting it to hold up for days: tapioca pearls are genuinely a same-day food - see the storage guide for the honest window you're working with.
Quick-Cook vs Traditional Pearls
Not every bag of pearls needs the full 30 to 40 minute process above. Some products are specifically formulated to cook in 5 to 10 minutes, at some cost to chewiness and how well they hold up once they've cooled. The comparison of quick-cook versus traditional tapioca pearls covers which type is worth seeking out depending on how much time you actually have.
If Something Went Wrong
Hard centers, mushy exteriors, and pearls that dissolved into the water are all fixable in different ways depending on which stage went wrong. The troubleshooting guide covers the specific cause behind each failure mode and whether a batch is salvageable or worth starting over.
Why Tapioca Starch Behaves the Way It Does
Tapioca starch comes from cassava root and gelatinizes differently than wheat or rice starch. When tapioca starch granules hit hot water, they absorb liquid and swell, eventually rupturing and releasing amylose and amylopectin molecules that give cooked tapioca its distinctive stretchy, chewy quality - a texture that's structurally different from the way rice or potato starch cooks. This is part of why tapioca pearls can't simply be treated like a starchy pasta: the gelatinization process needs sustained heat to move all the way through a dense sphere, not just soften the surface.
It's also why tapioca pearls firm back up so aggressively once they cool - a process called starch retrogradation, where the starch molecules that unwound during cooking begin re-forming more rigid, crystalline structures as the temperature drops. This happens with all starches to some degree (it's the same reason bread goes stale), but it happens faster and more noticeably with tapioca than with most other cooked starches, which is the underlying reason pearls need to be used within a fairly narrow window after cooking.
Frequently Asked Questions
Can I cook tapioca pearls in advance for the next day?
Not with good results. Tapioca pearls are genuinely a same-day food due to how quickly they firm up once cooled - see the full storage and reheating guide for the realistic window and how to salvage pearls that have already firmed up overnight.
Do I need to rinse the pearls after cooking?
A brief rinse under cool water helps stop the cooking and washes away excess surface starch that can otherwise make the pearls stick together in a clump. Keep the rinse short - a prolonged soak under cold water can make the exterior gummy rather than clean.
Why did my pearls turn out different colors - some darker, some lighter?
This is usually a sign of uneven heat distribution in the pot, often from overcrowding or an insufficient water ratio, which causes some pearls to cook faster than others. Using the full 8:1 water ratio and stirring gently in the first 30 seconds after adding the pearls helps even this out.
Can I use tapioca pearls meant for pudding instead of boba pearls?
Small pudding tapioca (often labeled "minute tapioca" or "quick pearl tapioca") is a different product, usually much smaller and pre-processed to cook almost instantly. It works in a pinch for a milder version of the drink but doesn't produce the same large, chewy bite that standard boba pearls do, and it cooks in a fraction of the time - check it frequently rather than following the timing above.
Is it normal for the cooking water to turn dark and cloudy?
Yes. As the pearls cook, surface starch and some of the caramel coloring used in commercial black tapioca pearls leaches into the water, turning it dark and slightly syrupy. This is expected and not a sign anything is wrong - it's part of why a rinse after cooking matters, to remove that surface residue from the finished pearls.
A Note on Color
Standard black tapioca pearls get their dark color from added caramel coloring or brown sugar mixed into the starch during manufacturing, not from the tapioca itself, which is naturally white to translucent when cooked plain. This is worth knowing if you ever come across white or clear tapioca pearls, which are the same product without the added coloring and cook identically - the color difference is cosmetic, not a difference in texture or cook time.
Cooking Tapioca Pearls on Different Stovetops
Timing above assumes a standard gas or electric stovetop bringing a pot to a full rolling boil at sea level. Induction stovetops often bring water to a boil faster and can maintain a more aggressive simmer than intended if the power setting isn't adjusted down, so watch the pot rather than relying purely on the clock the first time you make this on induction. At higher altitudes, water boils at a lower temperature, which can extend the cooking time needed to fully gelatinize the pearls - if you're above roughly 3,000 feet and pearls are consistently coming out undercooked despite following the standard timing, add a few extra minutes to both the boil and simmer stages.
Batch Testing Before Committing to a Full Pot
If you're using a new brand of pearls for the first time, it's worth pulling a test pearl out periodically during the simmer stage rather than waiting for the full recommended time to elapse and hoping it's correct. Cut it in half and check for a visible opaque center. This is especially useful with pearls that don't have clear package instructions, or with a brand you haven't used before, since cook times can vary meaningfully between manufacturers even for pearls that look similar in size.
Using the Pearls
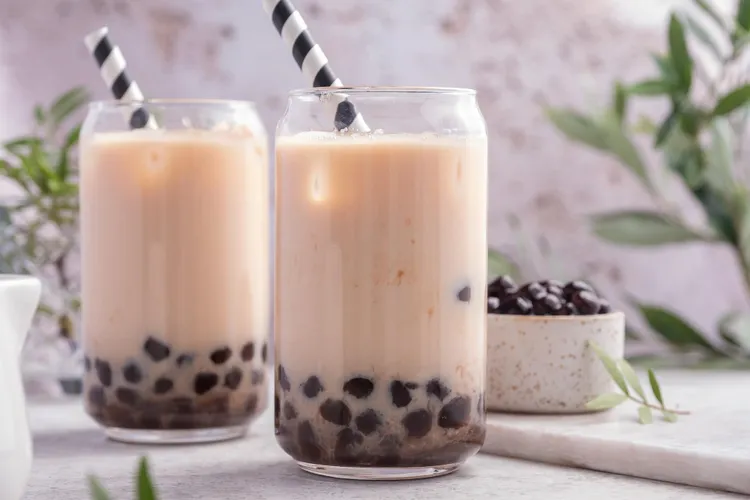
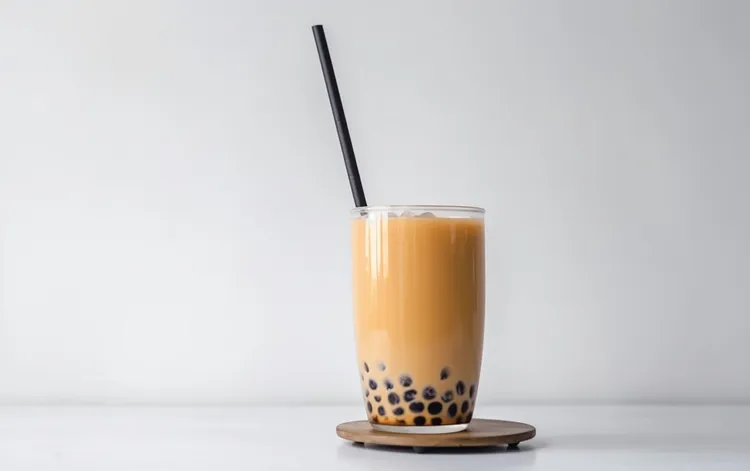
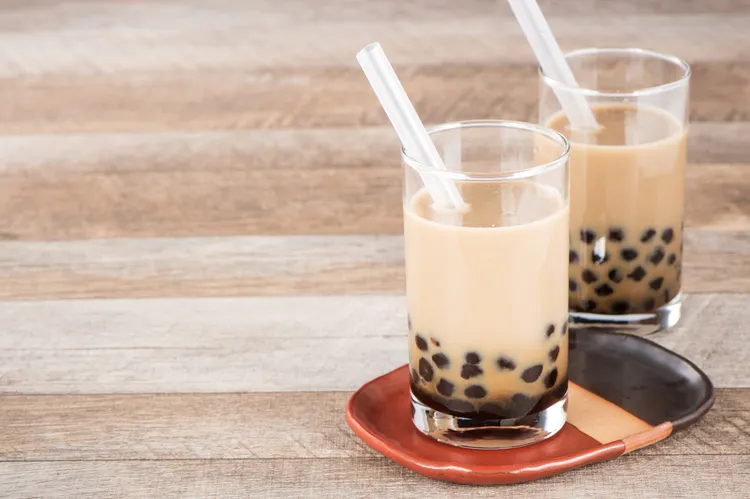
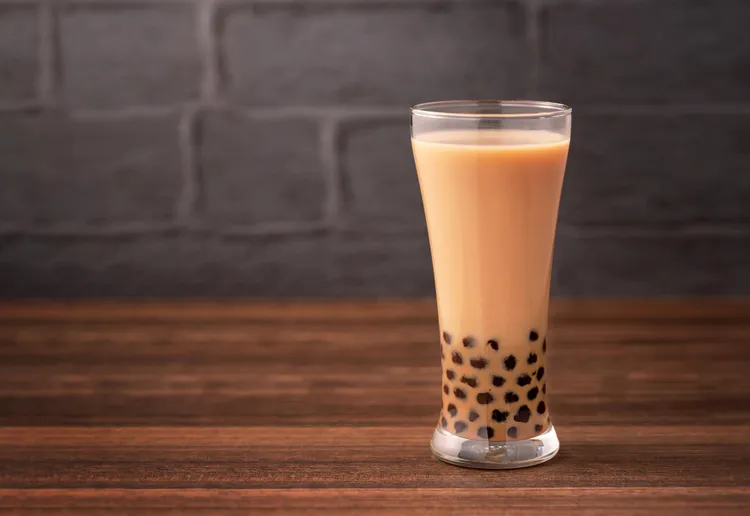
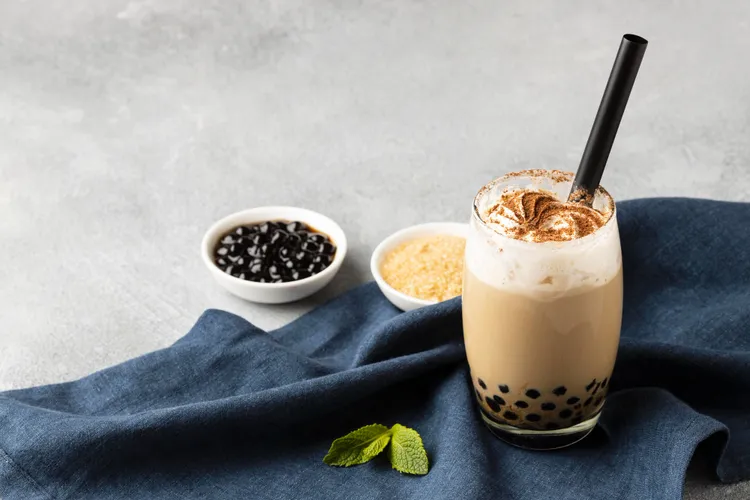
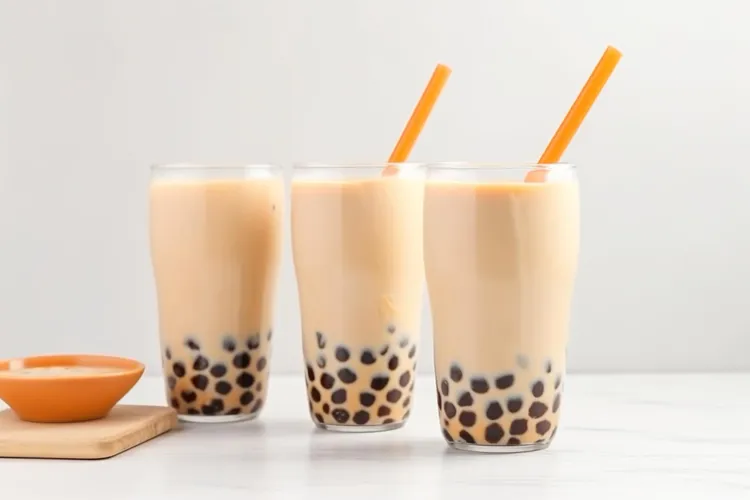
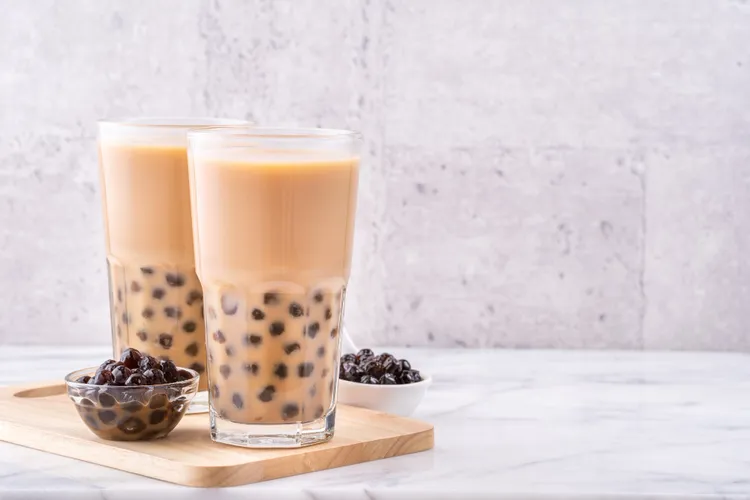
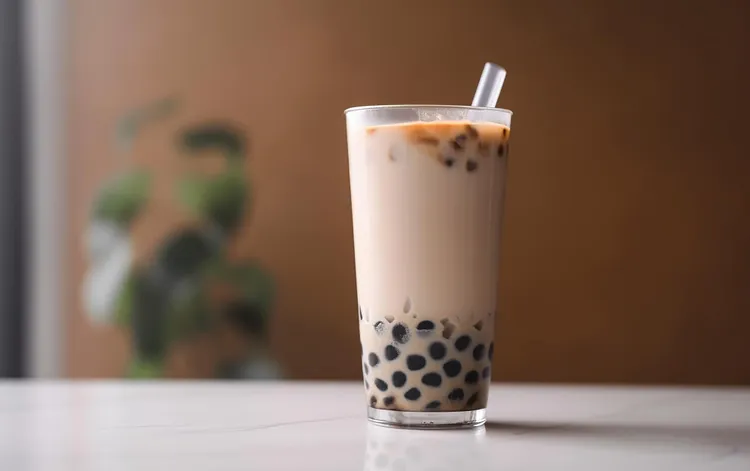
Once cooked and lightly sweetened, the pearls are ready to go straight into a glass of milk tea. This recipe fits into the full brown sugar boba guide, which covers the syrup and milk tea assembly that turns these pearls into a finished drink, including the glass-coating technique that produces the signature tiger-stripe look.
Pot Material
A stainless steel or enameled pot is generally a better choice than a non-stick pot for boiling tapioca pearls, since the higher, more sustained heat of a rolling boil over an extended period can degrade some non-stick coatings faster than they're designed to handle. It's not a food safety issue at the timescales involved here, but a heavier stainless pot also tends to hold heat more evenly, which helps produce a more consistent cook across the whole batch.
Practice
Like most techniques built around visual and textural cues rather than a strict timer, tapioca pearls tend to improve noticeably between a first attempt and a third or fourth one, simply from building a feel for what the right texture looks and feels like at each stage. Don't be discouraged by an imperfect first batch - it's one of the more forgiving techniques in this guide to troubleshoot and improve on quickly.
One More Practical Tip
Keeping a small note on your phone with the exact timing and brand of pearls that worked well is a simple way to make every future batch as reliable as the best one you've made so far, rather than relying on memory alone each time you restock ingredients.
Latest