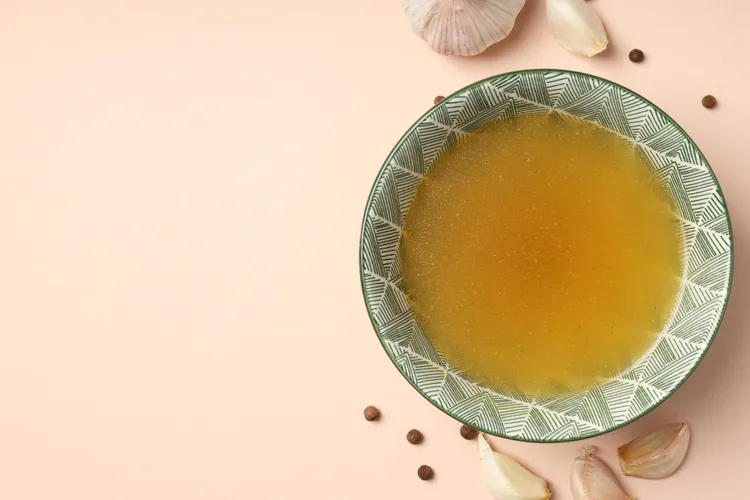
How to Make Chicken Stock at Home
A proper chicken stock from a carcass or raw bones takes 3 to 4 hours and makes everything taste better. This is the method - no shortcuts, no guesswork.
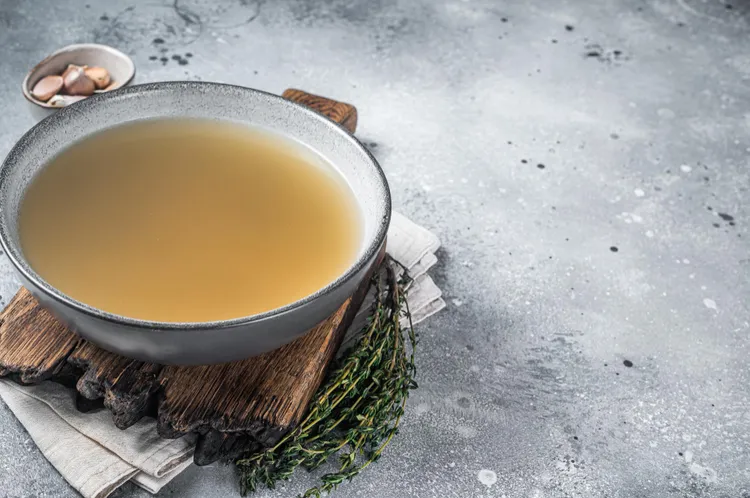
Chicken stock from a roast chicken carcass is the most practical stock a home cook can make. The bones cost nothing. The active time is about 20 minutes. The result - 2 to 3 litres of clean, gelatinous, genuinely flavourful stock - transforms soups, risottos, and pan sauces for the rest of the week.
Bones: What to Use
Any chicken bones work: a roast carcass with the meat picked off, raw backs and wings from a butcher, or a combination. Carcass stock tends to have more depth because the roasted bones contribute caramelised flavour. Raw bone stock is cleaner and paler. Wings are particularly good for collagen - they have a high skin-to-bone ratio and produce a stock that gels firmly when cold. Feet, if you can get them, produce exceptionally gelatinous stock from their high collagen content. Remove any obvious fat deposits before adding bones to the pot.
Recipe: Classic Chicken Stock
Makes: 2 to 3 litres | Prep: 15 minutes | Simmer: 3 to 4 hours
Ingredients
- 1 chicken carcass (or 1kg raw chicken bones - backs, wings, or a combination)
- 2 medium onions, halved (unpeeled)
- 2 medium carrots, roughly chopped
- 2 celery stalks, roughly chopped
- 1 leek, roughly chopped (optional but good)
- 1 head of garlic, halved crossways
- 2 bay leaves
- 6 black peppercorns
- A small bunch of fresh thyme
- A small bunch of fresh parsley stalks
- Cold water to cover (approximately 3 litres)
Instructions
- Place the chicken bones in a large stockpot. Cover with cold water - cold, not hot. Bring slowly to a gentle simmer over medium heat. This takes 15 to 20 minutes. Do not rush it.
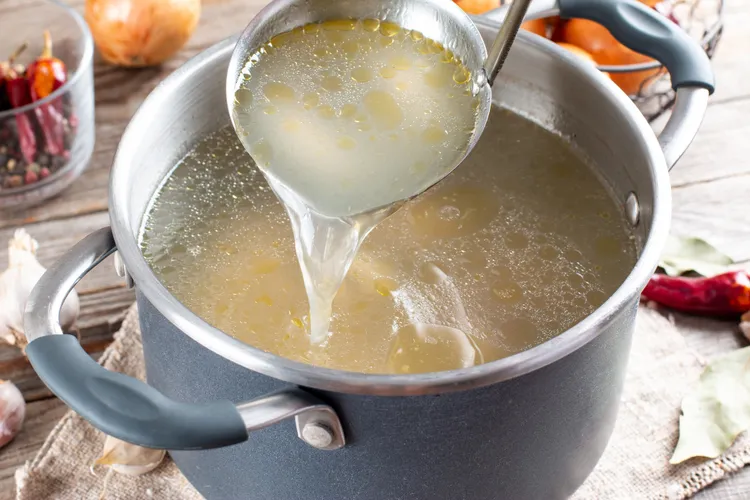
- As the water heats, grey-brown foam will rise to the surface. Skim this off regularly with a ladle or fine-mesh spoon. The foam is coagulated protein - removing it gives you a cleaner, clearer stock. Continue skimming until the foam subsides, usually after 20 to 30 minutes of simmering.
- While the bones are heating, char the onion halves cut-side down in a dry frying pan over high heat for 5 minutes until deeply browned. This adds sweetness and colour to the stock.
- Add the charred onions, carrots, celery, leek, garlic, bay leaves, peppercorns, thyme, and parsley stalks to the pot. The water should cover everything by a few centimetres - top up if needed.
- Reduce heat to the lowest setting that maintains a gentle simmer. Bubbles should break the surface occasionally. Never boil. Partially cover with a lid.
- Simmer for 3 to 4 hours. Top up with cold water if the level drops significantly. Do not stir.
- After 3 to 4 hours, strain through a fine-mesh sieve or muslin-lined colander into a large bowl. Discard all solids. Do not press the solids - pressing produces a cloudier stock.
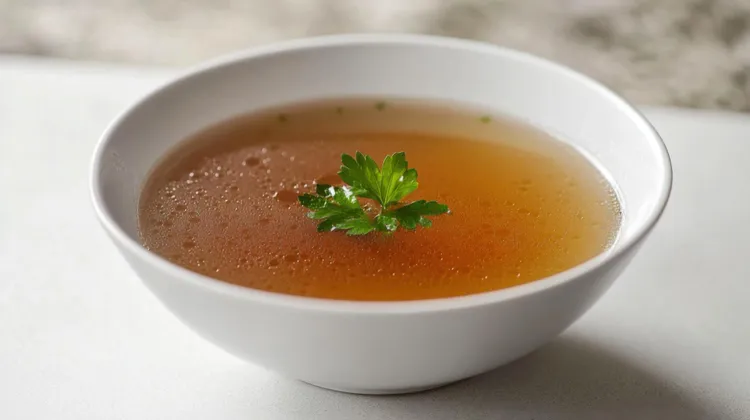
- Leave to cool. Once at room temperature, refrigerate. The fat will solidify on the surface as a white or pale yellow layer overnight - skim it off before using or storing. The stock beneath should be amber-coloured and should gel lightly when cold.
How to Tell if Your Stock Is Good
A good chicken stock sets to a light jelly when refrigerated. This is gelatin from the collagen in the bones. If your stock stays completely liquid when cold, either the bones were too lean (use more wings next time), the simmer time was too short, or the water-to-bones ratio was too high. It will still taste good - it just lacks the body that makes the difference in sauces and risotto.
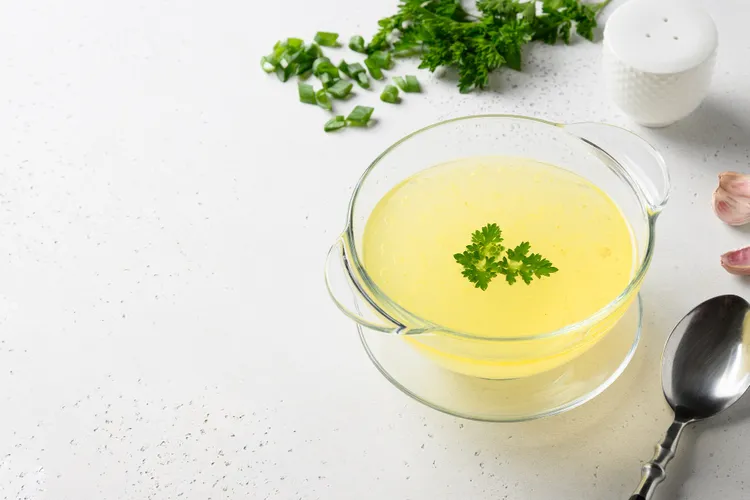
The colour should be amber to golden. Very pale stock means insufficient charring of the aromatics or very short simmer time. Very dark stock means the stock boiled rather than simmered, or was cooked significantly too long.
Common Mistakes
Starting with hot water: causes protein to seize and cloud immediately. Use cold water and heat it gently. Not skimming: the foam produced in the first 30 minutes will cloud the stock if not removed. Boiling instead of simmering: emulsifies fat into the liquid, producing grey, greasy stock. The temperature dial on most domestic hobs needs to be lower than most people expect. Cooking too long: beyond 4 hours, chicken stock can become slightly bitter from the bones. 3 to 4 hours is the sweet spot.
Variations: White Stock vs Brown Stock
The recipe above is a white chicken stock - pale, clean, versatile. For a brown chicken stock, roast the bones at 220 degrees Celsius for 30 minutes before adding to the pot. The caramelised bones produce a deeper-coloured, more intensely flavoured stock that works particularly well in heartier braises and darker sauces. The aromatics can also be roasted at the same time.
What to Make With It
Chicken stock is the most versatile liquid in a home kitchen. Use it instead of water for rice and grains (immediate flavour improvement). As the liquid base for Greek-style chicken soup. For deglazing the pan after cooking balsamic chicken and mushrooms - a splash of stock in the hot pan after the chicken comes out makes a quick pan sauce in under 2 minutes. As the base for risotto, veloute sauces, and any braise. For storage and freezing guidance, see the stock storage guide.
Nutrition (per 250ml serving, unsalted)
- Calories: approximately 30 to 40 kcal
- Protein: 6 to 8g
- Fat: 1 to 2g (after defatting)
- Carbs: 1 to 2g
- Sodium: less than 50mg (no added salt)
For the full overview of stock types, techniques, and uses, see the complete stocks and broths guide. Use Consillar's nutrition calculators to track how chicken stock fits into your daily intake.
Enriching Chicken Stock
Standard chicken stock from a carcass and aromatics is a neutral, versatile base. There are situations where a more enriched, deeper-flavoured stock suits the application better. For a richer stock: add chicken wings or feet alongside the carcass (the additional skin and connective tissue produces more gelatin). Roast the carcass at 200 degrees for 20 minutes before adding to the pot for a brown chicken stock with more depth and darker colour. Add a tablespoon of white miso paste to the strained, finished stock for an umami boost without making it taste of miso. Add a strip of kombu to the cold water before heating for additional glutamic acid - remove before the water boils.
Using Every Part of the Chicken
One of the most economical aspects of making chicken stock is using parts of the bird that would otherwise go in the bin. Necks are inexpensive from any butcher and have a high skin-to-bone ratio that produces gelatinous stock. Backs are similarly cheap and similarly collagen-rich. Feet, where available, produce the most gelatinous stock of any chicken part - a stock made predominantly from feet sets to a firm jelly when cold. Wing tips (the last joint, usually removed before cooking) are an excellent stock addition. The bones from pan-roasted chicken thighs - stripped of any residual meat after eating - go directly from the dinner plate into the stockpot.
Chicken Stock in Asian Cooking
The clean, neutral quality of a well-made chicken stock makes it the right base for many Asian cooking applications. For a Japanese-inflected chicken stock, add a strip of kombu, a tablespoon of soy sauce, and a small piece of ginger to the standard recipe. For a Chinese-style master stock (used for poaching meat and kept as an ongoing pot that develops over months), the base is chicken stock with soy sauce, rice wine, star anise, cinnamon, and rock sugar. For ramen, a rich chicken stock is reduced and seasoned with tare (a concentrated seasoning mixture) to produce the broth. The versatility of chicken stock across culinary traditions is what makes it the first stock worth mastering. For more on stock types and how to use each, see the complete stocks and broths guide.
Making Chicken Stock Without a Full Carcass
A full roast chicken carcass is the ideal starting point but not the only option. Raw chicken wings bought specifically for stock are excellent - they are inexpensive, have a high skin-to-bone ratio, and produce a well-gelled stock. Chicken backs (the spine and rib cage, sold cheaply by butchers) are the most economical choice by weight and produce a clean, well-flavoured stock. A combination of different bone types often works better than any single type alone: the neck and back provide flavour, the wings provide collagen, the feet provide intense gelatin.
If you cook chicken regularly, a practical system is freezing bones as you go. A zip-lock bag in the freezer labelled "chicken bones for stock" accumulates over weeks of cooking. Once the bag reaches 800g to 1kg, it is enough for a batch. The frozen bones go directly from freezer to pot - no thawing needed. This approach means you are always using bones that would otherwise be discarded and you are always making stock from genuinely zero-waste materials.
How to Make Stock Clearer
If clarity matters for your application, several steps improve it. First, blanch the bones before the main cook: bring to a boil in cold water, drain and rinse - this removes the initial burst of proteins and fat that cloud the stock in the first 30 minutes. Second, be diligent about skimming: skim every 5 minutes in the first half hour, then check every 30 minutes thereafter. Third, maintain an even, gentle simmer rather than allowing the temperature to fluctuate. Fourth, strain through muslin or a coffee filter rather than just a sieve. A stock made with all four of these measures will be significantly clearer than one made without them, though not as clear as a formally clarified consomme. For full consomme clarity, see the consomme guide. For the complete framework on stock types and technique, see the complete stocks and broths guide.
Chicken Stock Across the Week
A single 3-litre batch of chicken stock made on Sunday covers most cooking needs for five days. Monday: cook rice or grain in 250ml of stock. Tuesday: deglaze a pan after searing chicken with 150ml. Wednesday: use 500ml as the base for a quick soup. Thursday: add a ladleful to a sauce or stew. Friday: the remaining 500ml goes into a braise or gets reduced to a glaze. The batch is gone by the end of the week and a new carcass from any roast replaces it. This rhythm costs nothing beyond the gas or electricity to simmer it.
Portioning before refrigerating saves time during the week. Pour the cooled, strained stock directly into labelled containers in the sizes you actually use. Two 500ml containers plus two ice cube tray sections cover the full range of applications without needing to measure anything midweek. The ice cube portions (1 to 2 tablespoons each) go directly from freezer to hot pan for deglazing. The 500ml portions thaw overnight for soups and braises. For storage guidance covering all stock types, see the stock storage guide. For the full framework on stock types and technique, see the complete stocks and broths guide.
Nutrition Notes
Homemade unsalted chicken stock used as a cooking medium adds very little to the calorie count of a dish - approximately 30 to 40 kcal per 250ml serving. When used to cook rice or grains, the stock is largely absorbed into the food and its calorie contribution per serving is negligible. When used as a sauce base and reduced, the calories concentrate proportionally but remain low relative to oil or butter-based enrichments. The real value is flavour, not macros - stock makes low-calorie dishes taste as satisfying as high-calorie versions by providing depth rather than fat. Use Consillar's nutrition calculators to track stock in your daily intake if counting precisely.
How Often to Make Chicken Stock
The right frequency depends on how much you cook. A household cooking dinner 5 nights a week uses stock in rice, sauces, or soup 3 to 4 of those nights. That means consuming 750ml to 1 litre of stock per week. A 3-litre batch lasts 3 weeks in the freezer at this rate. Matching production to consumption means making stock every 2 to 3 weeks - once from a roast chicken carcass, once from a bag of accumulated frozen bones. Neither session requires more than 20 minutes of active attention.
For households that cook less frequently, a batch every 4 to 6 weeks is enough if the stock is frozen immediately and portions are used as needed. A well-maintained freezer with labelled stock portions is the infrastructure that makes this work. Once it is set up, maintaining it requires almost no extra thought - the carcass from the roast goes in the pot, the pot goes on the hob, and 4 hours later there is stock. For storage guidance, see the stock storage guide. For the full framework on all stock types, see the complete stocks and broths guide.
Latest