Food Photography Backgrounds: What Works and What Doesn't
The surface your food sits on is the second most important element in your photo. Here's what actually works as a food photography background, where to find it cheap, and what to avoid.
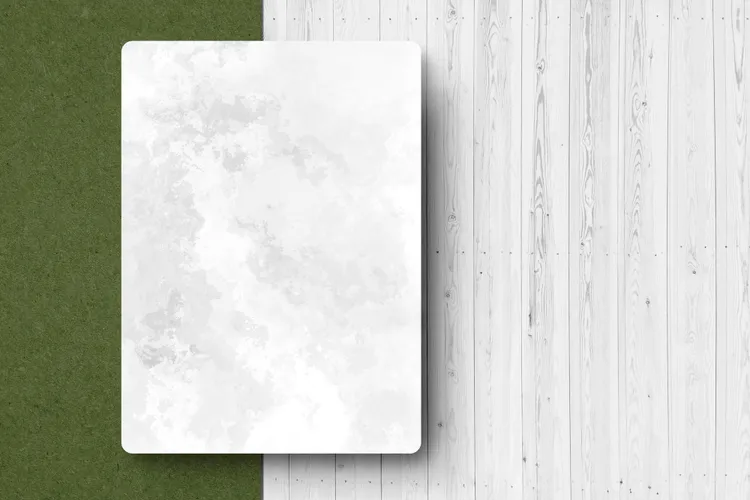
A bad background doesn't just look bad - it actively competes with the food for attention. A good background disappears into the composition, making the food the only thing the viewer notices. Achieving that is mostly about restraint and colour.
The Most Useful Background Types
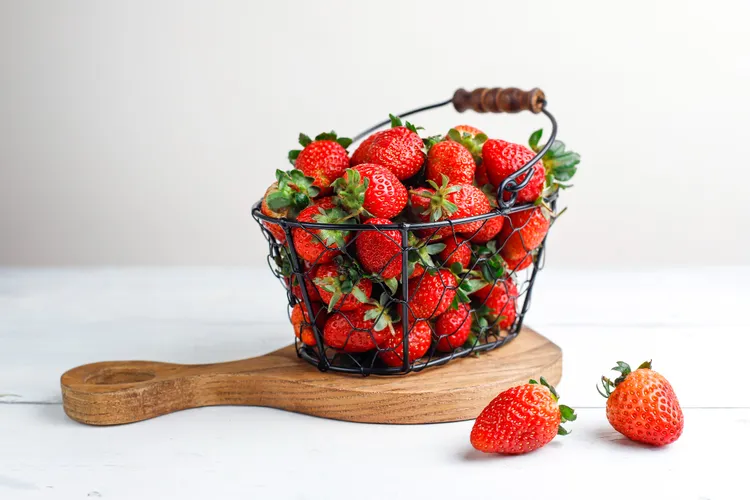
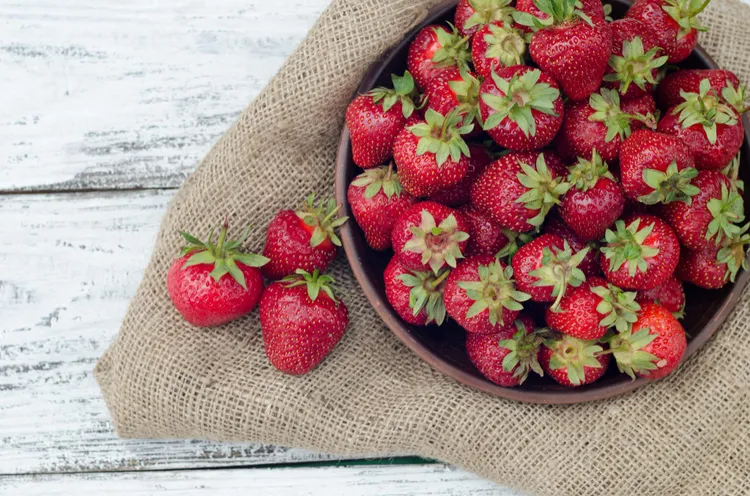
Light wood: The most versatile surface in food photography. Works with almost any cuisine and colour palette. Warm wood tones complement food naturally without fighting it. A light oak or pine cutting board is a decent start. For larger surfaces, a piece of pine shelving board from a hardware store costs around $8-12 and can be left natural, lightly sanded, or painted.
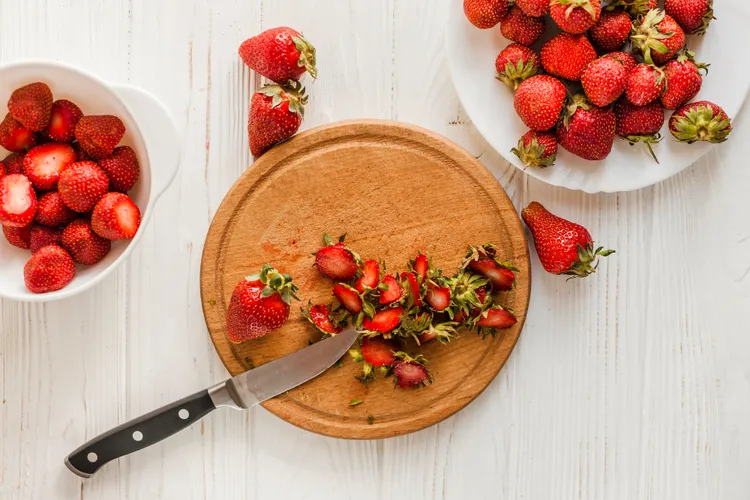
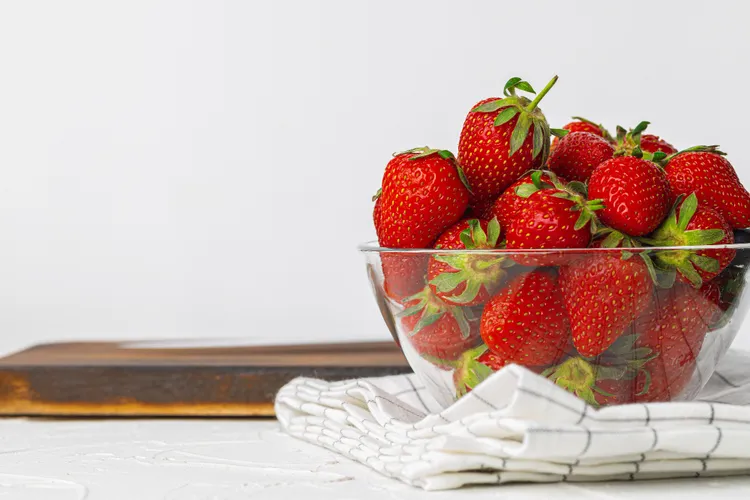
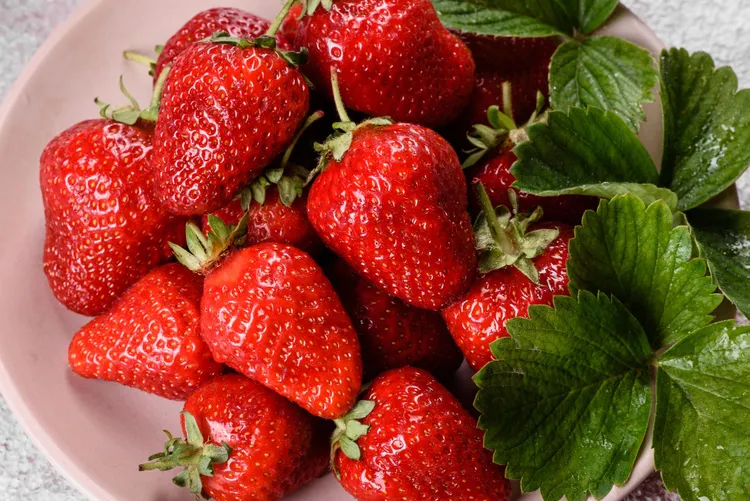
White and off-white: Clean, neutral, and good for detail shots. White tile, white painted wood, white marble (real or vinyl wrap). Keeps the focus entirely on the food. Works especially well with colourful dishes - a green salad or a red sauce pasta pops against white.
Dark surfaces: Slate, dark grey painted wood, and dark concrete look striking with light-coloured foods (pasta, bread, rice dishes). They're the foundation of the dark and moody aesthetic. Less versatile than light wood but powerful when used deliberately. Our dark moody food photography guide covers this in depth.
Marble: Real marble is expensive but vinyl wrap marble contact paper (around $15 for a roll) looks convincing in photos. Works best with baked goods, desserts, and breakfast items.
DIY Backgrounds That Actually Work
You don't need to buy photography-specific backgrounds. Cheaper alternatives:
- Foam board from a stationery shop: Paint it with matte chalk paint in grey, white, or sage green. Two coats and it's ready. Total cost: $5-8.
- Vinyl wrap contact paper: Marble, wood, and concrete patterns available online for $10-20 per roll. Cut to size and stick to foam board or a piece of MDF. Folds flat for storage.
- Tiles from a hardware store: Floor or wall tiles in stone, slate, or wood-effect finishes. Often available as individual samples for free or $1-2 each. Heavy but extremely durable.
- Thrift store finds: Old cutting boards, wooden trays, slate cheese boards, terracotta tiles. Look for texture and neutral tones. Ignore anything with busy patterns.
Colours and How They Interact with Food
Colour theory matters here. The principle is simple: the background should complement the food, not compete with it.
Warm-toned foods (roasted chicken, caramelised vegetables, curries, pasta) look best on warm or neutral backgrounds - wood, white, cream, terracotta. Cool-toned foods (salads, sushi, seafood, blueberries) look striking on cooler or contrasting backgrounds - slate, concrete grey, or a soft sage green.
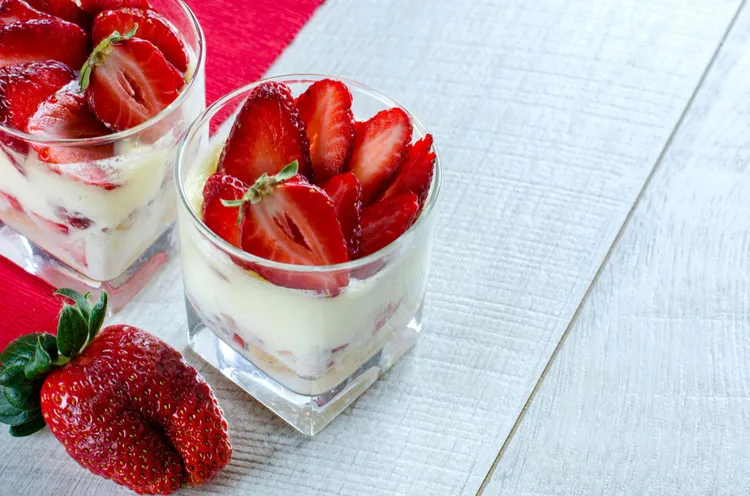
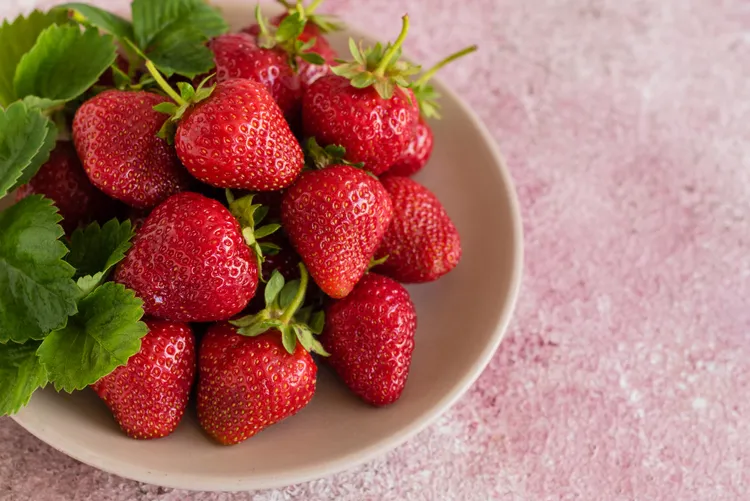
Avoid backgrounds in the same colour family as the main food. Orange food on orange background disappears. Red tomatoes on a red surface become hard to read. Our colour theory guide goes into more detail on choosing plates and linens that make food pop.
What to Avoid
- Busy patterns: Floral tablecloths, bold-patterned tiles, and graphic prints pull attention away from the food constantly.
- Highly reflective surfaces: Glossy lacquered surfaces create hot spots (blown-out reflections of the light source) that are difficult to retouch.
- Too many backgrounds in one shot: Pick one main surface. Adding a second texture (say, a board on top of a tablecloth) often makes the composition feel chaotic.
- Backgrounds larger than necessary: An 18x24 inch board is sufficient for most shots. Larger surfaces are harder to store and add no benefit.
Building a Small Background Collection
Start with three: one light wood, one white, one dark. Those three cover 90% of shooting situations. Add a marble surface and a textured linen or cotton napkin and you have a complete kit that costs under $40 and stores in a corner.
Backgrounds are part of the broader setup. For how to put the whole thing together in your home, see our DIY food photography setup guide. For the full beginner roadmap, start at our complete food photography guide for home cooks.
Latest