Troubleshooting Butter Leaking or Melting During Lamination
Why butter escapes croissant dough during baking, ranked by how common each cause is, plus prevention steps for the next batch.
A tray of croissants sitting in a pool of their own melted butter is one of the more disheartening sights in home baking, but it's also one of the most fixable problems once you understand what causes it - and it's rarely a sign that the whole batch is a total loss.
Why Butter Leaks Out During Baking
Some butter escaping the dough during baking is actually normal - a small amount pooling on the tray, especially around the base of the croissants, happens even in a well-executed batch. The problem is one of degree: if a substantial amount of butter has leaked out, leaving the croissant visibly drier and flatter than it should be, that points to a real issue with either the dough structure or the temperature the butter reached before or during baking.
The Main Causes, Ranked by How Often They Happen
The dough got too warm during lamination or shaping
If the butter softened significantly at any point during rolling, folding, or shaping, it's more likely to escape through weak points in the dough once it fully melts in the oven's heat, rather than staying trapped as steam-generating layers. This is the most common cause by a wide margin. See our temperature guide for prevention.
The croissants overproofed
Proofing too long weakens the dough's gluten structure, since the yeast's fermentation byproducts gradually break down gluten strength over time. A weakened structure is less able to contain the butter as it liquefies in the oven's heat, so it escapes more easily through thin or torn spots.
The oven wasn't hot enough, or wasn't preheated fully
Croissants need a genuinely hot oven (400°F is standard) to set the outer dough layers quickly, before the interior butter has fully melted and had time to escape. An underheated oven, or one that hasn't fully come up to temperature despite the display reading correctly, gives butter more time to leak before the structure sets.
The seams weren't sealed well during shaping
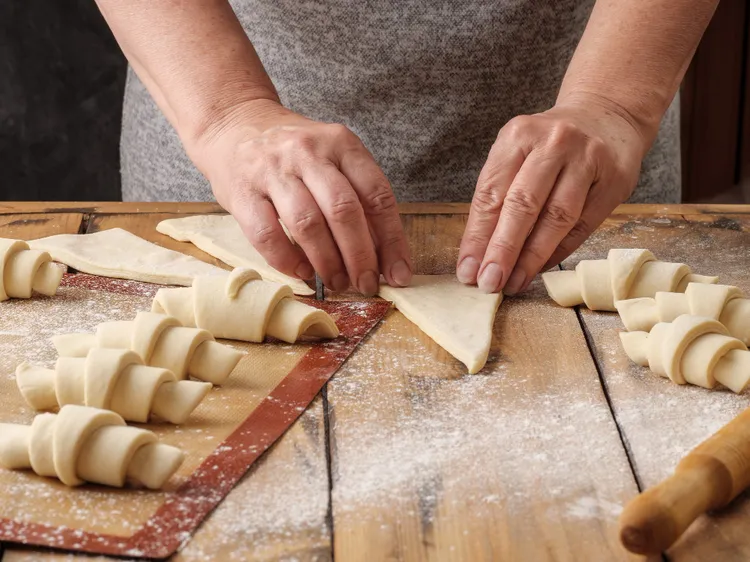
If the tip of a rolled croissant isn't tucked and sealed underneath, or if the dough was cut with a dull blade that dragged rather than cut cleanly through the layers, those exposed edges become easy exit points for butter as it heats and expands.
Too much space between the dough and butter block during lamination
If the initial envelope fold didn't fully seal the butter block inside the dough (see our butter block guide for sizing and sealing this properly), butter can find its way to an exposed edge earlier in the process, well before baking even begins.
What to Do If You Catch It Happening Mid-Bake
If you notice significant butter pooling partway through baking, there's not much to actively do at that point - opening the oven repeatedly will only slow the bake and make things worse. Let the croissants finish baking fully; they'll still be edible, just flatter and slightly greasier than they should be. Note the oven temperature and proofing time for next time, since those are the two variables most within your control after the fact.
Salvaging a Batch That Leaked Butter
Croissants that lost some butter during baking are still perfectly good to eat - they'll be a bit denser and less impressively flaky than a fully successful batch, but the flavor is largely unaffected. If the pooled butter on the tray is still usable (not burnt), you can even brush a small amount back onto the warm croissants for extra flavor and shine, though this doesn't restore the lost structure.
Prevention Checklist for the Next Batch
- Keep the dough consistently cool throughout lamination - see our temperature guide
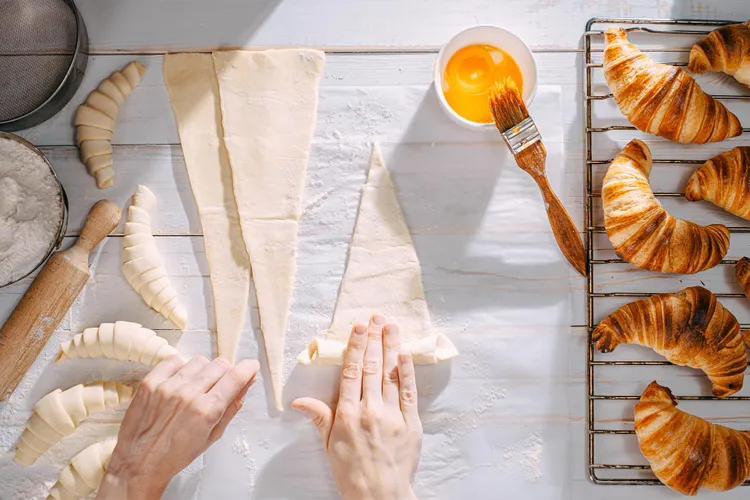
- Use a sharp knife or bench scraper to cut clean triangles, replacing a dull blade if it's dragging through the dough
- Seal the tip of each rolled croissant firmly underneath, and press seams closed rather than leaving them loose
- Watch the visual proofing cues (puffy, jiggly, roughly doubled) rather than a fixed clock time, since overproofing is a real risk if you proof on a schedule regardless of how warm your kitchen is that day
- Fully preheat the oven, ideally with an oven thermometer to confirm the actual internal temperature matches the display, since many home ovens run cooler than they indicate
A Note on Butter Quality
Lower-fat, higher-moisture butter (standard American butter around 80% fat) has more water to begin with, and that water converts to steam and expands more dramatically as it heats, which can push against weakened dough structure more forcefully than a higher-fat butter would. This isn't the main driver of leaking on its own, but it's part of why European-style, higher-fat butter tends to produce a more forgiving, cleaner bake overall.
When to Just Try Again
A single batch with significant butter leakage is worth treating as diagnostic information rather than a discouraging failure. Go through the causes above, identify which one most likely applied to your specific process, and adjust that one variable on the next attempt rather than changing everything at once - that way you'll actually know what fixed it.
Distinguishing Normal Seepage From a Real Problem
It helps to have a clear sense of what "normal" looks like before deciding a batch has a real problem. A thin, dime-sized ring of butter around the base of a few croissants on the tray, with the pastries themselves still looking puffy, layered, and holding their shape, is well within normal range and not something to troubleshoot. What you're watching for instead is a genuinely large pool of butter, croissants that look visibly flatter and greasier than they did going into the oven, or butter that has escaped early enough in baking to start smoking or burning on the tray. That level of leakage is the real signal that something upstream needs attention.
The Role of the Baking Sheet Itself
A dark, heavy baking sheet absorbs and holds heat more aggressively than a lighter-colored one, which can accelerate how quickly butter escaping onto the tray starts to burn rather than simply pool. If you're using a dark pan and noticing burnt, smoking butter spots even when the croissants themselves look reasonably intact, switching to a lighter aluminum sheet, or lining generously with parchment, can reduce this specific symptom without needing to change anything about your lamination technique.
Checking Your Yeast and Proofing Environment
Since overproofing is one of the more common causes of butter leakage, it's worth double-checking your proofing setup specifically. A proofing spot that's too warm (above about 80°F) speeds up fermentation faster than the visual cues can keep pace with, making it easy to walk away for what you think is a reasonable window and come back to dough that's proofed well past the ideal point. A slightly cooler, slower proof - even if it takes an extra hour - is generally more forgiving and easier to monitor accurately than a fast, hot proof where the difference between "just right" and "too far" is a matter of minutes.
Butter Leakage in Filled Pastries
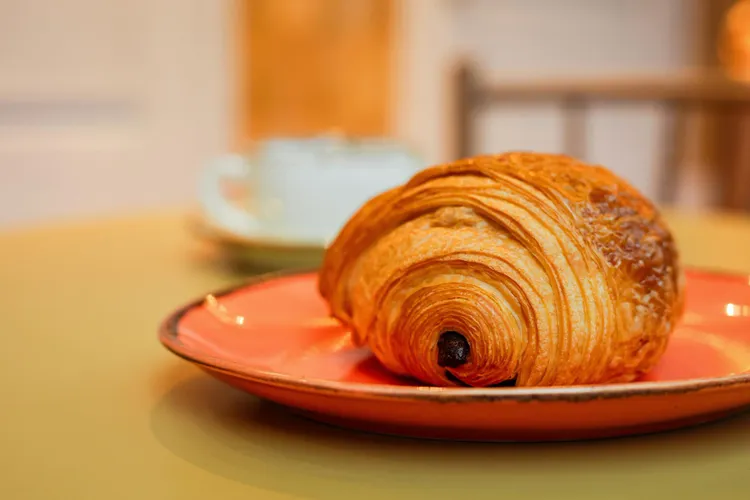
Filled variations like pain au chocolat and ham and cheese croissants can show butter leakage for all the same reasons as plain croissants, plus the added factor of a filling that itself needs sealing in. If you're seeing leakage specifically concentrated near the filling rather than evenly around the pastry, focus on how well the dough was sealed around that particular filling during shaping, since that's a distinct failure point from the underlying lamination itself.
Does Butter Brand Affect How Much Leaks?
Beyond fat content, some of the variation between butter brands comes down to how the butter was churned and its overall consistency, which can subtly affect how it behaves under stress in the oven. This is a secondary factor compared to temperature management and proofing time, but if you've addressed those two carefully and are still seeing more leakage than expected, it's worth trying a different butter brand on your next attempt as a smaller, additional variable to test.
A Quick Visual Timeline of a Well-Baked Tray
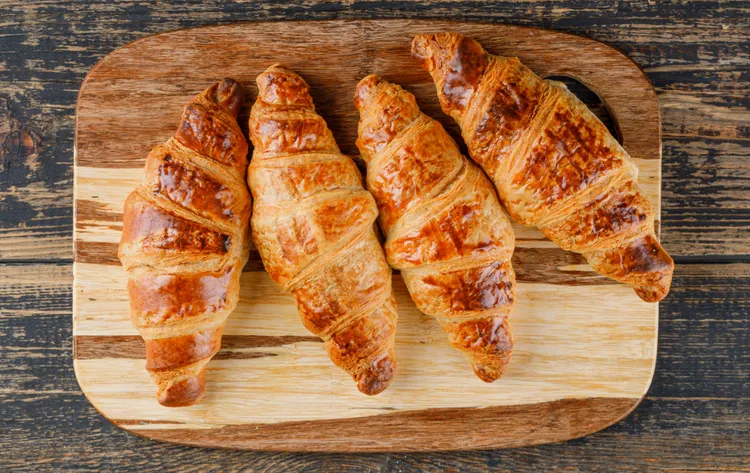
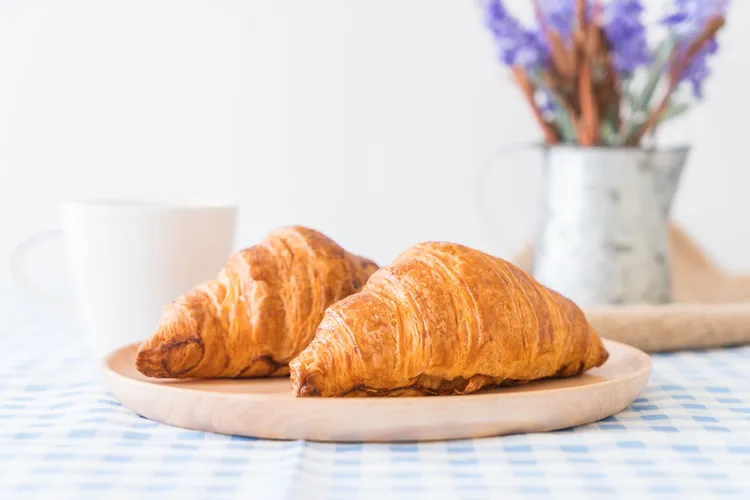
Understanding what a good bake actually looks like at different points helps you recognize a problem developing in real time rather than only after the fact. In the first few minutes, croissants should start to color lightly at the edges while still holding their shape. By the midpoint, they should be visibly puffed and rising, with color deepening across the whole surface rather than just the edges. By the final few minutes, the surface should be a deep golden brown with a glossy sheen from the egg wash, and any butter on the tray should be minimal - a light sheen or a few small pools at most, not a significant, spreading puddle.
Preventing Leakage From the Very Start
Because so many of the causes of butter leakage trace back to earlier stages in the process - lamination temperature, butter block quality, proofing time - prevention really starts well before the croissants ever go in the oven. Treating this as a checklist to run through at each earlier stage, rather than only troubleshooting after a disappointing bake, tends to produce more consistent results over several batches than reacting after the fact each time.
Reading the Dough Right Before It Goes in the Oven
A final check right before baking can catch some leakage risks before they happen. Gently press a finger into a proofed croissant - it should feel light, airy, and jiggly, with a soft give, rather than dense or firm. If any croissants in the batch feel noticeably different from the rest - firmer, or already showing signs of butter seeping at a seam even before baking - it's worth baking that specific tray a few minutes sooner than planned, since it may be at higher risk of more significant leakage the longer it continues proofing.
The Interaction Between Oven Steam and Butter Leakage
Some bakers introduce a small amount of steam into the oven during the first few minutes of baking (a shallow pan of hot water on a lower rack, for instance), a technique more commonly associated with crusty breads. For croissants specifically, this isn't standard practice and generally isn't necessary - the butter itself already provides plenty of internal steam for the lift croissants need, and adding external steam can occasionally soften the exterior in a way that makes it slightly more prone to allowing butter through before the crust has set. It's worth avoiding this technique for croissants unless a specific recipe calls for it deliberately.
What a Genuinely Ruined Batch Looks Like
It's worth distinguishing significant-but-recoverable leakage from a genuinely ruined batch, since the two get conflated more often than they should. A batch that leaked notably but still rose somewhat, browned reasonably, and holds together as a pastry - even if flatter and greasier than ideal - is still worth eating and enjoying. A batch where the butter fully escaped early enough that the dough never had steam to rise at all, resulting in something closer to a flat, dense cracker sitting in a pool of butter, is a more genuine failure worth treating as a learning experience for the next attempt without much hope of enjoying the current batch as intended.
Cleaning Up After a Leaky Bake
Burnt butter on a baking sheet can smoke and set off a smoke alarm if left too long under high heat, so it's worth keeping an eye on any tray showing significant leakage rather than walking away entirely. Lining trays generously with parchment paper, rather than baking directly on the metal, makes cleanup considerably easier regardless of how much butter escapes, and it's a reasonable standard practice for every batch, not just ones you suspect might leak. A silicone baking mat is another reasonable option here, since it withstands repeated use without needing replacement the way parchment does, and cleans up easily with warm soapy water afterward.
For the broader set of lamination issues this connects to, see our guide to lamination mistakes, or head back to the complete croissant guide.
Latest