Classic Homemade Peanut Butter (Just 2 Ingredients)
The baseline homemade peanut butter recipe - just peanuts and salt, smooth or crunchy, ready in about 10 minutes of blend time.
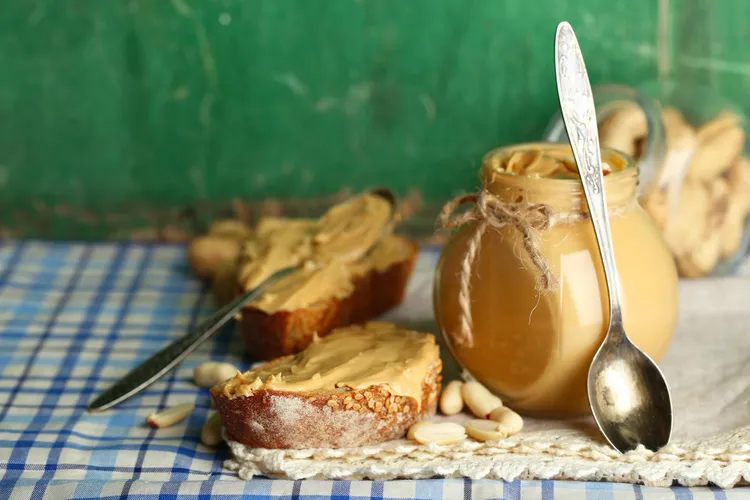
Peanut butter is the easiest nut butter to make from scratch, and the one worth starting with if you've never made any nut butter before. Peanuts are cheap, forgiving, and blend into a smooth butter faster than almost anything else in this guide.
Classic Homemade Peanut Butter
Prep time: 5 minutes | Blend time: 6 to 10 minutes | Makes: about 1.5 cups
Ingredients
- 2 cups roasted, unsalted peanuts (or raw peanuts, roasted per instructions below)
- 1/2 tsp salt, or to taste
- 1 to 2 tbsp neutral oil (optional, only if needed)
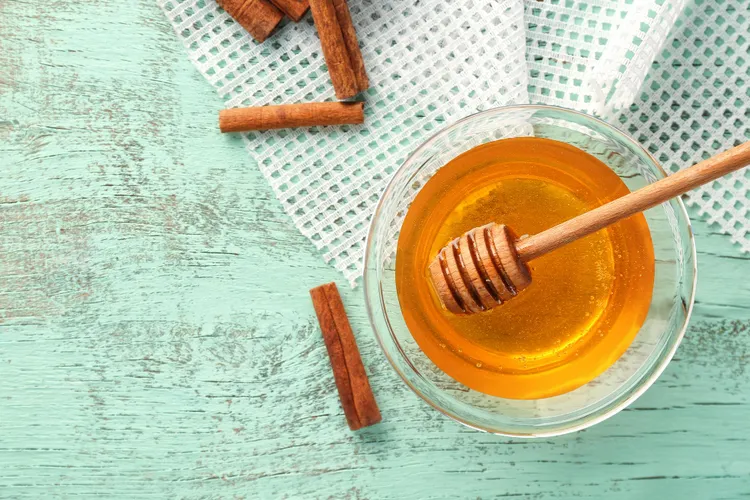
- 1 tbsp honey or maple syrup (optional)
Instructions
- If starting with raw peanuts, roast at 350F for 12 to 15 minutes, stirring once halfway, until fragrant and lightly golden. Let cool for 10 minutes. Skip this step if using pre-roasted peanuts.
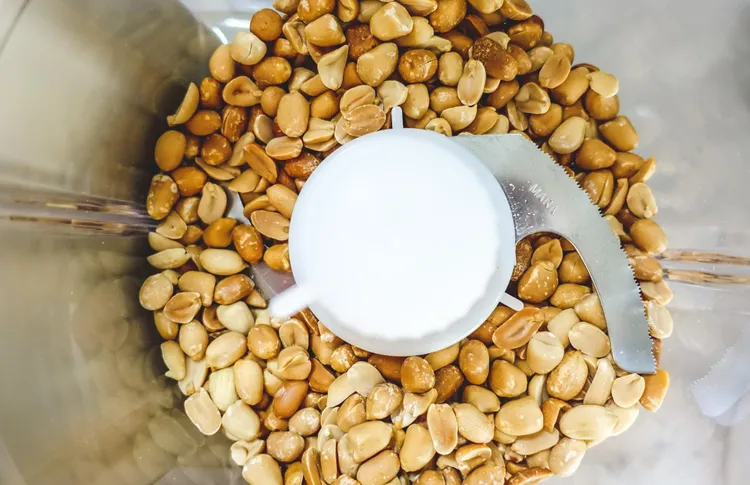
- Add the peanuts to a food processor fitted with the standard blade. Process continuously, stopping every 2 minutes to scrape down the sides.
- The peanuts will move through three stages: a fine, dry meal around minute 1 to 2, a thick clumped ball around minute 3 to 5, and finally a smooth, pourable butter around minute 6 to 10. Don't stop at the clump stage - it looks finished but isn't.
- Once smooth, add the salt and blend for another 30 seconds to distribute it evenly. Taste and adjust.
- If the batch still looks grainy or stiff after 10 minutes, add oil one tablespoon at a time and blend for another minute. See our troubleshooting guide if it's still not smoothing out.
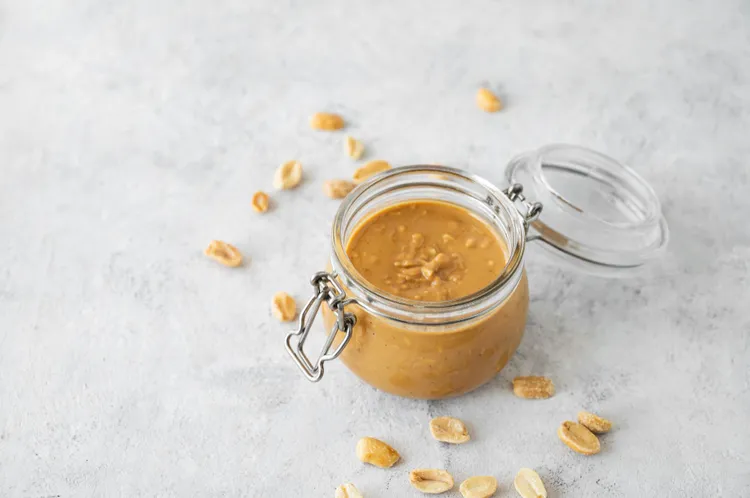
- Transfer to a clean, airtight jar. Store in the refrigerator.
Notes
Peanuts are naturally oily enough that most batches never need added oil at all, unlike almonds or pistachios. If yours needs it, that usually means the peanuts weren't roasted enough or the processor stopped too early.
Why Peanuts Blend So Easily
Peanuts are roughly 49 percent fat by weight, higher than almonds and close to cashews, which is exactly why they release oil and turn creamy faster than most other nuts in this guide. Roasting matters more here than with some other nuts too - it noticeably deepens the flavor and speeds up how quickly the oil releases during blending, since heat breaks down the cell walls holding the oil in.
Crunchy vs Smooth
For crunchy peanut butter, reserve 1/4 cup of the roasted peanuts before blending the rest into a smooth butter. Pulse the reserved peanuts a few times to roughly chop them, then fold them into the finished smooth butter by hand. Blending everything together from the start, including the "crunchy" portion, tends to over-process the reserved nuts before the rest of the batch catches up, leaving inconsistent texture rather than distinct crunchy bits.
Salted vs Unsalted Peanuts
Pre-salted roasted peanuts work fine, but the salt level is harder to control precisely and can end up much saltier than intended once concentrated into a smaller volume of butter. Starting with unsalted peanuts and adding salt yourself, a little at a time, gives a more reliable, tastable result.
Natural Sweeteners
Honey and maple syrup both work, but add them only after the peanuts have fully turned into a smooth butter, not earlier. Adding a liquid sweetener to a batch that's still in the dry, floury stage can cause the mixture to seize into a stiff paste rather than blending in smoothly. Once the base is fully smooth, drizzle in the sweetener with the processor running and blend for another 30 to 60 seconds.
Common Mistakes
The single most common mistake is stopping the processor at the clump stage, assuming something has gone wrong, and adding oil to "fix" it. In most cases, the batch just needs another 2 to 4 minutes of continuous blending - the clump breaks down into a smooth butter on its own as more oil releases from the peanuts. Adding oil too early results in a thinner, less peanut-forward final product than letting the process finish naturally.
A second mistake is under-roasting. Peanuts that are pale and barely fragrant take noticeably longer to smooth out and taste flatter in the final butter. Roast until they're audibly rattling less and smell distinctly nutty, not just warm.
Roasting Your Own Raw Peanuts
Buying raw, shelled peanuts and roasting them yourself gives more control over depth of flavor than pre-roasted store peanuts, and it's a small extra step. Spread raw peanuts in a single layer on a rimmed baking sheet and roast at 350F for 12 to 15 minutes, stirring once around the halfway mark so the ones near the edges don't roast faster than the ones in the center. They're done when they smell distinctly toasted and have darkened slightly, not when they've turned deeply brown - overshooting the roast starts to introduce a bitter edge that's hard to blend out.
Adjusting for Different Peanut Types
Spanish peanuts, redskin peanuts, and standard Virginia peanuts all work for this recipe, though their flavor and oil content vary slightly. Spanish peanuts run a bit higher in oil and blend marginally faster; Virginia peanuts, the most common in grocery stores, are the standard reference point for the timing given in this recipe. Redskin peanuts add a faint, pleasantly bitter edge from the skin if left on, similar in spirit to how hazelnut skins affect a chocolate hazelnut spread, though far milder.
Making It Extra Smooth
If an especially silky, almost pourable texture is the goal - closer to a drizzling consistency than a traditional spread - continue blending for an additional 2 to 3 minutes past the point where the batch first turns smooth. The extra time releases slightly more oil and thins the final texture without needing to add any liquid oil at all. This works particularly well for peanut butter meant for drizzling over desserts or thinning into a sauce.
Scaling the Recipe
This recipe scales up cleanly - doubling the peanuts to 4 cups works fine in a large-capacity food processor, though expect blend time to increase by several minutes since there's more volume for the blade to work through. Halving the recipe to 1 cup of peanuts is possible but can struggle to circulate properly in a standard-size processor bowl; a smaller processor or a mini chopper built for smaller volumes handles a half batch more reliably.
Why Some Batches Turn Out Darker Than Others
Color variation between batches is normal and mostly comes down to roasting time and the specific peanuts used - some varieties and some individual bags simply roast up slightly darker than others even at the same oven temperature and time. As long as the peanuts smell toasted rather than burnt and haven't developed a noticeably acrid smell, color alone isn't a reliable sign that something's wrong.
Natural Peanut Butter vs This Recipe
Store-bought "natural" peanut butter, the kind with a thin layer of oil on top and a short ingredient list, is essentially the commercial version of exactly what this recipe produces. If a jar labeled "natural" has ever seemed appealing but pricier than the standard shelf-stable version, this recipe is the direct homemade equivalent, generally at a fraction of the cost.
Adjusting for Different Processor Sizes
A smaller food processor, in the 5 to 6 cup range, can still make this recipe, but 2 cups of peanuts may need slightly more frequent scraping to circulate properly in a tighter bowl. A larger 10 to 12 cup processor handles the same 2-cup batch with room to spare, and circulation tends to be a bit faster as a result, sometimes shaving a minute or two off the total blend time.
A Simple Way to Judge Doneness by Sound
Beyond visual and taste cues, the sound of a food processor running with peanuts inside changes noticeably as the batch progresses - a drier, coarser whirring sound during the meal and clump stages gives way to a smoother, slightly wetter-sounding whir once the peanuts have released enough oil to move freely again. This isn't a precise measurement, but it's a genuinely useful secondary cue once you've made a batch or two and know what to listen for.
Making It Ahead for a Recipe
If peanut butter is being made specifically as an ingredient for another recipe (like a satay sauce or baked good) rather than as a standalone spread, it can be made up to a week ahead and stored in the fridge without any real quality loss, as long as it's brought back to room temperature and stirred well before being incorporated into whatever it's headed for next.
Peanut Allergy Note
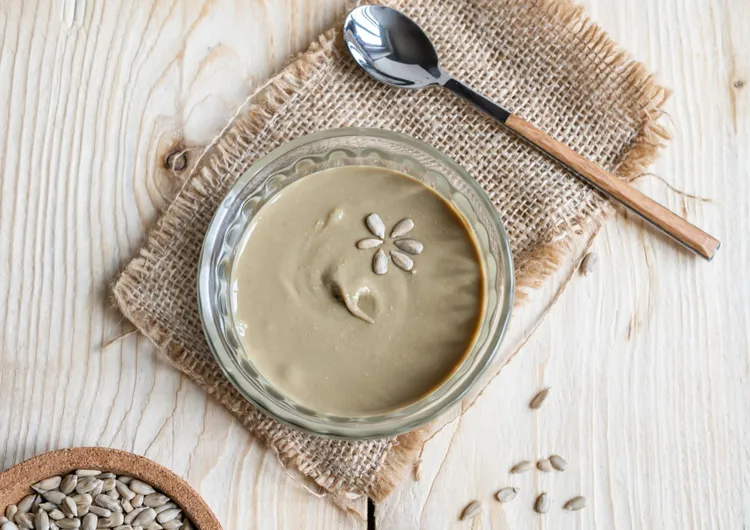
Peanuts are one of the most common food allergens, and homemade peanut butter carries the same allergy risk as any peanut product - there's no special preparation method that changes that. If peanut allergy is a concern for anyone in the household, see our sunflower seed butter recipe for a genuinely nut-free and peanut-free alternative that works similarly in most recipes.
Storage
Homemade peanut butter keeps for about 3 to 4 weeks in the refrigerator in an airtight container. Unlike store-bought jars, it will separate somewhat over time since there's no added stabilizer - a quick stir before use fixes this. See our full storage guide for more on telling separation apart from spoilage.
What to Use It On
Beyond the classic spread on toast, homemade peanut butter works especially well stirred into a peanut butter spinach smoothie or a peanut butter pineapple smoothie for breakfast, and it's the base for a quick Thai-style peanut sauce when thinned with a bit of soy sauce, lime, and warm water. For more ideas, see our full uses guide.
Freezing Peanuts Before Making Butter
Raw or roasted peanuts freeze well for months without losing quality, which makes buying in bulk and freezing a portion a practical way to always have peanuts on hand for a batch without worrying about them going stale in the pantry first. Frozen peanuts can go straight into roasting without thawing, adding only a couple of minutes to the roasting time.
Peanut Butter as a Base for Homemade Trail Mix Bars
Beyond spreading and smoothies, warmed peanut butter mixed with a bit of honey and poured over a combination of oats, seeds, and dried fruit, then pressed into a pan and chilled, makes a simple homemade granola bar without any baking required. This is a good use for a batch nearing the end of its storage window, since the added honey and other ingredients effectively extend its usable life a bit further in a new form.
Peanut Butter's Texture Compared to the Rest of This Guide
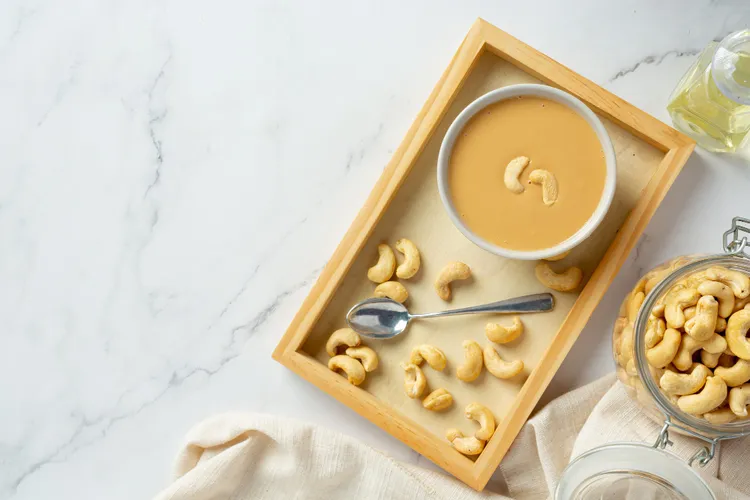
Of every nut butter covered across this guide, peanut butter tends to land on the thicker, denser end of the spectrum once fully cooled in the fridge, compared to naturally looser options like cashew butter. This is simply a characteristic of peanuts' particular fat composition, not a sign of under-processing, and it's part of why peanut butter holds its shape so well on a knife or spoon compared to some of the other recipes in this guide.
What a Finished Batch Should Look Like at a Glance
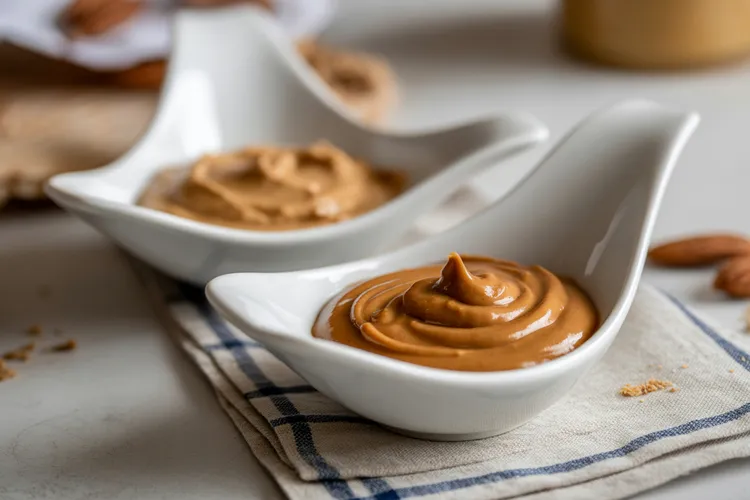
A properly finished batch of peanut butter should pour slowly off a spoon in a steady ribbon rather than clumping or breaking apart, and it should look uniformly glossy with no visibly dry or matte patches anywhere in the bowl. If some areas still look duller or drier than the rest even after the recipe's full blend time, that's usually unprocessed material stuck against the bowl walls rather than a sign the whole batch needs more time - one more thorough scrape-down and a short additional blend usually evens it out completely.
Comparing to Other Nut Butters
If you're deciding whether peanut or a tree nut butter fits your needs better, our peanut butter vs almond butter comparison covers the real differences in flavor, cost, and texture.
This is the recipe to have memorized before trying anything else in this guide. For the full roadmap, see the complete nut butter guide.
Nuts are common allergens. Always check ingredient labels for potential allergens and cross-contamination. If you have a nut allergy, avoid handling or consuming nuts and nut-based products, including homemade nut butter.
Latest