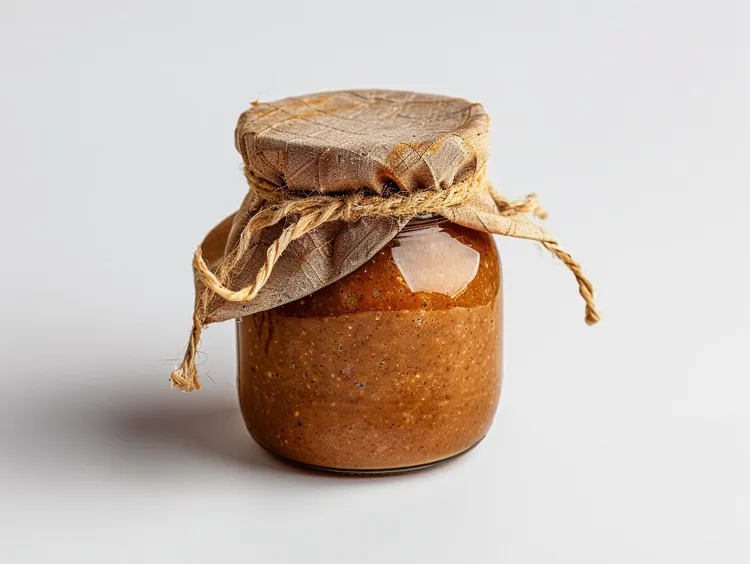
Nut Butter From Scratch: Peanut, Almond, and Beyond
A complete guide to making nut butter at home - the universal method, equipment that actually works, and a full roadmap to peanut, almond, cashew, pistachio, and seed butters.
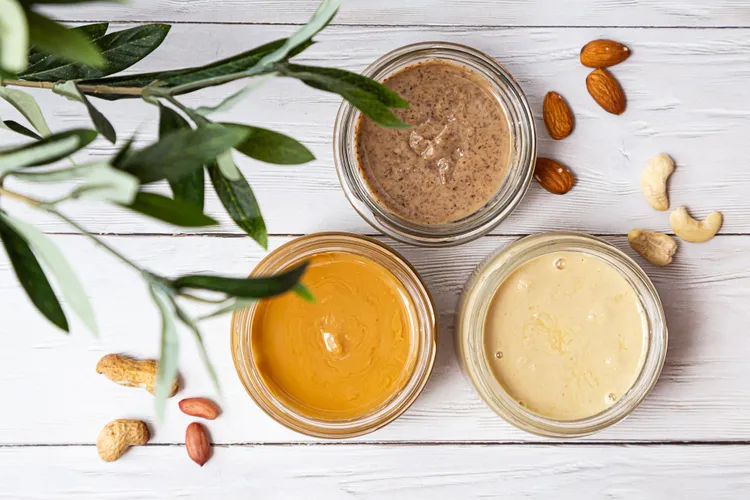
Every jar of nut butter on the grocery shelf is doing something you can do in your own kitchen in under fifteen minutes, usually for half the price and with none of the added palm oil or sugar most brands quietly rely on to keep the texture stable. The entire technique comes down to two ingredients minimum - nuts, and time in a food processor - and once you've made one batch, every other nut or seed on this list follows the same basic pattern.
Why Homemade Beats the Jar
Natural peanut butter at the store runs $6 to $9 for a 16-ounce jar. The same amount of homemade peanut butter, made from bulk roasted peanuts, costs closer to $2.50 to $3.50, and that gap gets wider with pricier nuts like almonds, cashews, and especially pistachios. Beyond cost, making it yourself means total control over salt, sweetness, and texture - no stabilizers, no added oils unless you choose to add them, and no settling for whatever consistency the brand decided was standard. Our full cost breakdown walks through the math nut by nut.
The Only Equipment That Actually Matters
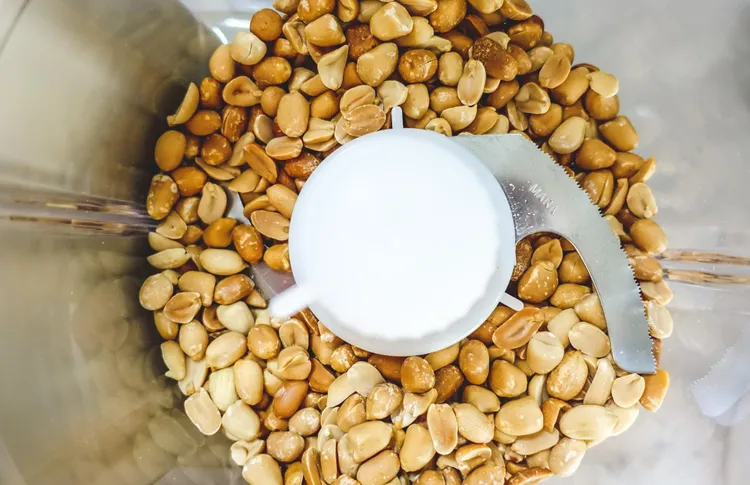
A food processor with at least a 7-cup capacity and a reasonably strong motor (600 watts or more) is the standard tool, and it handles every nut in this guide. A high-powered blender with a tamper works too, and actually beats a food processor for oilier nuts like cashews and macadamias. What doesn't work well: a standard blender without a tamper (nuts get stuck below the blades and never circulate), a mini chopper (too small, motor burns out), or a mortar and pestle (technically possible, not realistic for more than a tablespoon). See our equipment guide for specific model recommendations and what to do if you only have a basic blender.
The Universal Method
Nearly every nut butter in this guide follows the same four stages, and knowing what to expect at each one is what separates a smooth, spreadable result from ten minutes of frustration and a scorched motor.
- Roast (optional but recommended): Raw nuts spread on a sheet pan, roasted at 300 to 350F until fragrant, usually 8 to 15 minutes depending on the nut. Roasting releases oil and deepens flavor considerably - see our roasting guide for exact times by nut type.
- The flour stage: The first 1 to 2 minutes of processing turn nuts into a fine, dry meal. This looks like it's going nowhere. It's normal.
- The clump stage: Around minute 3 to 5, the meal balls up into a dense clump that rides around the processor blade. This is the stage that makes people think something's wrong and stop too early.
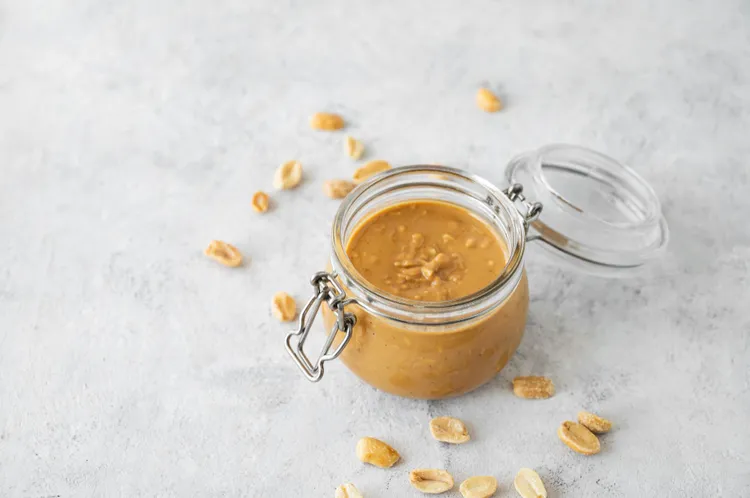
- The butter stage: Keep going and the clump breaks down again, releasing the nut's natural oil and turning into a smooth, pourable butter, typically between minute 6 and 15 depending on the nut's own oil content. Cashews and macadamias move through this fastest; almonds and pistachios take longest.
Stop the processor every 2 to 3 minutes to scrape down the sides with a spatula. Nuts that cling to the walls of the bowl don't get processed and will leave your batch gritty. If a batch seems stuck in the clump stage past 10 minutes, see our troubleshooting guide before adding oil - most of the time, it just needs another few minutes.
Choosing Your Nut
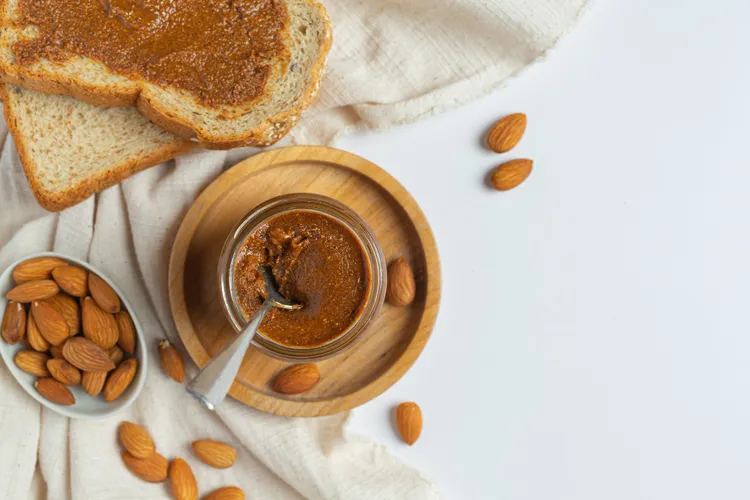
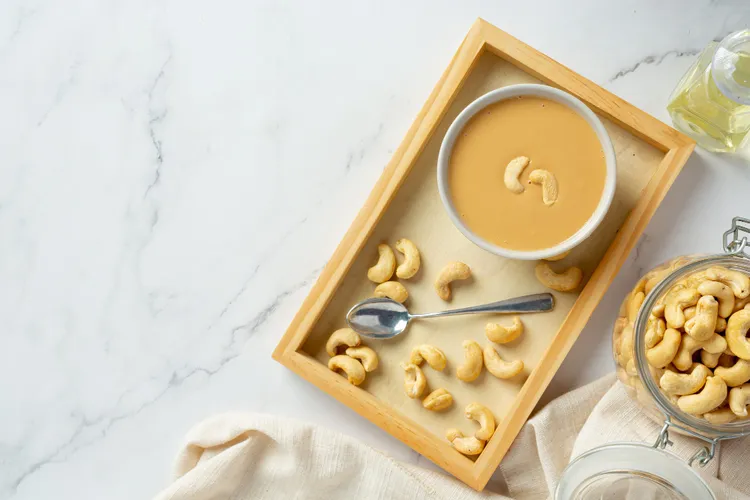
Start with classic peanut butter if you've never made nut butter before - peanuts are the most forgiving, cheapest, and fastest to blend of anything in this guide, usually reaching full smoothness in 6 to 8 minutes. Almond butter is the next logical step, with a milder, slightly less sweet flavor and a longer blend time given almonds' lower natural oil content. Cashew butter is the easiest nut to get silky-smooth, since cashews are naturally high in fat and low in fiber, often finishing in under 5 minutes.
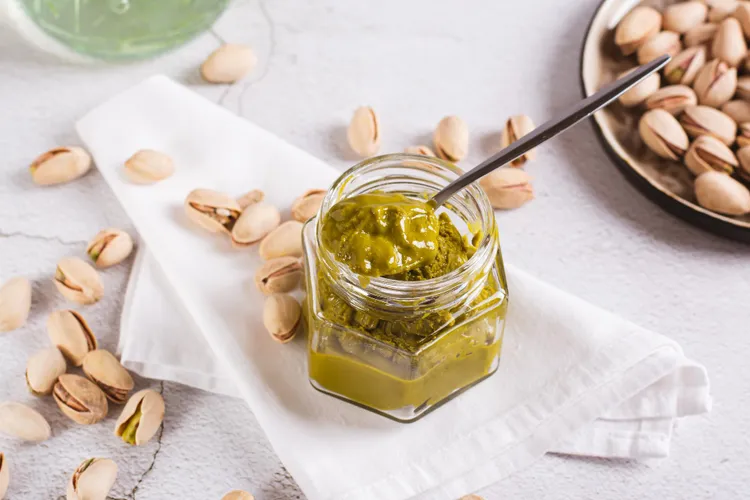
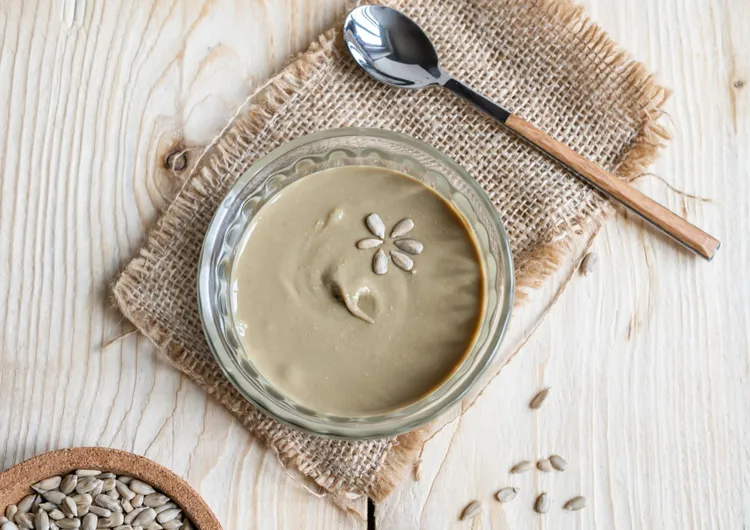
For something less common, pistachio butter delivers a vivid green color and a more delicate, slightly sweet flavor that works particularly well in desserts, while homemade chocolate hazelnut spread gives you a from-scratch version of the jarred chocolate-hazelnut spread everyone already knows, minus the palm oil. If nut allergies are a concern in your house, sunflower seed butter is naturally nut-free and works in every recipe that calls for peanut or almond butter.
Got odds and ends of several nuts sitting half-used in the pantry? Mixed nut butter is built specifically for using up exactly that kind of leftover stash rather than buying a fresh bag for each type.
Flavoring Without Ruining the Texture
Salt, honey, cinnamon, and vanilla are the classic add-ins, but each one interacts with the nut butter's texture differently - liquid sweeteners in particular can seize a batch if added at the wrong stage. Our flavored nut butter guide covers ratios that actually work, including honey cinnamon, maple, and a spicy chili-lime version, without turning a smooth batch grainy or split.
Storing What You Make
Homemade nut butter behaves differently than the shelf-stable jarred stuff, since it has no added stabilizers keeping the oil from separating. Most nut butters keep for 3 to 4 weeks refrigerated, with natural oil separation that just needs a stir before use. Our storage guide covers exact timelines by nut type and how to tell when a batch has actually gone bad versus just separated.
What to Actually Do With It
Toast is the obvious answer, but homemade nut butter earns its keep well beyond that. Stir a spoonful into a peanut butter spinach smoothie for a quick breakfast, or blend it into a peanut butter pineapple smoothie for something brighter. It also works as the base for a quick Thai-style peanut sauce, folds into baked goods to cut down on added oil, and thins out into a genuinely good salad dressing with a splash of rice vinegar and soy sauce. Our full uses guide goes well beyond the spread-on-bread basics.
Picking the Right Nut Butter for the Job
Not sure whether peanut or almond butter is the better call for a specific recipe or diet preference? Our side-by-side comparison breaks down flavor, cost, and texture differences so you're not guessing.
Nuts vs Seeds: Does the Method Really Not Change?
It genuinely doesn't, and this surprises people the first time they try a seed instead of a tree nut. Sunflower seeds pass through the exact same meal, clump, and smooth stages as almonds or cashews, on a comparable timeline to almonds. The only real variable across this entire guide, nut or seed, is how much natural oil the ingredient starts with - more oil means a faster trip to smooth, less oil means more patience is required. Once that single variable clicks, every recipe in this guide stops feeling like a separate thing to learn and starts feeling like the same process applied to a different starting ingredient.
Raw vs Roasted: When Each Makes Sense
Roasted nuts are the default recommendation throughout this guide because they blend faster and taste noticeably more complex, but raw nut butter has its own place. Raw cashew butter, for instance, has a softer, sweeter flavor that some people specifically prefer for smoothies or raw dessert recipes, where a strong roasted-nut flavor would compete with other ingredients. Raw almond butter, on the other hand, takes considerably longer to smooth out than roasted, since roasting is what speeds up oil release most dramatically for lower-fat nuts. If a recipe or personal preference calls for raw, budget extra blend time and extra patience, particularly with almonds and pistachios.
A Note on Salt Timing
Salt is one of the few ingredients that behaves consistently no matter which stage it's added at, since it doesn't interfere with oil release the way liquid sweeteners can. Even so, adding it toward the end, once the butter has reached its final smooth consistency, makes it easier to taste and adjust accurately. Salt added at the very start of a long blend can also settle unevenly if the batch needs several rounds of scraping down the sides.
Batch Size Considerations
Every recipe in this guide is scaled to about 2 cups of nuts or seeds, which is both a practical amount for most food processors to properly circulate and enough to last the average household 3 to 4 weeks in the fridge. Doubling a batch is possible in a large-capacity processor, but doubling also roughly doubles blend time, since there's more material for the blade to work through per rotation. Going smaller than about 1.5 cups tends to underperform in a standard-size food processor, since there isn't enough volume for the blade to properly catch and circulate the mixture - a mini batch is often better made in a smaller appliance built for smaller volumes, if one is available.
Reading This Guide in Order vs Jumping Around
This guide is built so that the universal method above applies to every nut-specific recipe that follows, which means it's genuinely fine to skip straight to whichever nut butter interests you most rather than reading start to finish. That said, if a specific batch isn't turning out right, the troubleshooting guide and roasting guide are worth reading in full even if the individual nut recipe seemed straightforward, since most issues come down to roasting or blend-time expectations rather than anything specific to one nut.
A Word on Consistency Expectations
Homemade nut butter, even when made correctly, generally looks and pours slightly differently than a shelf-stable jar from the store. It's often a touch looser right after blending, firms up somewhat in the fridge, and separates a bit over time in a way commercial versions are specifically formulated to resist. None of this means a batch went wrong - it's simply what nut butter without added stabilizers actually behaves like, and getting comfortable with that difference is part of the transition away from store-bought.
Making Nut Butter With Kids
The roasting and blending stages of this process are genuinely kid-friendly, particularly the moment a dry, sandy meal suddenly turns into a smooth, glossy butter - it's a satisfying transformation to watch happen. Roasting and any knife work (like chopping reserved nuts for a crunchy variation) are the adult-supervised steps; scooping, scraping, and taste-testing along the way are easy for a kid to participate in directly.
Consistency Between Batches
Even following the exact same recipe and timing, two batches of the same nut butter can come out slightly different in thickness, especially with nuts like almonds where natural oil content varies somewhat by growing season and source. This is normal and not a sign of doing anything wrong differently between batches - slight variation is simply part of working with a whole-food ingredient rather than a standardized manufactured product.
When Store-Bought Still Makes Sense
Homemade nut butter isn't always the better choice in every situation. For travel, for a single-serving need, or when time genuinely isn't available for a 15 to 20 minute process, a store-bought jar remains a perfectly reasonable option. This guide isn't meant to suggest homemade is required every time - just that it's a genuinely accessible, worthwhile skill to have when the time and ingredients are on hand.
Frequently Overlooked Questions Before Starting
A few questions come up often enough before a first attempt that they're worth answering directly here rather than only inside each individual nut's recipe. Can nut butter be made without any roasting at all? Yes, though it changes flavor and blend time, covered in the roasting guide. Does it need a specific brand of food processor? No, any machine meeting the wattage and capacity guidelines above works. Is homemade actually safe to give to kids, allergy considerations aside? Yes, with the same care around allergens as any nut product, and no different safety concern from the process of making it at home.
Getting Started
If this is your first attempt, buy a one-pound bag of roasted, unsalted peanuts, roast nothing since they're already roasted, and run them through a food processor for 8 to 10 minutes, scraping down every 2 minutes. That single batch teaches every stage described above and gives you a reference point for every other nut in this guide. From there, the only real variable that changes nut to nut is blend time - the technique itself doesn't change at all.
Nuts are common allergens. Always check ingredient labels for potential allergens and cross-contamination. If you have a nut allergy, avoid handling or consuming nuts and nut-based products, including homemade nut butter.
Latest