Slow Cooker Timing Guide: What Cooks in 4 Hours vs 8 Hours
A practical reference for slow cooker timing - which cuts and ingredients belong on which setting, why carry-over cooking matters, and what happens when the timing goes wrong.

The most common slow cooker mistake isn't undercooking - it's overcooking. Collagen-rich cuts like lamb shoulder, oxtail, and beef chuck have a wide window: they can go an extra hour or two without meaningful harm. But lean proteins, lentils, and most delicate vegetables have a narrow window, and going past it produces dry, stringy, or mushy results that can't be fixed. Knowing which category your ingredient falls into is as important as knowing the timing numbers themselves.
How Slow Cookers Work
Most slow cookers operate at two primary temperatures: low (approximately 88-93°C / 190-200°F) and high (approximately 107-115°C / 225-240°F). The difference isn't dramatic, but it matters over 6-10 hours of cooking time. The low setting allows more gradual collagen conversion, better moisture retention throughout a large cut, and more even cooking from the outer surface to the centre. The high setting reaches the same endpoint faster but at some cost to texture, particularly in very large or very fibrous cuts.
The lid is central to how a slow cooker functions. It creates a sealed, pressurised steam environment that keeps temperatures consistent. Every time you remove the lid, you release heat and steam - the cooker loses 20-30 minutes of accumulated cooking progress. Check only when you need to and replace the lid quickly.
Carry-over cooking is significant in a slow cooker. The thick ceramic insert retains substantial heat after the cooker switches off, and food continues to cook actively for 20-30 minutes. For ingredients with a narrow window - pork loin, chicken breast, lentils, soft vegetables - factor this into your timing. Turn off the cooker slightly early rather than right at the edge of the window.
Timing Reference: Low Setting
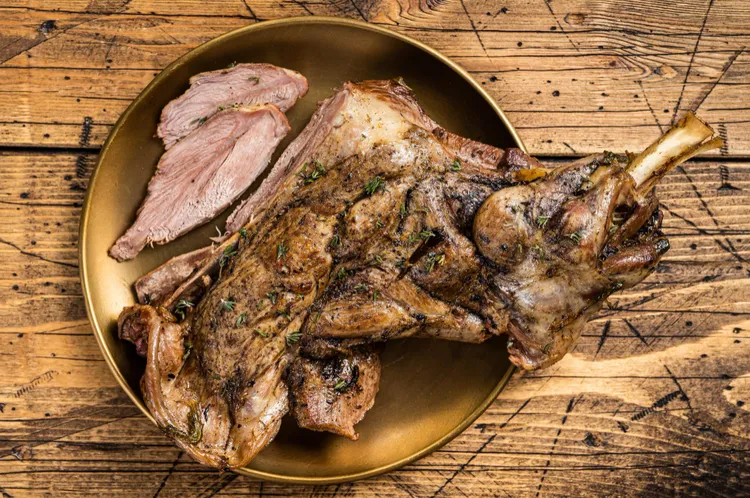
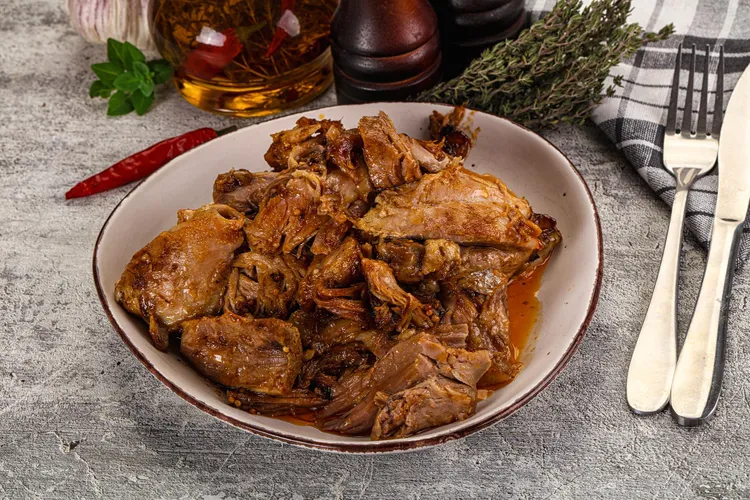
- Bone-in lamb shoulder (1.5-2kg): 8-10 hours. Wide, forgiving window - can safely go to 10 without harm. See our braised lamb shoulder guide for the full technique.
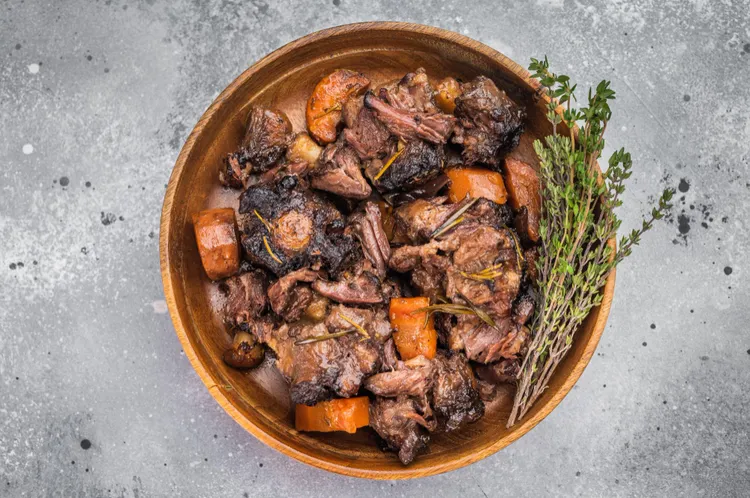
- Oxtail (1-1.5kg): 9-10 hours. Needs the full time for collagen to convert completely. Checking at 8 hours is fine but it likely needs more time. See the braised oxtail guide.
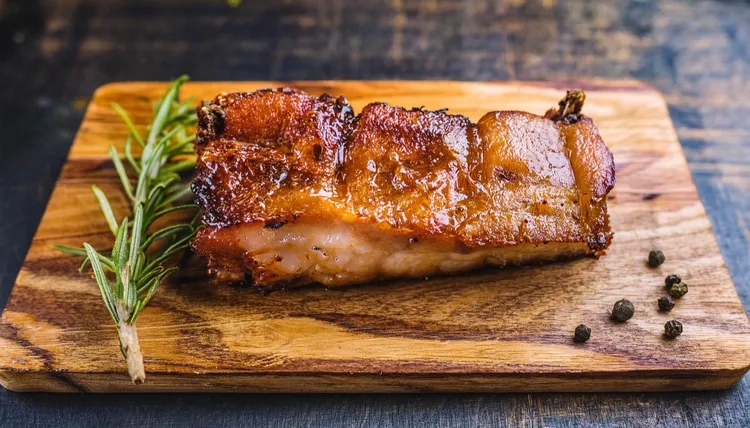
- Pork belly, skin-on (1-1.5kg): 7-8 hours. The slow cooker stage is for fat rendering only - the skin is finished separately under very high heat. See the pork belly guide.
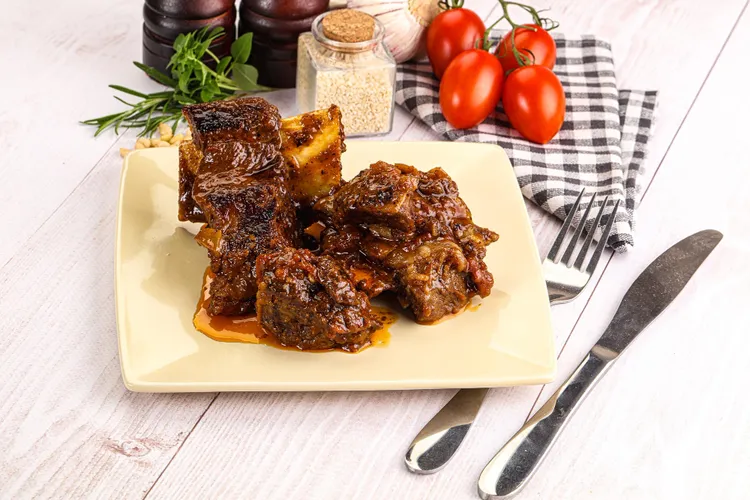
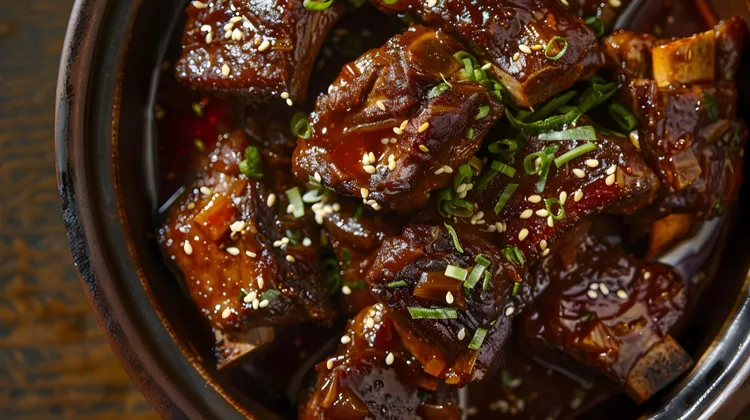
- Beef short ribs, bone-in (1.5kg): 8-10 hours. Excellent result at the low setting. See the short ribs guide.
- Beef chuck or brisket (1.5kg): 8-10 hours. One of the most forgiving cuts in a slow cooker - hard to meaningfully over-cook at low setting.
- Pork shoulder, boneless (1.5kg): 7-9 hours. The classic pulled pork cut. Wide window.
- Dried chickpeas, soaked overnight: 6-8 hours. Check at 6 - texture varies considerably depending on the age of the beans. Old beans can take significantly longer to soften.
- Dried Puy or green lentils: 3-4 hours. Narrow window - check from 3 hours and don't go past 4 without checking first. The transition from perfect to mushy is faster than most expect.
- Root vegetables, large chunks (turnip, parsnip, celeriac): 4-5 hours. Check texture from 4 hours onwards.
- Whole chicken (1.5kg): 6-7 hours. White meat overcooks faster than dark - check internal temperature at 6 hours. Thigh should read 74°C (165°F).
- Chicken thighs, bone-in: 5-6 hours. More forgiving than breast due to fat content and connective tissue. Wide enough window for all-day cooking if needed.
- Pork loin, boneless (1kg): 4-5 hours maximum. Lean cut with no collagen - overcooks rapidly. Not well-suited to slow cooking; use it for quick methods instead.
Timing Reference: High Setting
High setting runs approximately 1.5x to 2x faster than low for most cuts. The general rule: 4-5 hours on high produces similar results to 7-9 hours on low. But the texture from low-and-slow is usually slightly better for collagen-rich cuts - the extended time gives more complete conversion. Use high when time is the constraint; use low when texture matters most.
- Lamb shoulder: 5-6 hours on high.
- Beef chuck or brisket: 5-6 hours on high.
- Pork belly: 4-5 hours on high.
- Oxtail: 6-7 hours on high. This is the cut that benefits least from the high setting - use low if you have the time. See the oxtail guide.
- Chicken thighs: 3-4 hours on high.
- Root vegetables: 2.5-3 hours on high.
- Lentils: 2-2.5 hours on high. Very narrow window at this speed - check from 2 hours.
What Goes Wrong
Dry, stringy meat: Almost always a lean cut (pork loin, chicken breast) cooked too long, or any cut cooked without enough liquid. The slow cooker doesn't evaporate moisture the way an open pot does, but lean cuts still dry out from prolonged heat. Use 30-40% less liquid than you would for a stovetop recipe, and shorten the cook by 30-60 minutes next time.
Mushy vegetables: Added at the beginning when they should go in later. Soft vegetables - courgette, peas, spinach, frozen vegetables, cherry tomatoes - should be added in the last 30-60 minutes only. Hearty root vegetables can go in at the start.
Watery, diluted sauce: Too much liquid. Slow cookers are sealed vessels - the moisture that would evaporate from an open pan stays in the pot and adds to the braising liquid as the meat releases its own juices. Reduce liquid by 30-40% compared to any stovetop or oven recipe. After cooking, transfer the liquid to a saucepan and reduce it on the stovetop.
Grey, flat-tasting meat: No sear before the slow cooker. Always sear collagen-rich cuts thoroughly in a very hot pan before adding to the slow cooker insert. The Maillard flavour compounds built during searing cannot be created at slow cooker temperatures, and the difference in the finished dish is significant and immediate.
Food Safety
Slow cookers must reach 74°C (165°F) for poultry and 63°C (145°F) for whole beef and pork cuts to be food-safe. Most slow cooker recipes on the high setting reach safe temperatures within 2-3 hours. Never start a slow cooker from frozen meat - it may spend too long in the temperature danger zone (4-60°C) before reaching safe internal temperature. Always start from fully thawed or refrigerator-temperature ingredients.
For the full technique and equipment context for all these cuts, see our complete slow cooker and braising guide.
Adapting Oven Recipes for the Slow Cooker
Most braising recipes are written for the oven. Converting them to a slow cooker is straightforward once you understand the key differences.
Reduce the liquid by 30-40%: An oven braise evaporates liquid through the lid seal and during any uncovered time. A slow cooker is sealed throughout and evaporates almost nothing. Use noticeably less liquid than the oven recipe specifies or the sauce will be very thin after cooking.
Multiply the time: An oven braise at 160°C for 3 hours translates to approximately 6-7 hours on the low slow cooker setting. A rough guide is 2x the oven time on low, or 1.5x on high. Check earlier than the estimate for cuts you haven't cooked this way before.
Sear separately: Always sear collagen-rich cuts in a very hot pan before transferring to the slow cooker. The searing step is even more important in slow cooking because there's no high-heat phase during cooking to develop any flavour.
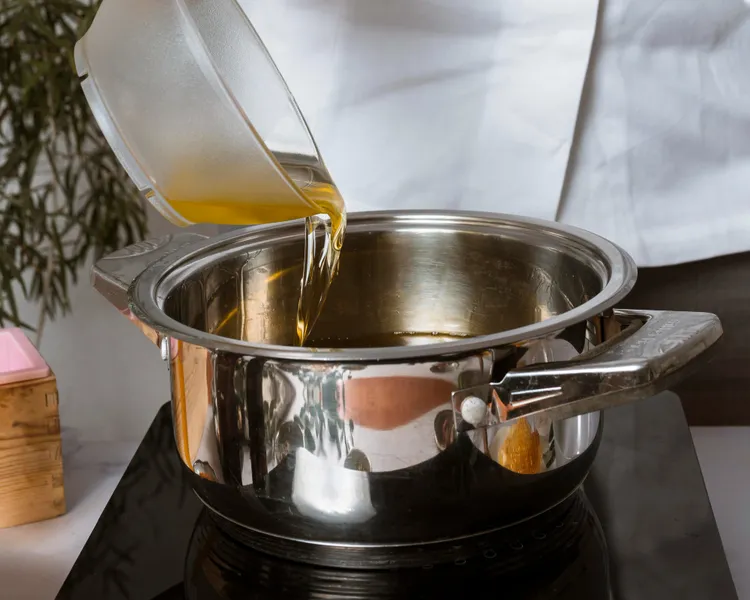
Finish the sauce on the stovetop: An oven braise allows you to remove the lid at the end and reduce the sauce in the same vessel. Transfer the slow cooker liquid to a saucepan and reduce it there.
Layering Ingredients Correctly
The order in which ingredients go into a slow cooker affects the result. The base of the insert is the hottest point - harder vegetables and aromatics go in first; the meat goes on top of them; liquid goes around the sides.
Root vegetables at the base: dense, take longer to soften, and benefit from being closest to the heat source. Onions, carrots, celery - rough chop and lay them at the bottom.
The meat goes on top of the vegetables, not directly on the insert base. The vegetables elevate it slightly and allow the braising liquid to circulate underneath. This also prevents the meat from sitting in the rendered fat that collects at the base during cooking.
Liquid goes around the sides, not poured directly over the meat. Pouring liquid over the surface washes off seasoning and drops the surface temperature of the meat at the start of the cook.
Delicate additions - fresh herbs, citrus zest, cream, finishing butter - go in only during the last 30 minutes or after cooking is complete. Extended cooking destroys the volatile compounds that make fresh herbs useful.
Slow Cooker Safety and Maintenance
The most common damage to slow cooker inserts is thermal cracking from placing a cold ceramic insert directly onto a hot heating element. Let refrigerated inserts come to room temperature first, or start on the low setting for 15 minutes before increasing. Most ceramic inserts are dishwasher-safe, which makes weekly use practical - check the manual for your specific model.
Planning the Week Around Slow Cooker Cooking
The slow cooker's real value is time-shifting cooking to periods when you're not available to be in the kitchen. Understanding which cuts work at which times of day helps you plan a week of meals with minimal active cooking time.
For workday cooking (8-10 hours away from home): bone-in lamb shoulder, beef brisket, pork shoulder, and oxtail on the low setting. All have wide enough windows to accommodate the full workday without overcooking. Use a programmable timer with auto keep-warm if your cooker has one.
For evening cooking (5-6 hours): chicken thighs, beef chuck cut into smaller pieces, and root vegetable braises on the low setting. Or shorter cuts (pork belly, lamb shoulder) on the high setting if you start before dinner.
For overnight cooking: oxtail and brisket are the best candidates. Start on low before bed, wake up to a finished braise, and chill the pot during the day. The overnight approach also allows perfect fat separation - the fat solidifies on the surface by morning and lifts off cleanly.
What to Do When Timing Goes Wrong
Arrived home early and the braise needs more time: reduce the heat or switch to keep-warm and let it continue. Keep-warm at 74°C is hot enough to continue collagen conversion slowly - another 1-2 hours on keep-warm after the cook finishes improves many collagen-rich cuts.
Running late and the braise has been on keep-warm for 3+ hours: the meat is almost certainly overcooked if it was a lean cut. For collagen-rich cuts (shoulder, oxtail, brisket), 3 hours on keep-warm after a full cook is usually fine - shred and serve. For chicken breast or pork loin, the damage is done and the best approach is to shred and use in a dish where dry texture matters less, like a filling for wraps or a soup.
Converting Between Slow Cooker Models
Timing from one slow cooker recipe doesn't always translate perfectly to a different cooker. The variation in operating temperature between models - even at the same "low" setting - means a recipe developed on one cooker may over or undercook in yours. The one-time water temperature test described in our buyer's guide (fill to halfway, run 8 hours on low, measure) gives you a calibration reference that lets you adjust any recipe accurately.
A cooker running at 88°C on low needs approximately 10-15% more time than recipes written for a 93°C cooker. A cooker running at 95°C needs 10-15% less time and poses more risk of overcooking delicate ingredients. Once you know where your cooker sits in that range, you can adjust any timing reference accordingly rather than discovering the difference through a meal that didn't come out as expected.
Every timing reference in this guide is a starting point, not an absolute. The variables in slow cooker cooking are significant enough that the fork test, internal temperature, and visual cues always take precedence over the clock. Use the timing numbers to know when to start checking, then trust the physical cues to tell you when the cook is complete. The more you cook this way, the more instinctive those cues become - and the less you'll need to rely on timing charts at all.
Latest