Slow Cooker and Braising: The Complete Low and Slow Cooking Guide
Low and slow cooking transforms cheap, collagen-rich cuts into tender, deeply flavoured meals. This guide covers the science, the equipment, and everything in between.
The cheapest cuts in the butcher case are cheap for a reason: they come from muscles that do real work. Shoulder, shank, belly, oxtail - connective tissue runs through all of them. Cook them fast and they're tough. Cook them low and slow and something remarkable happens: collagen melts into gelatin, fat renders into the braising liquid, and what was once chewy becomes spoon-tender. That's the entire logic of braising, and it's worth understanding properly before you start.
What Braising Actually Does
Braising is partial submersion in liquid at low heat for a long time. The meat sits in enough liquid to create a humid, consistent cooking environment - typically covering the bottom third to half of the cut. The lid traps steam. The temperature hovers between 160°C and 180°C (325°F and 350°F) in the oven, or the equivalent on a slow cooker's low setting.
At that range, collagen - the structural protein in connective tissue - begins converting to gelatin at around 70-80°C internal temperature. The process takes hours because collagen conversion isn't just about hitting a temperature; it's about holding it. That's why a braise can't be rushed by turning up the heat. A higher temperature dries the meat before collagen has time to convert, leaving you with something chewy and chalky rather than silky and yielding.
Gelatin does two things in a braise. It gives the meat a luxurious, almost buttery texture when you pull it apart. And it thickens the braising liquid into a proper sauce - one that coats a spoon and has body. If your braising liquid is thin and watery after cooking, it needs reducing. If it's glossy and clingy, you got it right.
For a deeper look at how braising compares to other techniques, see our searing vs roasting vs braising breakdown - it covers when each method gives the best result for a given ingredient.
The Sear: Non-Negotiable
Braised meat that hasn't been seared tastes grey and flat. The Maillard reaction - the browning that happens at high heat - creates hundreds of flavour compounds that don't exist in a pale, poached piece of meat. Sear on every exposed surface until you have a proper dark crust, not just a colour change. This takes longer than most recipes suggest. Allow 3-4 minutes per side over high heat in a dry or very lightly oiled pan. Don't move the meat until it releases naturally - if it sticks, it isn't ready to turn.
After the meat comes out, deglaze the pan. The fond - the dark sticky residue stuck to the base - is concentrated flavour. A splash of wine, stock, or even water will lift it. Add it to your braising liquid and you've already built a head start on depth that no amount of seasoning can replicate later.
Equipment: Oven, Slow Cooker, or Instant Pot?
All three work. Each has trade-offs worth understanding before you commit to one approach.
- Dutch oven in the oven: The most consistent heat distribution. Surrounding heat means no hot spots, better evaporation control with the lid on, and better surface development if you finish with the lid off. Heavy cast iron or enamelled cast iron is ideal. Takes 3-6 hours depending on the cut and size.
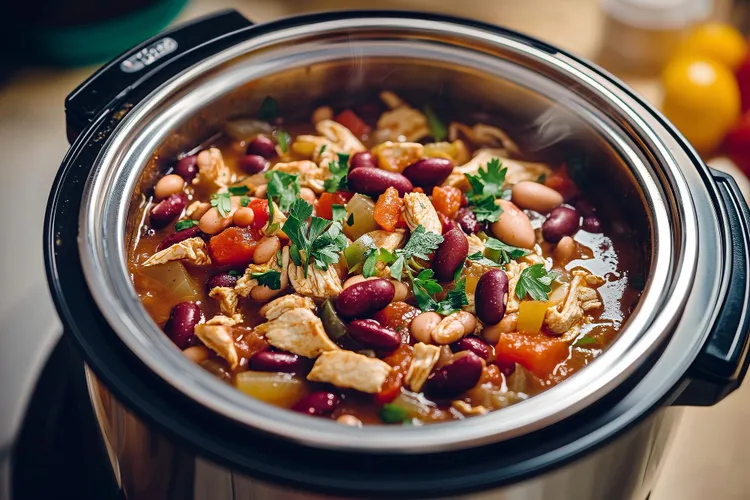
- Slow cooker: Hands-off convenience, genuinely useful when you want to leave it running for 8 hours while you're out. Lower temperatures mean longer times, but the results on cuts like lamb shoulder and oxtail are excellent. One limitation: you can't sear in the slow cooker itself, so you'll always need a separate pan first. For a full comparison, see our guide to Dutch oven vs slow cooker vs Instant Pot for braising.
- Instant Pot / pressure cooker: Fast - what takes 6 hours in a slow cooker takes 60-90 minutes under pressure. The texture is slightly different: more steamed than braised, and the sauce rarely has the same body. Good for weeknights; the results are less impressive for occasions where texture matters.
Braising Liquid Ratios
The most common mistake is too much liquid. A braise is not a stew. Submerge the bottom third of the cut, not the whole thing. Too much liquid dilutes the sauce and prevents the top of the meat from developing any surface flavour during cooking.
For a 1.5kg shoulder or similar cut in a standard Dutch oven, 300-400ml of liquid is usually enough. Use stock as your base - see our guide to making stock at home for how to build a proper foundation. Wine or beer adds acid and complexity. The type of liquid matters - read our full braising liquid guide for a breakdown of stock vs wine vs beer and when to use each.
In a slow cooker, reduce the liquid further - by another 20-30% compared to an oven braise. The sealed lid traps all the moisture that would otherwise evaporate, and the braising liquid volume increases during cooking as the meat releases its own juices.
Temperature and Timing: The General Rules
Oven braising: 160-180°C (325-350°F), lid on for most of the cook, lid off for the last 20-30 minutes if you want surface colour or sauce reduction.
Slow cooker: Low setting (around 90-95°C) for 6-10 hours. High setting (around 110°C) for 4-6 hours. Low is almost always better for collagen-rich cuts - the extra time gives better texture and a more gelatinous sauce.
The fork test is more reliable than any timer. Push a fork into the thickest part and twist. If the meat resists, it needs more time. If it gives way with almost no pressure and pulls apart in clean fibres, it's done. For more detail on timing across different cuts and slow cooker settings, see our slow cooker timing guide.
Cuts That Braise Best
Collagen content determines which cuts belong in a braising pot. High-collagen cuts from well-worked muscles are what you want:
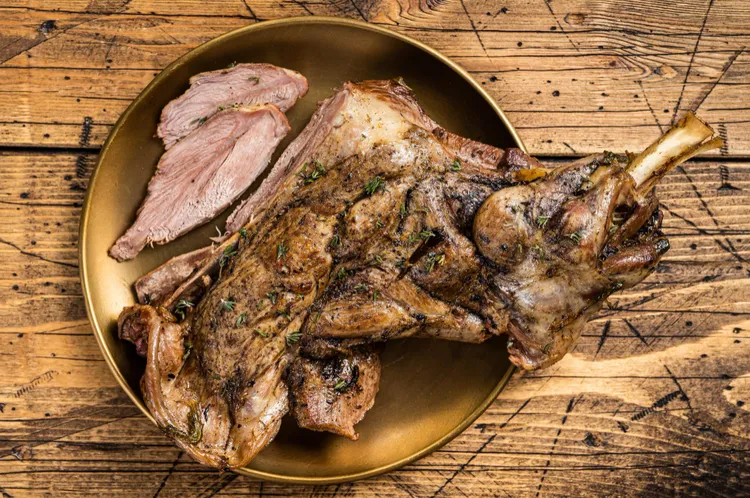
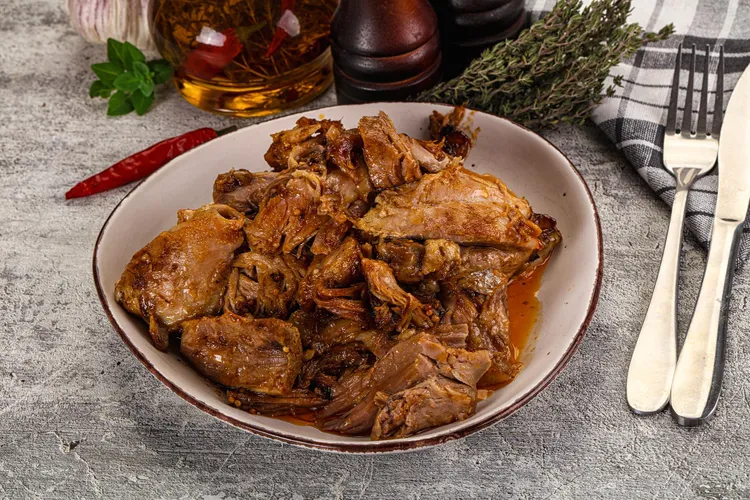
- Lamb shoulder: One of the best braising cuts available. High fat, high collagen, generous marbling throughout. Full technique in our braised lamb shoulder guide.
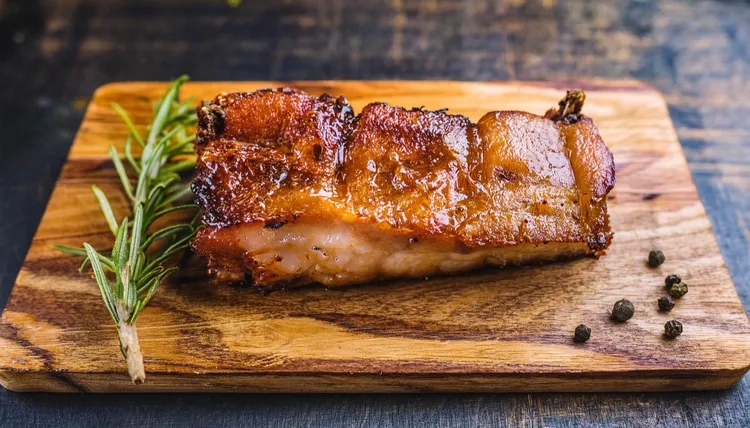
- Pork belly: Layered fat and lean that requires specific handling to render properly without turning to mush. See our slow cooker pork belly guide for how to get crispy skin after low-and-slow cooking.
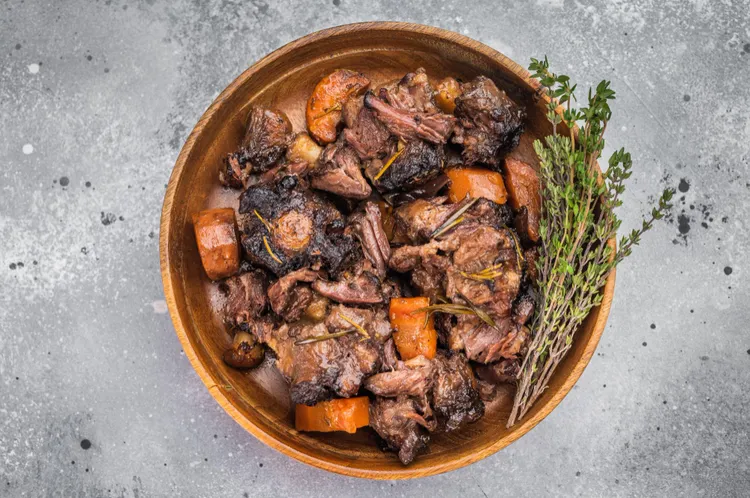
- Oxtail: Gelatinous, rich, and deeply flavoured. One of the most rewarding braises if you give it enough time. See our braised oxtail guide for timing and full technique.
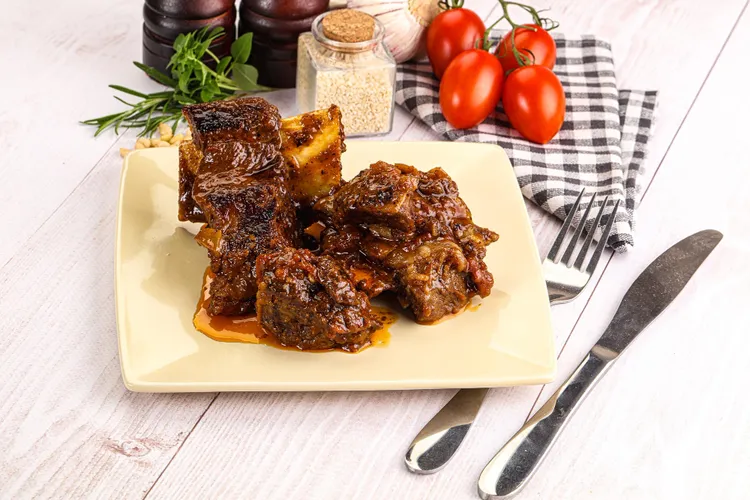
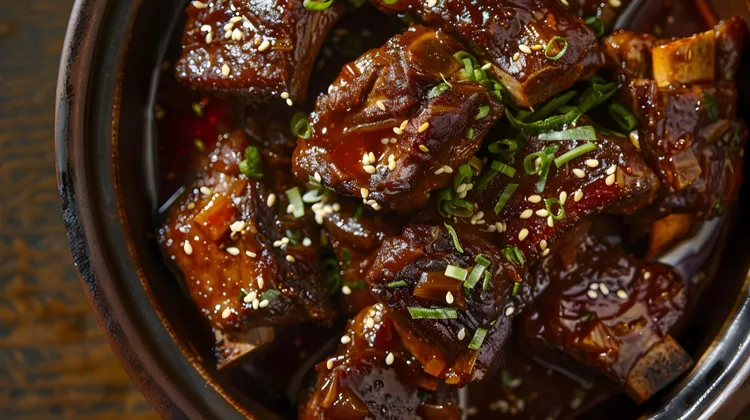
- Beef short ribs: Bone-in ribs with heavy marbling and significant collagen. See our braised short ribs guide for the full method.
- Pork shoulder: Close relative of belly with a better meat-to-fat ratio for pulled preparations. One of the most versatile batch-cooking cuts.
- Beef chuck: The backbone of most beef stews - affordable, high-collagen, and forgiving over a wide time range.
Lean cuts - chicken breast, pork loin, fish - do not benefit from braising and typically dry out before the cooking time gives any payoff. Stick to fatty, well-worked muscles.
Vegetarian Braising
Braising without meat requires different thinking. The goal shifts from collagen conversion to flavour absorption and texture development. Root vegetables, dried legumes, and hearty greens all respond well to low and slow cooking - but the approach differs from meat braising in both timing and liquid strategy. See our full guide to vegetarian braises for timing, liquid ratios, and how to build depth without a meat base.
Making the Most of the Braising Liquid
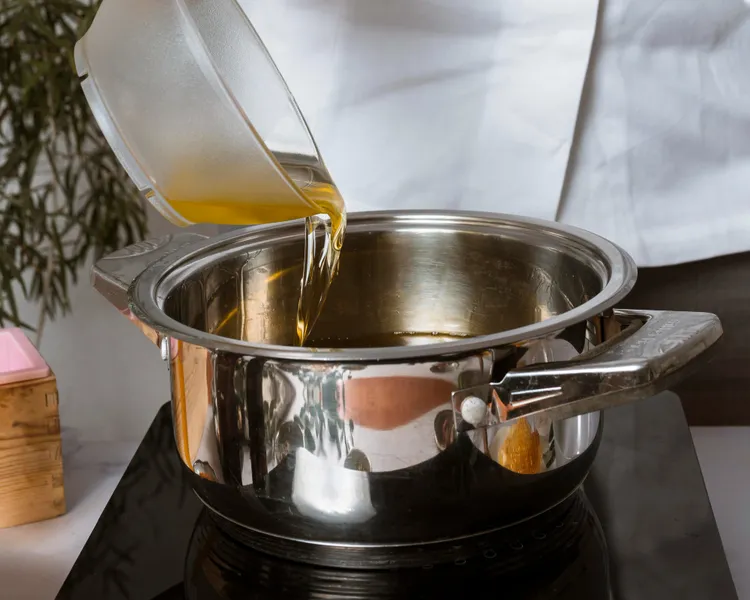
After the meat is done, the braising liquid is arguably the best part of the dish. Skim visible fat from the surface. Then either reduce it on the stovetop over high heat until it reaches sauce consistency, or strain it and serve alongside. A splash of soy sauce deepens umami without adding obvious flavour - see our guide to using soy sauce as a background flavour booster. For pork braises in particular, adding a Parmesan rind to the liquid during cooking is worth doing - the logic is explained in our Parmesan rind guide.
Batch Cooking and Storage
Braises are built for meal prep. Most cuts improve the next day as the gelatin sets, fat solidifies (and can be skimmed cleanly), and flavours deepen further. Cook a 1.5-2kg shoulder on Sunday and you have the foundation for 4-6 meals across the week. Refrigerate for up to 4 days, or freeze in portions for up to 3 months. Store the meat submerged in its braising liquid - the gelatin forms a protective layer when cold and prevents any drying. For a full guide to scaling and portioning braises for the week, see our braising meal prep guide.
Explore the Full Series
- Braised Lamb Shoulder: Timing, Temperature, and Technique
- Slow Cooker Pork Belly: Getting Crispy Skin After Low and Slow
- Braised Oxtail: The Cut That Rewards Patience
- Vegetarian Braises That Actually Work
- Slow Cooker Timing Guide
- Braising Liquid 101
- Dutch Oven vs Slow Cooker vs Instant Pot
- Braised Beef Short Ribs
- Braising for Meal Prep
- Best Slow Cookers for Home Cooks
Seasoning a Braise: When and How
Seasoning in a braise is a two-stage process. Stage one is at the beginning: season the meat generously before searing. Salt draws moisture to the surface, which then drives off during searing and concentrates the exterior flavour. Season the meat rather than the liquid at this point - the liquid will concentrate during cooking and you can't predict how salty it will become.
Stage two is at the very end, after the braising liquid has been strained and reduced to sauce consistency. Only at this point should you taste and adjust salt. A braising liquid that tastes appropriately seasoned before reduction will taste over-salted after it. This is one of the most common errors in braised dishes - pre-seasoning the liquid and discovering an unsalvageable sauce at the end.
Acid is the other seasoning consideration. A squeeze of lemon juice or a splash of vinegar added to the finished sauce just before serving can lift and brighten what might otherwise taste like a heavy, one-note braise. The acid doesn't change the flavour character - it amplifies what's already there and makes the dish taste more alive on the palate.
Common Mistakes and How to Avoid Them
Braising is one of the most forgiving cooking methods available, but a few specific errors consistently undermine the result.
Not drying the meat before searing: Any surface moisture turns to steam on contact with the hot pan. Steam prevents the Maillard reaction and produces grey, poached-looking meat with no crust and no flavour contribution from searing. Pat every surface thoroughly dry before the meat goes anywhere near heat.
Rushing the sear: A 1.5kg shoulder has a lot of surface area. Properly searing all of it takes 12-15 minutes of sustained high heat. Most recipes show a 2-minute sear and move on. The resulting flavour difference is significant and immediate when you compare the two.
Over-filling with liquid: Too much liquid dilutes the eventual sauce to the point where you'd need 30+ minutes of aggressive reduction just to reach serving consistency. The one-third rule is there for a reason.
Cooking at too high a temperature: The collagen conversion window is 70-80°C internal temperature, held for an extended period. If the oven runs above 180°C for most cuts, the exterior dries out and toughens before the interior has time to break down. Low and slow is the mechanism, not just the description.
Skipping the rest: Large braised cuts release their moisture rapidly when pulled or sliced immediately after cooking. Even 15 minutes of resting makes a measurable difference in how juicy the serving portions are.
When a Braise Is Done: Beyond the Fork Test
The fork test is reliable for most cuts, but there are additional cues worth knowing. Internal temperature - while useful for food safety - tells you less about a braise than it does about a roast, because the desired internal temperature for braised collagen-rich cuts is well above the food-safe minimum. A lamb shoulder braised to 90°C internal holds more moisture and has better texture than one pulled at 75°C even though both are safe to eat.
Visual cues add confirmation: the meat surface should have pulled away slightly from any bones, the surface colour should be a consistent deep brown-red, and the braising liquid should look viscous rather than watery when you tilt the pot. Combine these with the fork test and you have a reliable picture of doneness that doesn't depend on any single indicator.
Latest